It is not often that you find a product that is as strikingly gorgeous as it is functional, especially when it takes the form of a PC chassis. As we introduced previously, INWIN recently released the 901 Mini-ITX PC Chassis, and we have the opportunity to take an in-depth look. At the same time, INWIN released the 904 ATX chassis to accommodate those who are looking to build a larger system. However, for those wishing for a chassis that parallels INWIN contemporary and innovate design model, the 904 Mini-ITX chassis is an excellent choice, as it’s small form factor is sleek and intriguing.
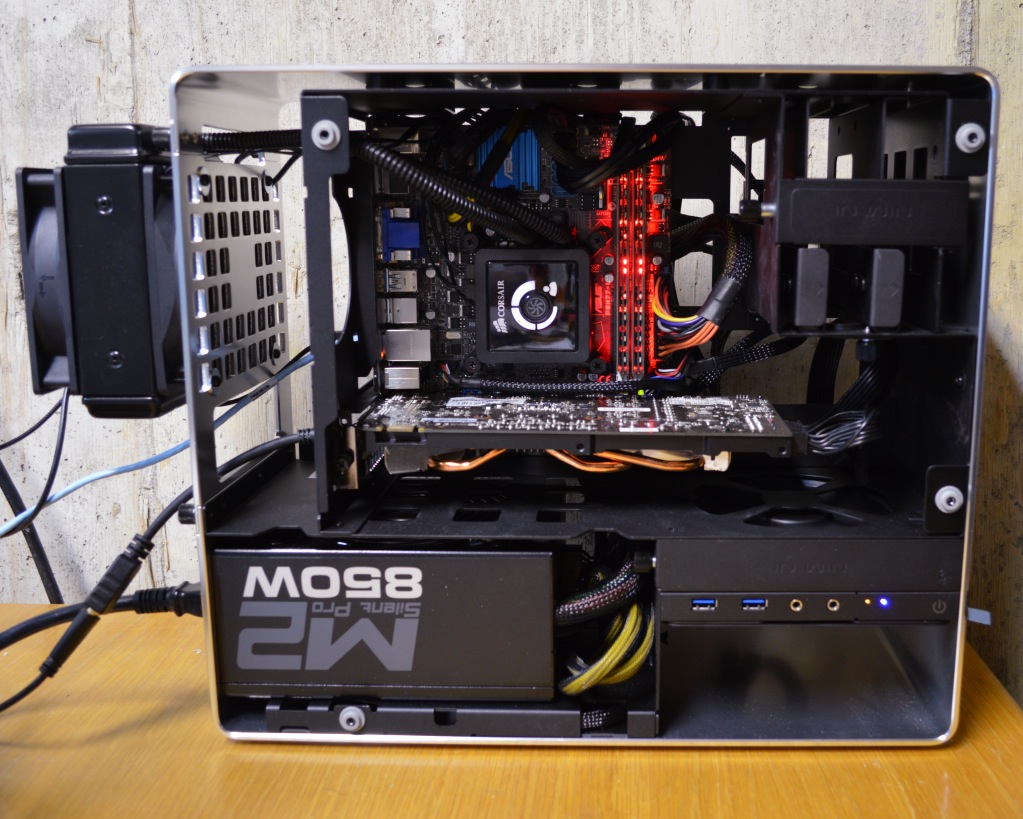
Now, before you comment on the position of the power supply in the above picture, it is important to note that INWIN specifies that the fan from the power supply point upwards rather than downwards. Let’s take a more in depth look at what else the INWIN 901 Mini-ITX PC Chassis has in store for us.
INWIN 901 MINI-ITX CHASSIS EXTERIOR
When first purchased, you will notice that the INWIN 901 Mini-ITX PC Chassis comes in a simple package, almost to elude you from the contents within.
Even when you open up the packaging, you are still kept in the dark as to how whether the INWIN 901 really looks as good as it sounds. The Mini-ITX PC Chassis is wrapped in a black cloth, rather than the stereotypical clear plastic wrapping.
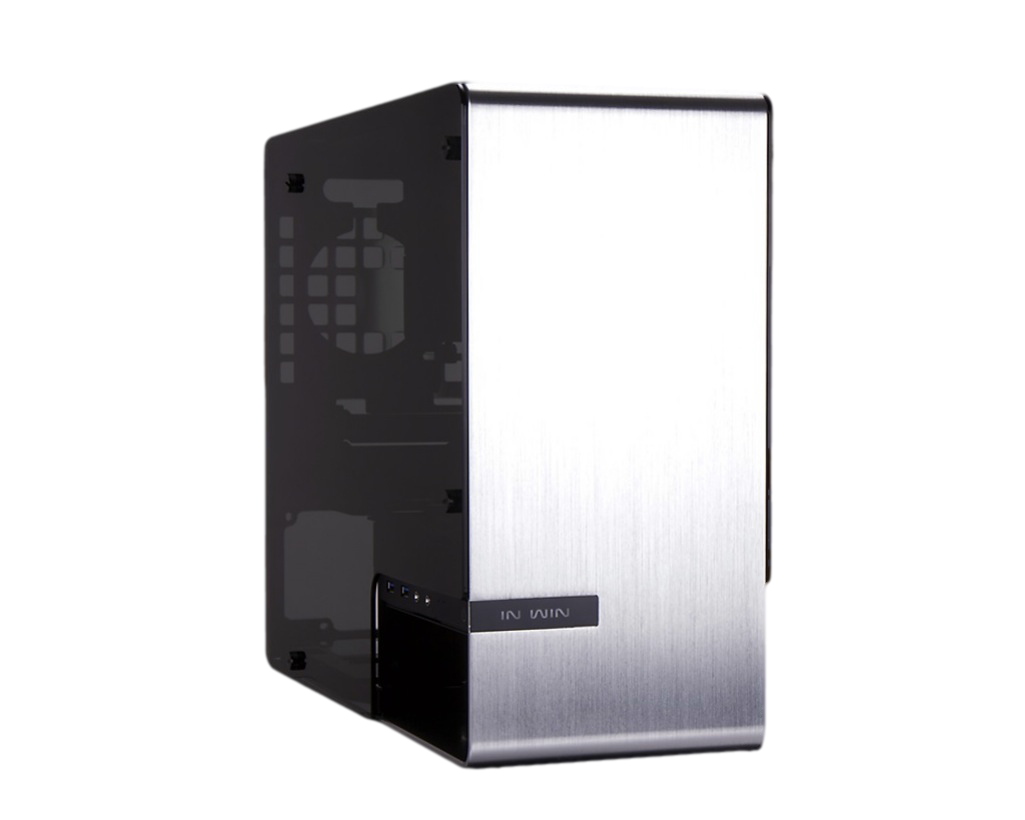
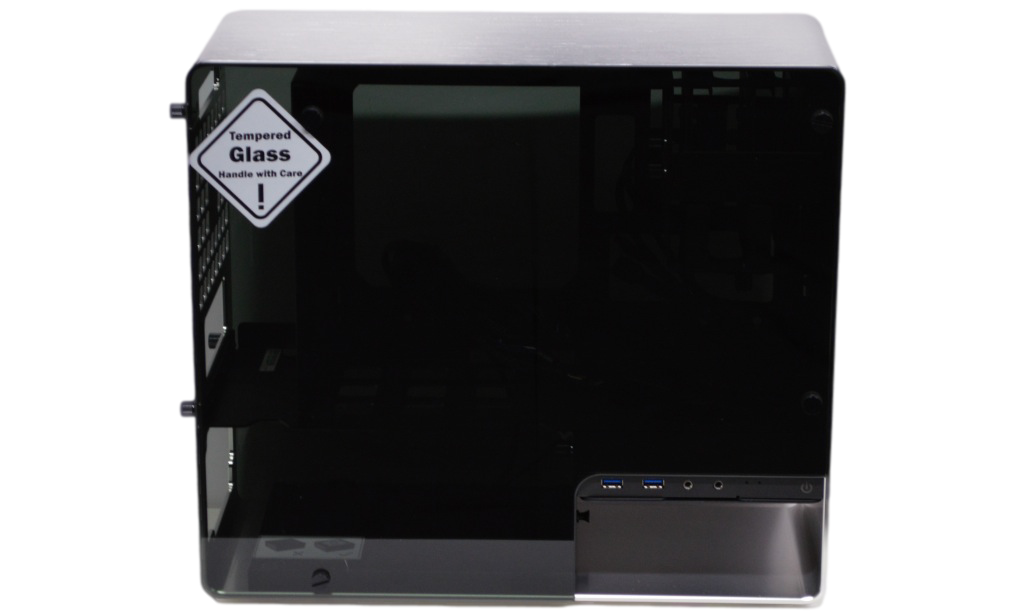
The exterior of the chassis features a solid piece of 4mm thin aluminum that wraps itself around the interior’s metal framework. The side panels of the chassis are two panes of tinted tempered glass, which only adds to style just as tinting the windows of a sports car would. There are four large thumb screws that are on each of the corners of the glass that allows for quick access to your systems components.
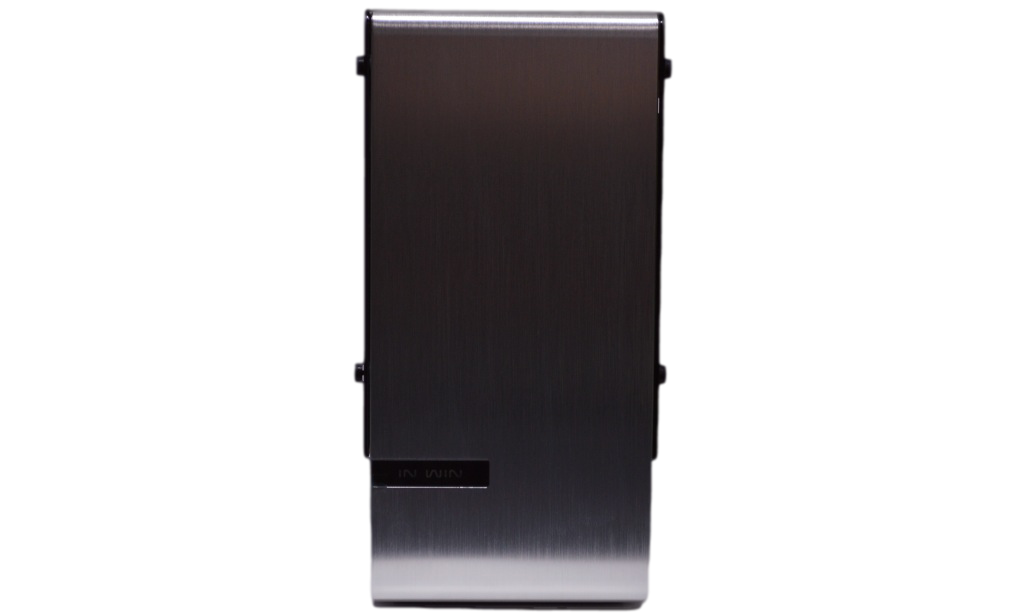
The front of the case simply features the INWIN logo that glows white when the PC is powered on.
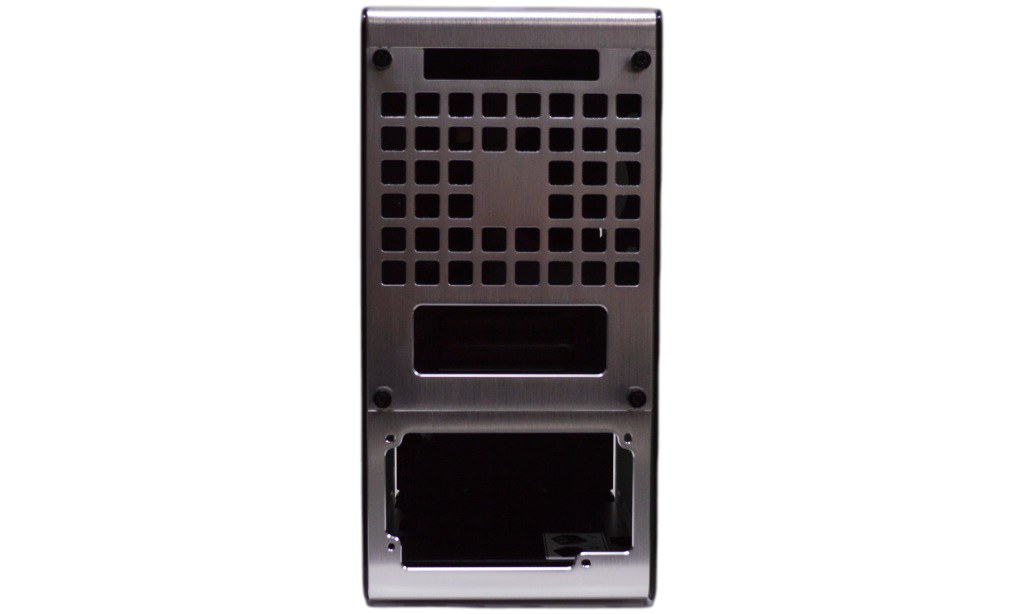
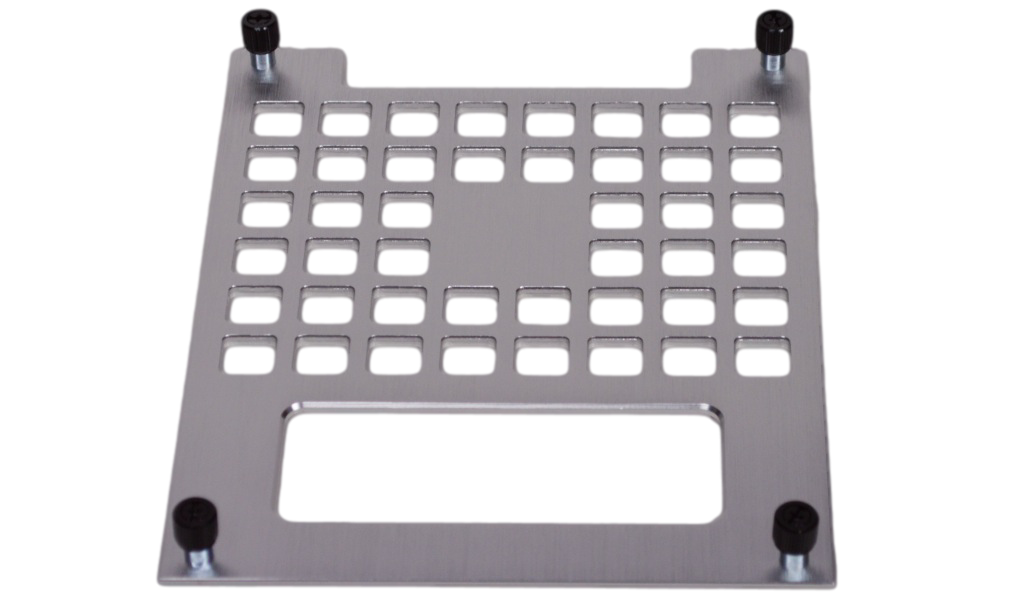
The rear of the chassis features an intriguing design, as there is a piece of the aluminum that separates from the chassis itself. This is where we mounted our 120mm liquid cooling radiator. The bottom features the standard opening for your power supply unit.
The backplate can be removed via the large screws that are at each corner. It is necessary to remove the backplate in order to install your liquid cooling radiator, with the help of some screws and large washers.
Review Overview
Design & Features
Ease Of System Assembly
Product Quality
Availability
Pricing
Irresistibly Gorgeous!
The INWIN 901 Mini-ITX PC Chassis is gorgeous, functional, and innovative. The price point is higher than most Mini-ITX Chassis, but then again this is not your normal chassis.
 Technology X Tomorrow's Technology Today!



It’s an interesting case but I have a doubt. Please, tell me which model
of the liquid cooling system are you using in this installation
example. I can see that the brand is Corsair. I need to know if the H80I
EXTREME is compatible, which has double fans or the HYDRO H60 which has
a single fan in the radiator.
Thank you very much
Thanks for reading!
I am using the Corsair H80, and I slapped on two fans on either side.
https://www.corsair.com/en/hydro-series-h80-high-performance-liquid-cpu-cooler
It’s a great cooler, I have had no issues with it what so ever. I have been using it in what used to be my primary testing system, but I bumped up to the H100 in my new system.
But how did you install it? The fan diameter is 140mm and the case holes are for 120mm fans. Can you send me a pic so I can understand you? Did you make the holes by yourself? Thank you
It is the H80 not H100.
I bought all the pieces for building my RIG in this beautiful case. It’s really elegant.
But now I have another doubt. The internal slim ODD connectors are a SATA cable and a two-position MOLEX connector that I don’t know where I should connect it. I suppose it’s for the supply voltage. Now the question is: Do I need a special connector or where should I connect it??? No explanation I found in the documentation.
Thanks