CHASSIS EXTERIOR
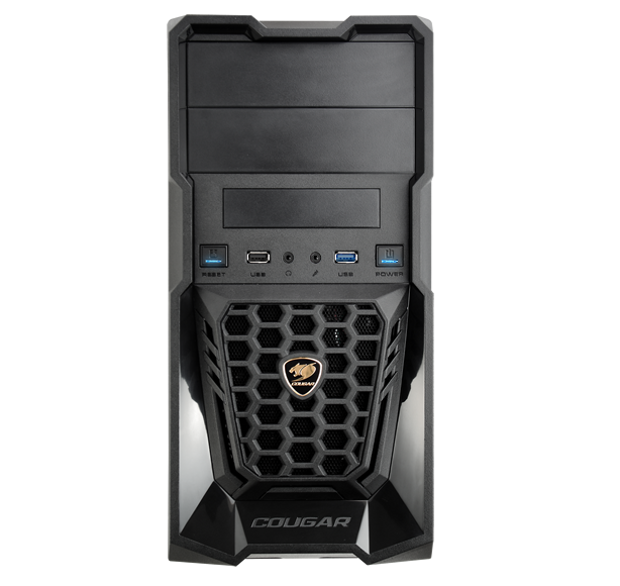
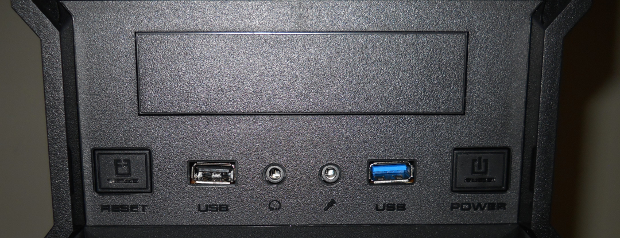
The front panel of the Cougar Spike is an attractive design without being overly aggressive appearing, as some gaming-oriented cases can be. The prominent front fan grille sports a smallish Cougar badge in the center, with “Cougar” molded into the lower front surface. Just above the front fan grille is the I/O area, containing the Mic and Audio jacks in the center, flanked by one USB 2.0 port and one USB 3.0 port, flanked by the power and reset buttons. The power LED is incorporated into the power switch, and the drive activity LED is incorporated into the reset switch. Above the I/O panel is a single 3.5″ drive bay to handle a card reader or fan controller. At the top of the front cover are two 5.25″ tool-less drive bays. All in all, the Spike sports a very appealing front panel. My only issue with the front panel was poor alignment of the USB ports in the front cover, which sit at an angle in the opening. USB connectors can sometimes be a tad temperamental to plug in, so not having the USB ports aligned with the openings could present difficulties in utilizing them. More on this further along.
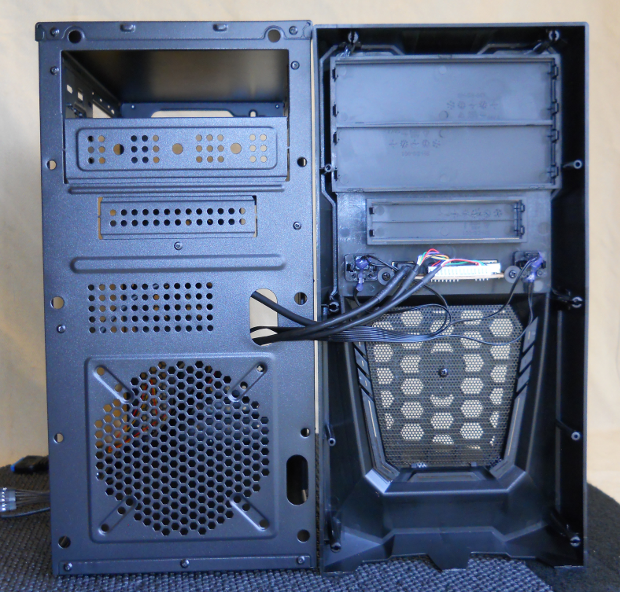
The front panel is a simple pull-off design. An opening below and behind the word “Cougar” at the bottom of the panel creates a grip area for pulling the front cover loose from its six anchor points. Removing the front cover reveals the lower front fan mount, with a conveniently located fan cable management opening alongside. The screen material on the inside of the front cover can be removed for cleaning by loosening a single screw. All three of the front drive bay covers are removed by releasing a pair of plastic tabs on each side of the covers.
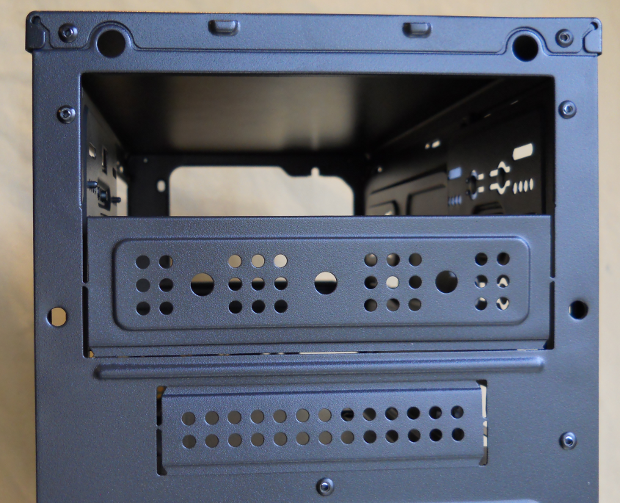
Next we see the 2 x 5.25″ bay openings and single 3.5″ bay opening. The top bay is already open, and the other two have “knockout” type covers that cannot be reinstalled.
As we referred to earlier, the next image shows the poor alignment of the USB ports. These are the result of the circuit board on the backside of the front panel being about 1 mm too long. Aligning it into the mounting slots apparently required bowing the circuit board just a tad to get it to seat into the slots. This results in the USB ports sitting at opposite angles in the openings; rather than being squarely aligned.
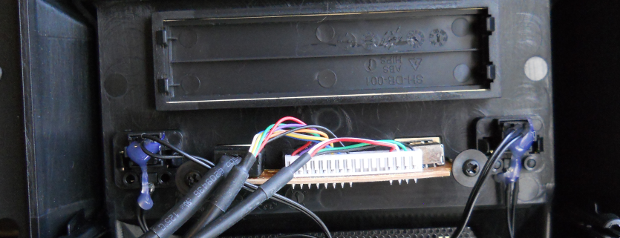
The next image shows the bowed circuit board mounting. We can also see that the assembler was a little sloppy with the hot melt glue for the LEDs on the power and reset switches, and left strings and globs of excess glue hanging. These were the only two quality control issues we encountered with the Cougar Spike. This is certainly not beyond our expectations for a budget case.
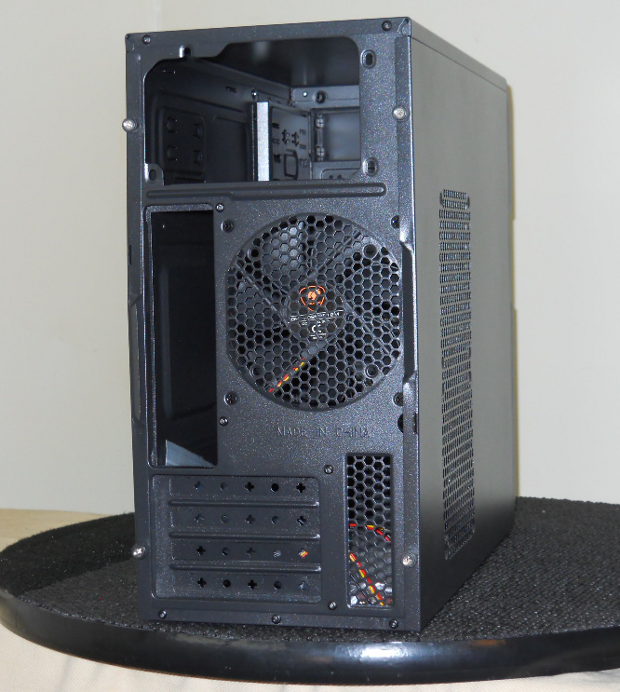
This image shows the rear panel. Note the “grille” area to the right of the PCI expansion slots. Being a bit of a case ventilation freak, I always appreciate manufacturers who don’t leave large blank unventilated areas on the rear panel. This is a nice little touch to see on a budget level case.
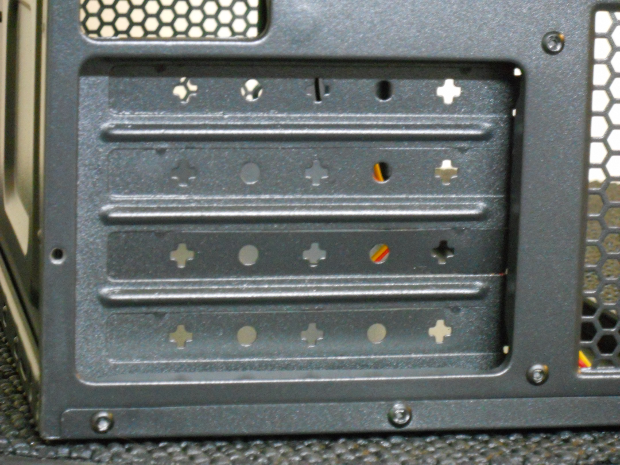
In the next image we have a closeup of the PCI expansion bay covers. Like the front bay covers, these are “knockout” style covers and cannot be reinstalled. If only utilizing one or two of the expansion slots, make sure you pick the correct corresponding cover to remove.
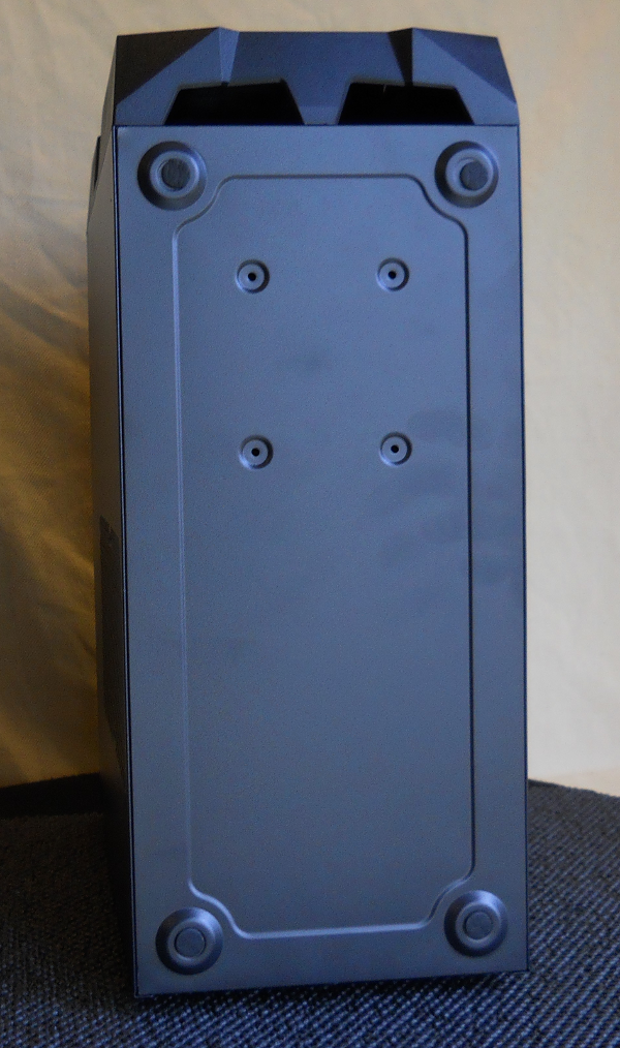
The bottom panel is basically blank except for the screw holes for mounting a 2.5″ HDD or SSD to the inside bottom of the case. The “feet” are merely glued on rubber pads. Expecting screw-in feet on a budget case is probably not realistic, but this type of rubber pad tends to get peeled loose with a lot of moving around of the case. Your mileage may vary. You can also see in this image what we meant about the textured panels being prone to showing fingerprints.
 Technology X Tomorrow's Technology Today!

