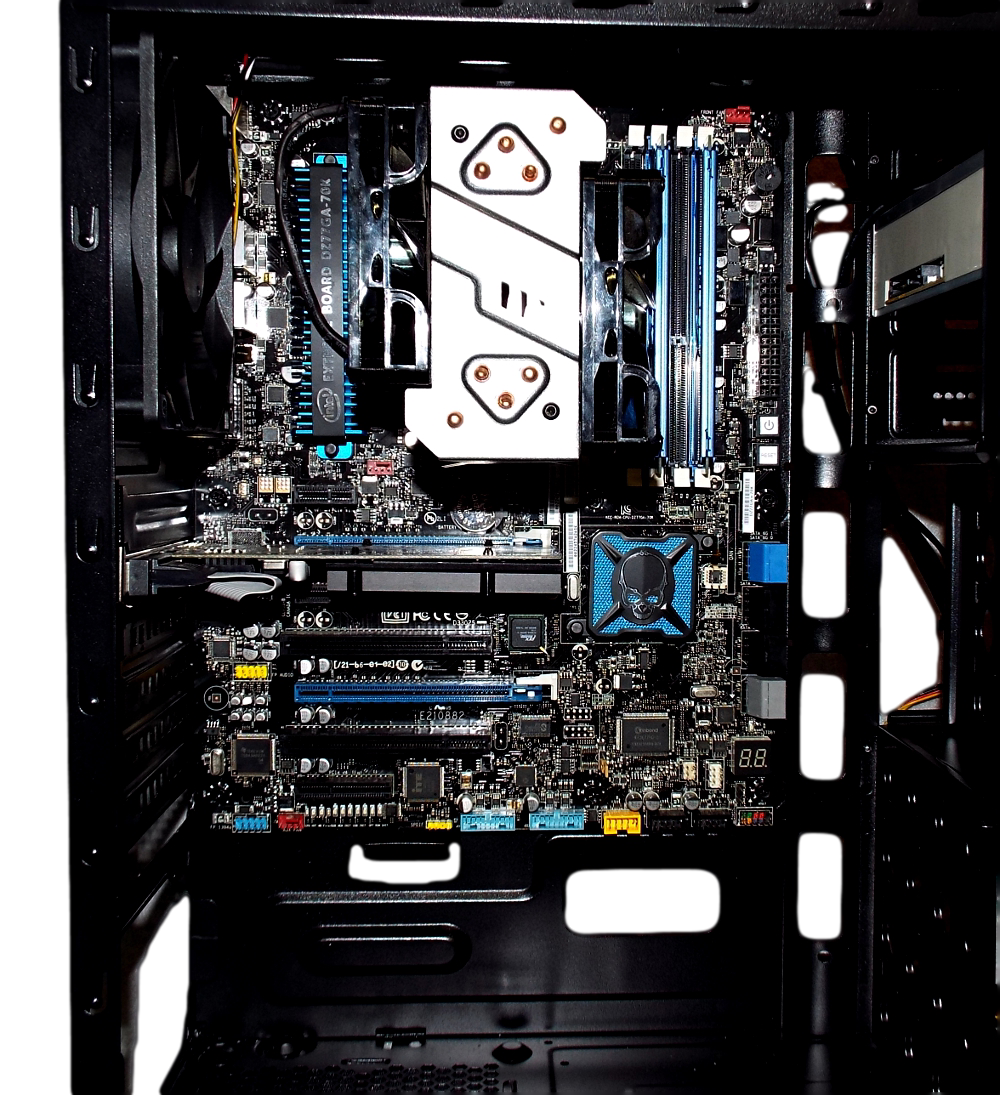
We have pre-installed the CPU, CPU cooler and RAM modules to the motherboard before situating it into the case and anchoring it down. Here we see the MX300 with the motherboard “assembly” freshly screwed down. Note all of the available openings to the right and below the board for cable routing.
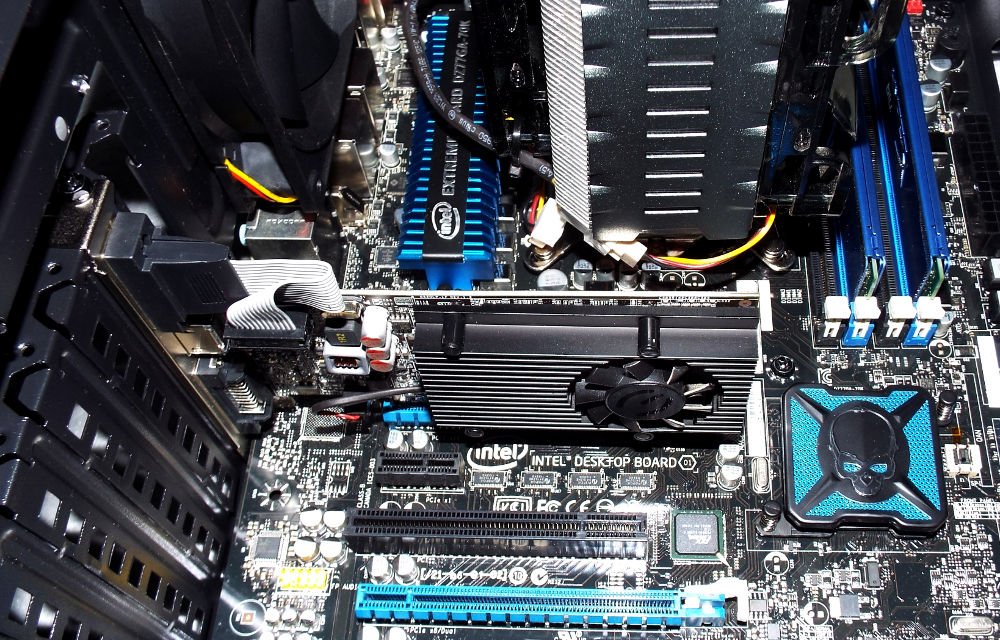
In this image we see our graphics card installed. With our full-ATX motherboard, we find that the first PCIe slot for our graphics card lines up with the second bay on the rear of the chassis. We did find it necessary to remove the second cover, and fill the open upper one with the provided blank slot cover. Even so, installation of the graphics card went smoothly.
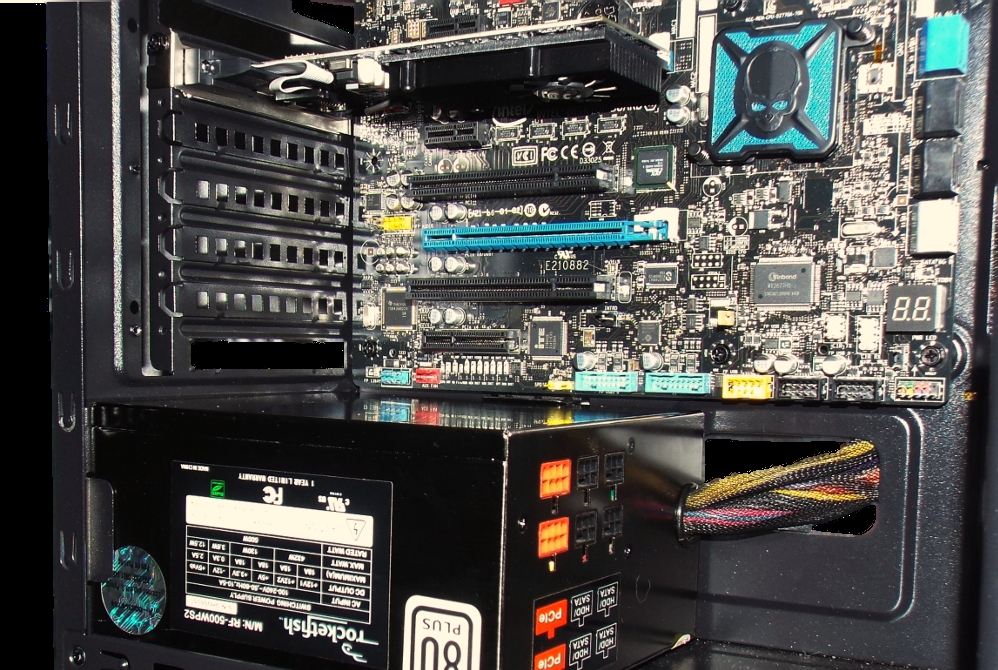
We can also see how much room there is for a much larger/longer graphics card (or two), up to 310mm long, than we have installed here. Now we see our power supply installed. We have an ideally-located opening right alongside the main harness to immediately route it behind the motherboard tray.
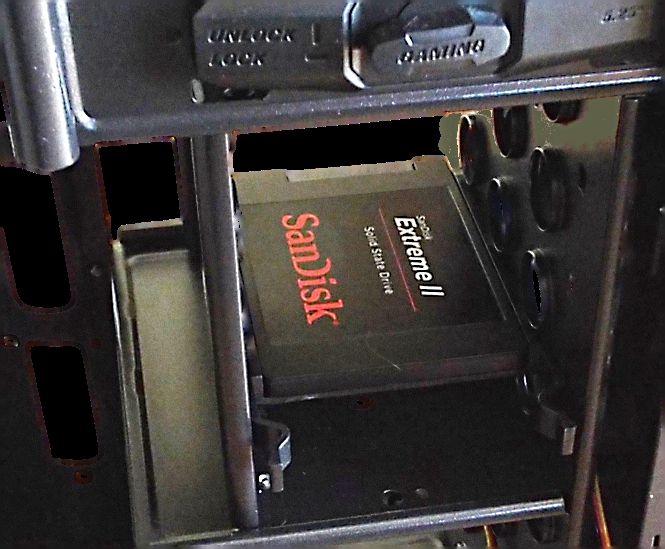
The next image shows our 256GB SanDisk SSD mounted to the lower 2.5″ drive tray and with the tray latched into place. We have removed the unused drive trays, again to improve airflow within the enclosure.
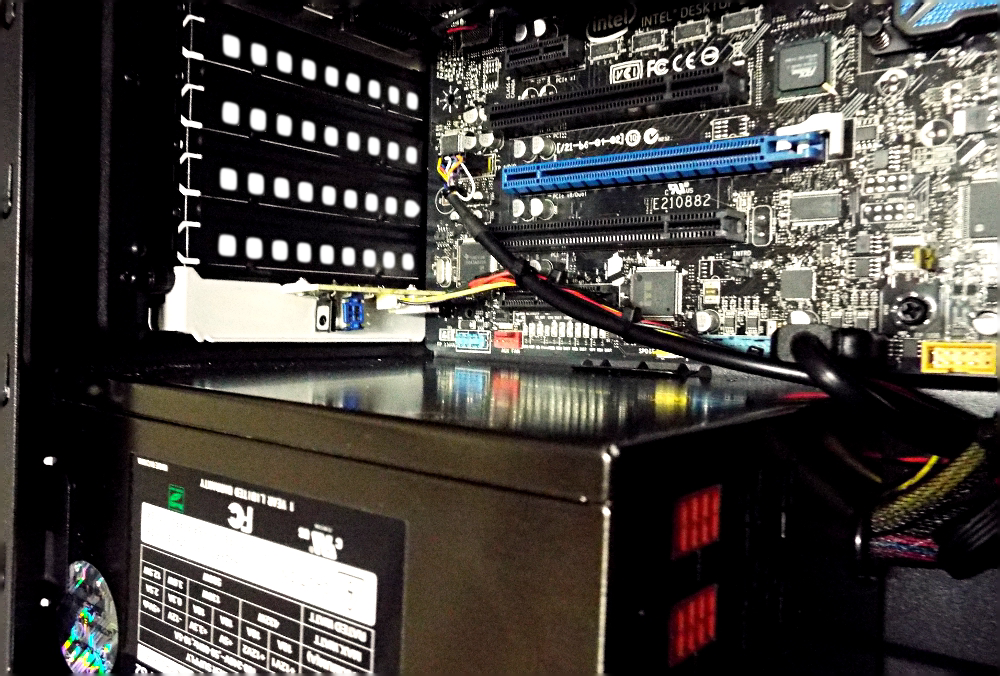
To experiment with adding an additional PCI expansion bay device, we will install a single channel fan controller with connections for up to three fans. We have chosen to install it into the bottom slot just above the power supply, so as to again keep air flow interruption to a minimum.
Review Overview
Design & Features
Ease Of System Assembly
Product Quality
Availability
Pricing
Great Value!
The Cougar MX300 is surprisingly built with good quality materials and features for a budget-level case. It is a very easy chassis to build a system into.
 Technology X Tomorrow's Technology Today!

