COMPONENT INSTALLATION
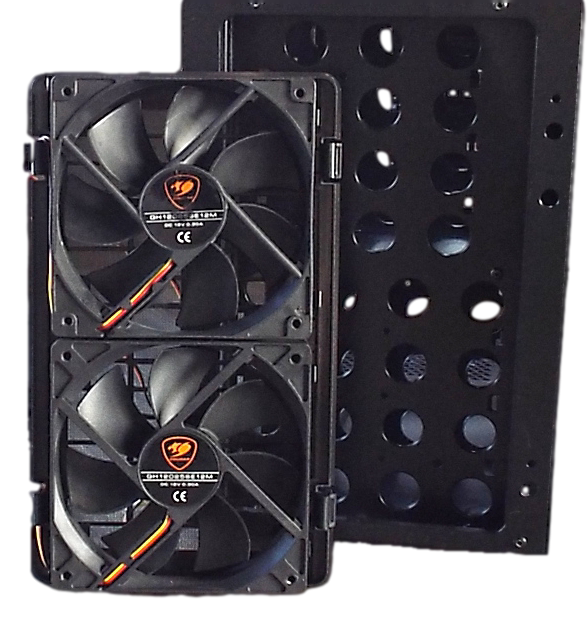
The first components we will install into the MX300 are the front case fans. As we referred to earlier, Cougar utilizes a unique method of mounting the front fan(s). We will be populating both front fan positions with a 120mm fan each. We simply lay the fan filter down flat with the backside facing up, and align each fan over the four side clips for each position. We want to make sure that they are facing the correct direction for intake, rather than exhaust, and that the connectors are oriented to be at the right side of the chassis. Pressing them down firmly onto the front filter, they will snap firmly into place (a bit of force is required). In this next image we see the filter assembly with the two fans installed. They are latched very securely to the filter, so vibration should not be an issue. The filter and fans as an assembly snap right into the fan recess, and latch firmly into place.
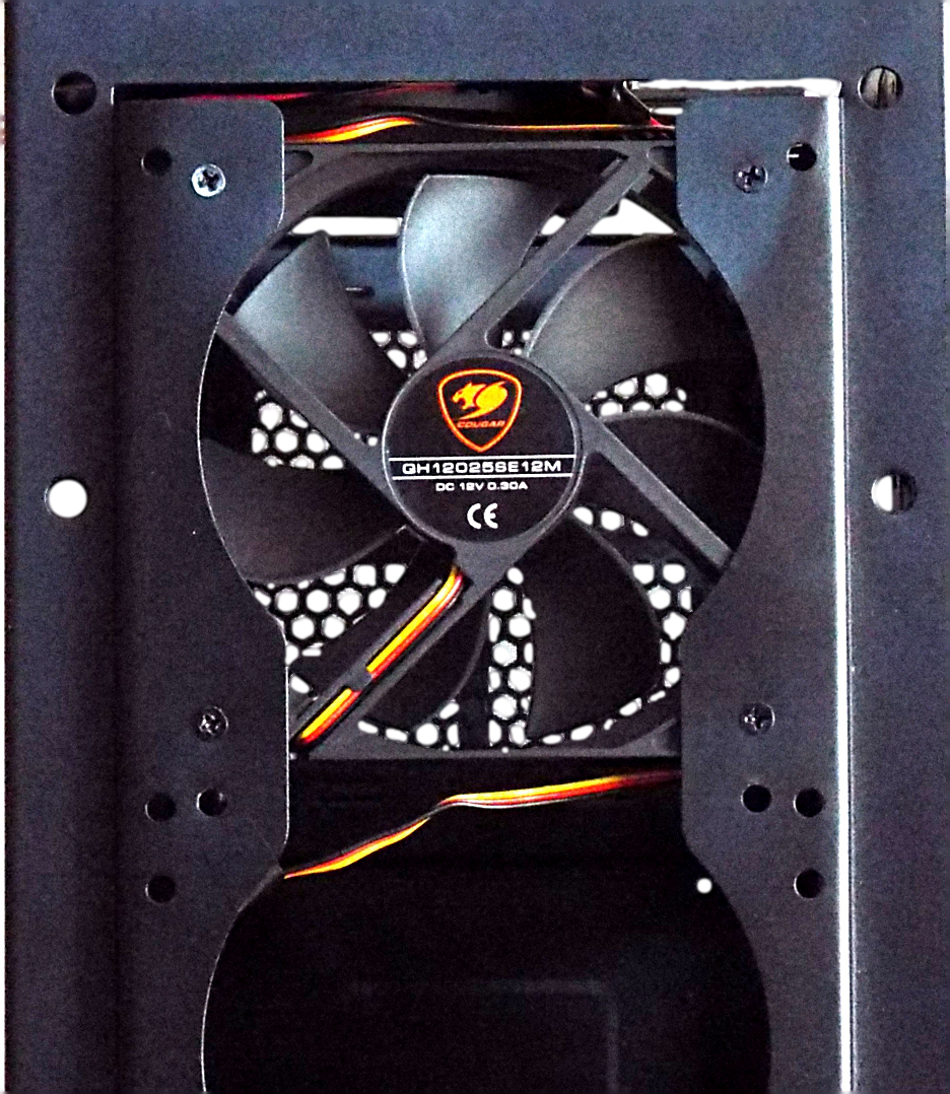
Next we see the top of the chassis with a single 120mm fan installed. Again, we have oriented the connector cable to exit toward the right side of the chassis to keep our wiring concealed as much as possible.
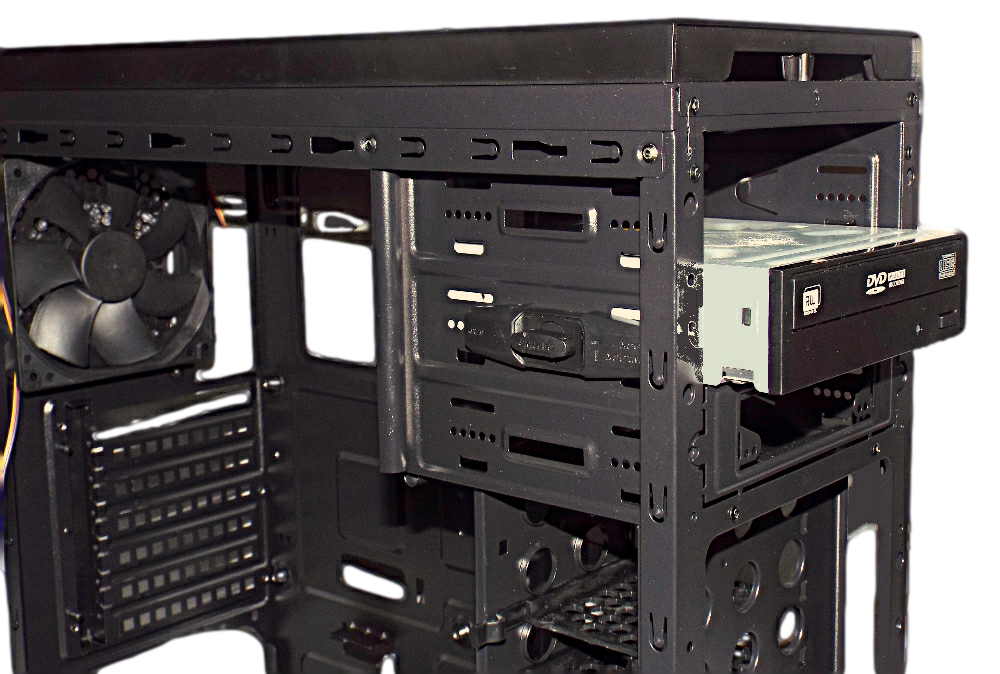
In our next image, we see the optical drive installed. With Cougar’s tool-less latching mechanism, the entire operation took about 15 seconds.
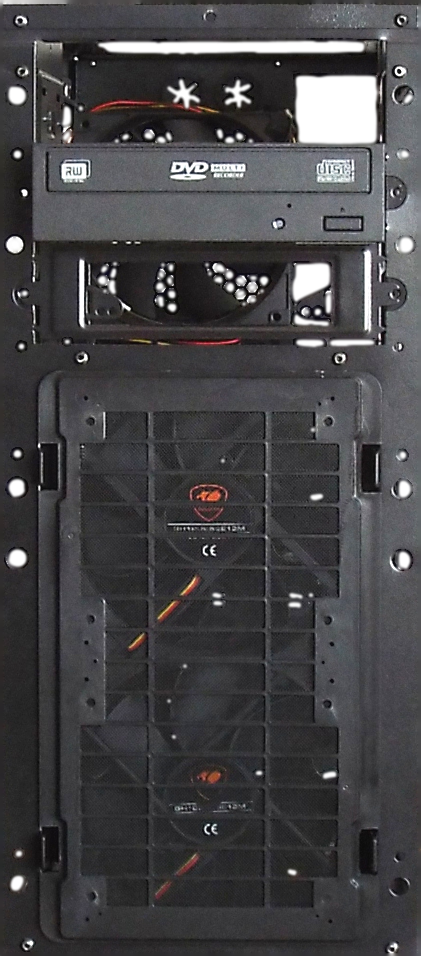
Here we see the front of the MX300 with the front fans and optical drive installed
Review Overview
Design & Features
Ease Of System Assembly
Product Quality
Availability
Pricing
Great Value!
The Cougar MX300 is surprisingly built with good quality materials and features for a budget-level case. It is a very easy chassis to build a system into.
 Technology X Tomorrow's Technology Today!


