FRONT PANEL
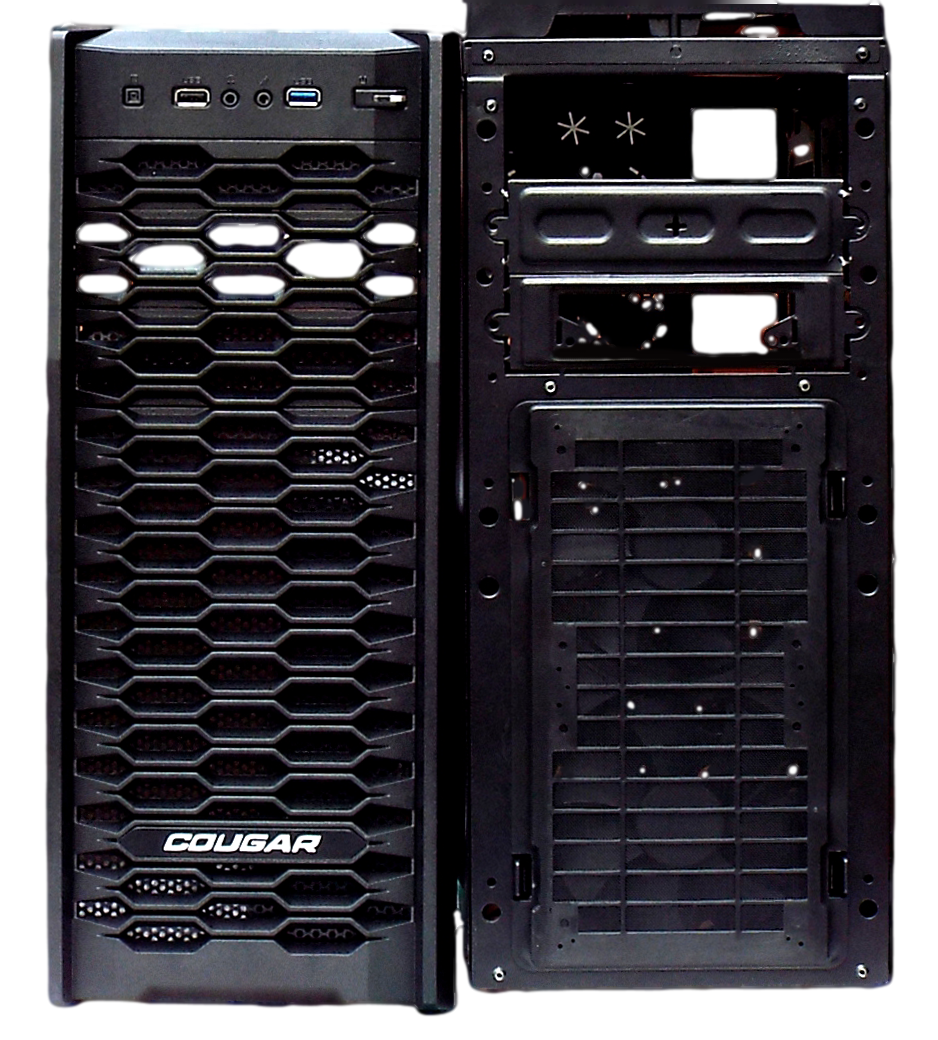
Focusing our attention back on the front panel of the MX300, this next image shows it removed and standing alongside the chassis. Looking first at the chassis directly, at the top we see two open areas with a filler panel in between. The top open area is not a drive bay, but rather the area for passing through and accommodating the header panel cables. What are actually two filler panels are both removable, although doing so requires a good bit of exertion. Removing the upper of the two panels opens up the second of the two 5.25″ drive bays. The lower one already has present a 3.5″ drive opening, so removing it results in opening that bay up for a full 5.25″ optical drive or device.
The lower 60% of the front of the chassis accommodates either one or two 120mm fans and the snap-in filter that they mount to. Cougar has a clever and innovative method of mounting the front fans, but more on that when we discuss building a system into the MX300.
Looking at the MX300’s header panel area at the top of the front cover shown above, we have (from left to right) a small square reset button with an orange drive activity LED incorporated into the center, a single USB 2.0 port, audio and microphone jacks, a single USB 3.0 port, and finally the power on button with a white power LED spanning the center of the switch.
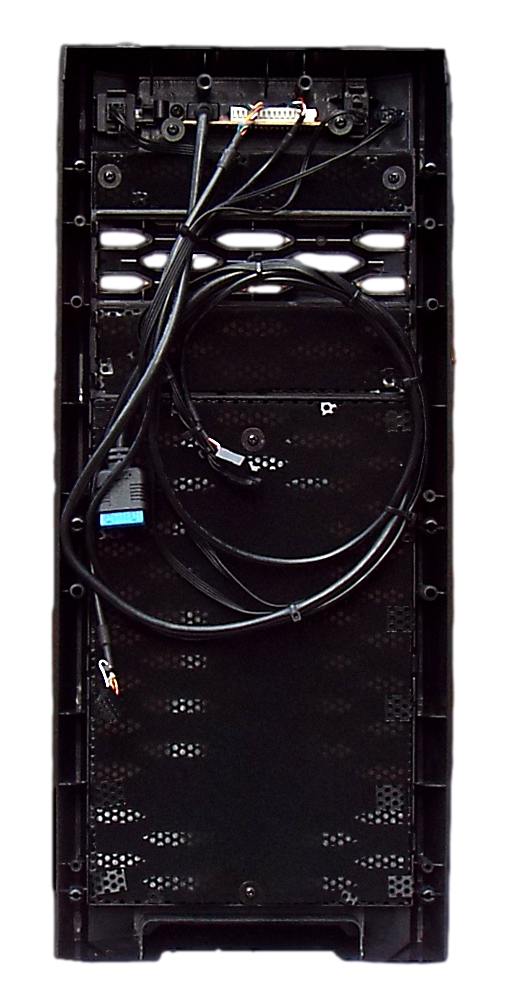
Below, we see the backside of the MX300’s front panel, and the associated header panel cables to be routed into the chassis. Note the filter material covering all air intake areas, except for one of the two 5.25″ bay covers. Both covers snap out, and are interchangeable to either the upper or lower drive bay. The second cover has only the exterior mesh present.
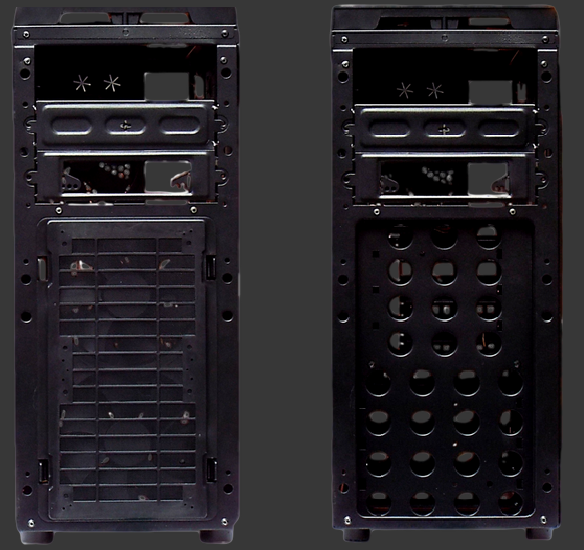
The next two images are the front of the chassis with the cover off. The left image is with the fan filter in place, and the right image is without the filter present. The recessed area behind the filter is deep enough to accommodate the filter with fan(s) attached. The round holes at the back of the recess correspond with the drive cages behind. The upper four rows of three holes line up with the 2.5″drive cage, while the lower four rows of four holes align with the 3.5″ drive cage.
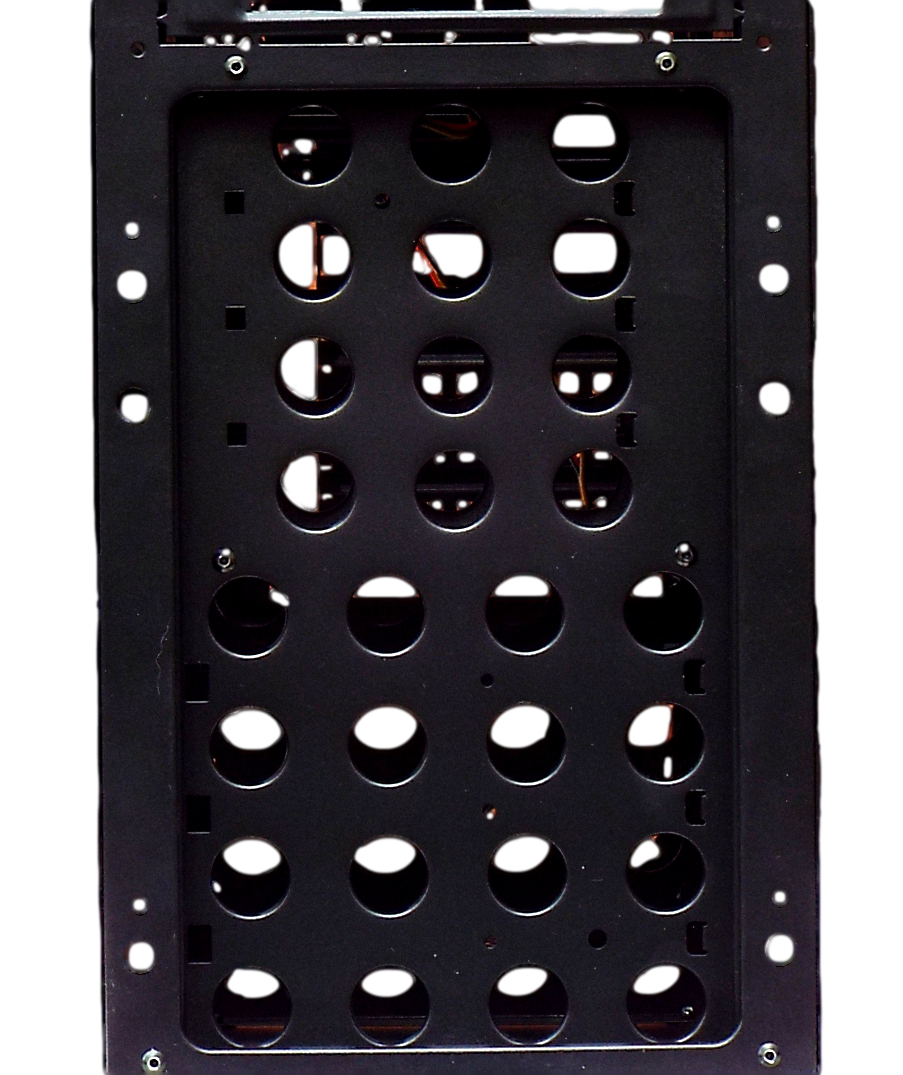
Here is a close-up of the front fan and filter recess, with the drive cages visible through the round holes.
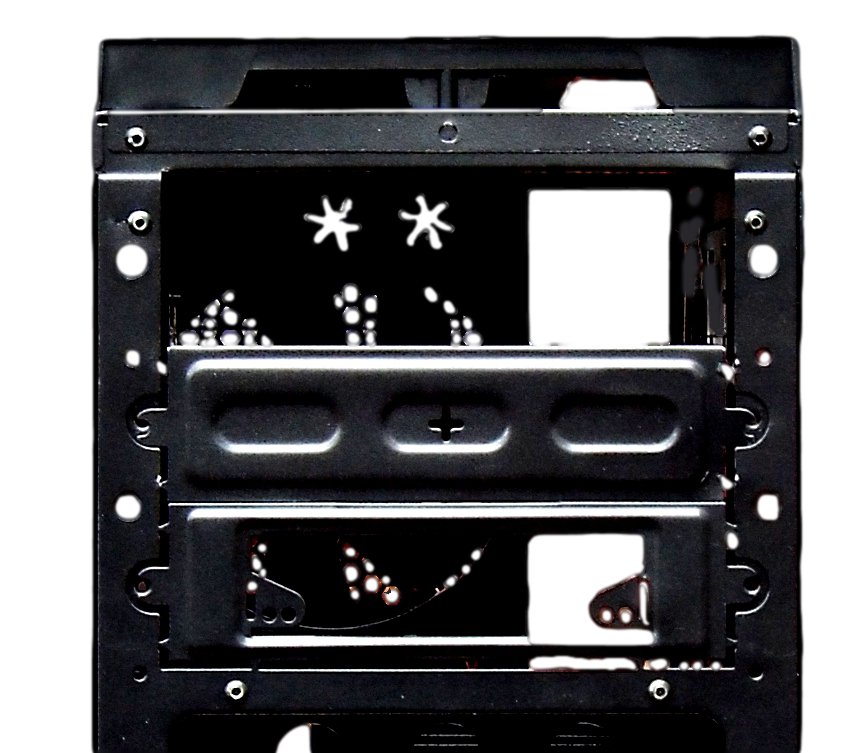
Now we see a close-up of the front 5.25″ drive bays, which are convertible or adaptable to accommodate 3.5″ devices.
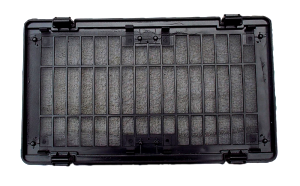
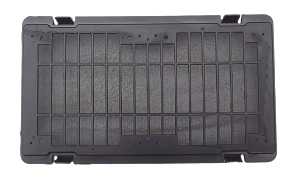
The next pair of images are of both sides of the front filter itself. Shown first on the left is the exterior, and we have four tabs on this side that we use to release the filter from the front of the chassis. On the interior side shown at the right, in addition to the inner portion of the four release tabs, we also see a total of eight smaller such tabs that act as the tool-less snap-in mountings for the front 120mm fans.
Review Overview
Design & Features
Ease Of System Assembly
Product Quality
Availability
Pricing
Great Value!
The Cougar MX300 is surprisingly built with good quality materials and features for a budget-level case. It is a very easy chassis to build a system into.
 Technology X Tomorrow's Technology Today!

