Welcome back to the chassis review corner of Technology X. Today we are going to be taking a look at the Z9 Neo from Zalman and we are quite excited about it as we haven’t featured a case from them yet. They have put together a short video that will show you around the case a little before we get more in depth!
INITIAL THOUGHTS
As you can see from the video the Z9 looks like a pretty cool case. Ours came in white rather then black, so instead of that polished look the black has, white has a glossy look to the front panel and plastic matte top cover and steel side panels. The Z9 comes with a snazzy plastic bag with a mixed bundle of screws, stand-offs and tie-down cables. 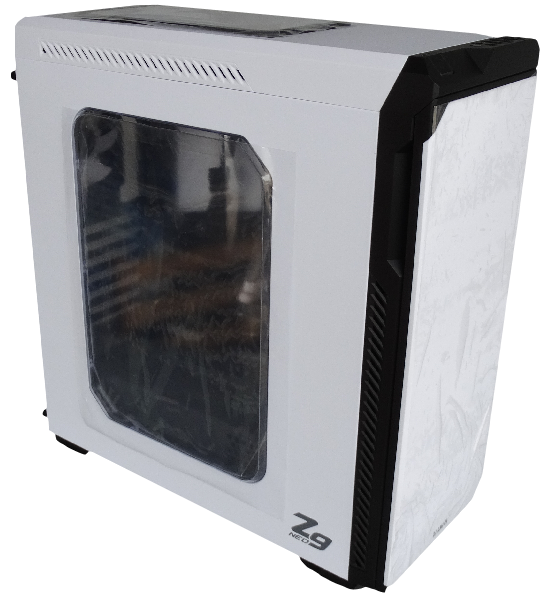
First thing we always notice is the I/O panel and the Z9’s follows the norm with the Power Button, reset, audio jacks and four USB ports (2x 2.0/2x 3.0).  The front panel has a door that opens to the right and is not interchangeable. The inside of the door panel has a sound dampening material and the door secures closed magnetically. There is also room for two 5.25″ drives. At the bottom of the front panel you’ll be able to feel the handle to pop off the panel, do so.
 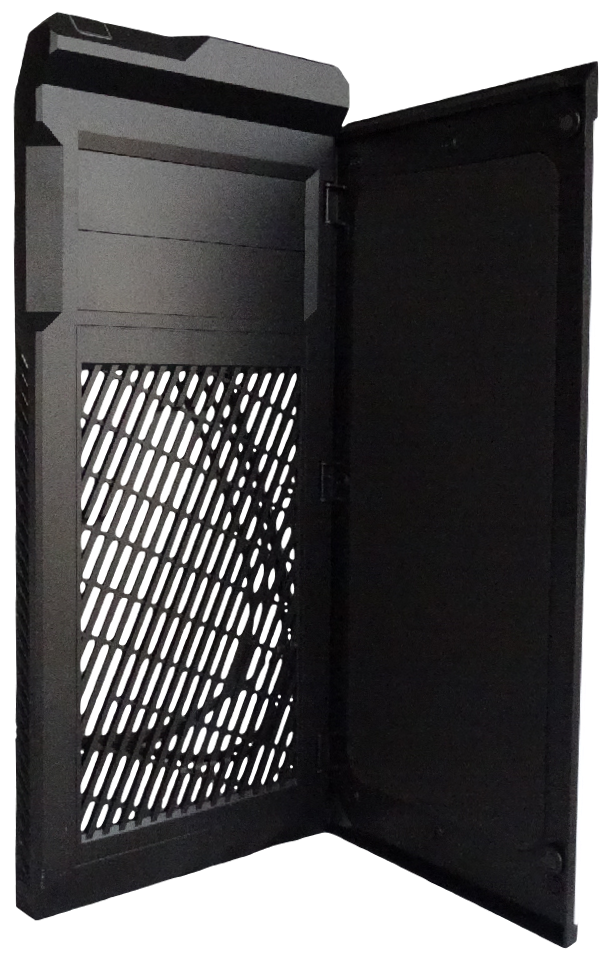 It pops off pretty easily but right away we run into the dreaded attached I/O panel. This style of panel makes it difficult to maneuver around and we end up pulling the I/O cables completely out for the build until needed. You’ll also notice the two OD Bays are covered by break-away metal covers which you simply bend back and forth to remove if desired.
 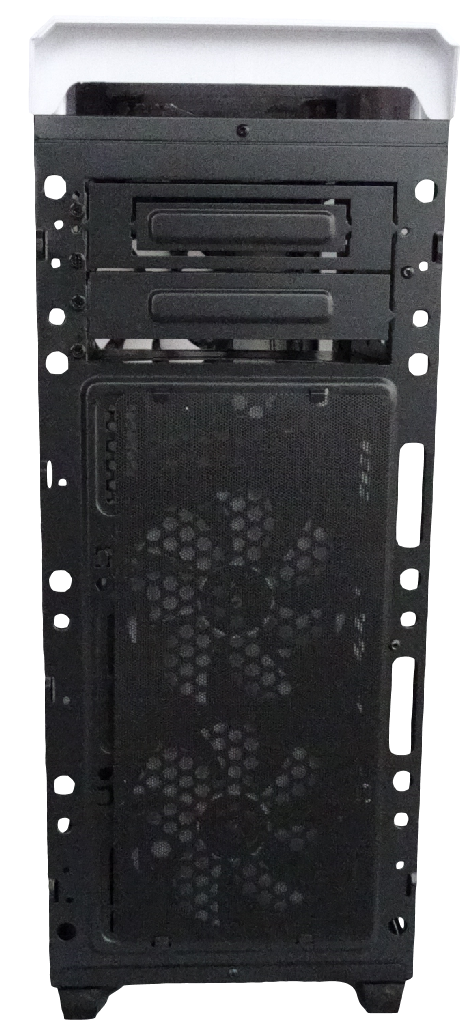 There is also a dust cover for the two front fans but it is a flimsy mesh and only slips in holders at the top and bottom leaving us to believe there is the possibility of unnecessary dust sneaking in the sides. The front panel has two white-bladed 120 fans but will accommodate 140’s. Removing the window-panel you’ll see the Z9’s playground. Filled with pass-throughs, some with rubber grommets and some without. Along the top you’ll see two LED 120’s which are completely receded into the top panel giving you that extra space if you choose to add a radiator in the top.
 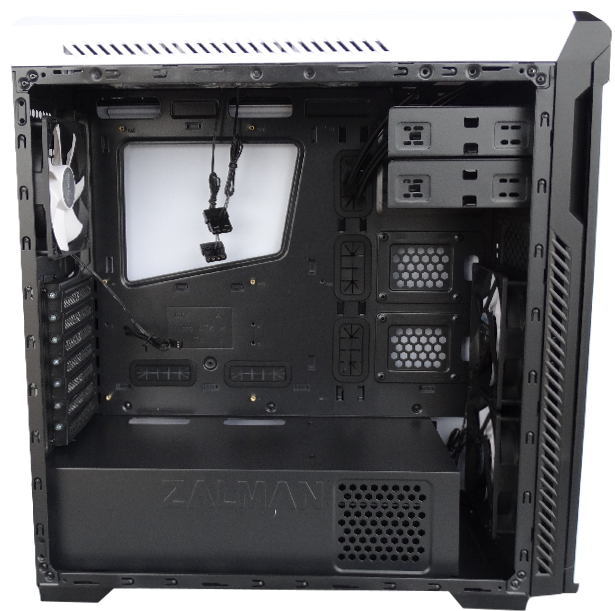 Along the inside on the right you’ll see two side-mounts for 2.5 drives as well as an abundance of tie-downs. The PSU will be separated and installed from the far side as there is a solid PSU cover. This will help keep that tidy look when it comes to cable management, but also tells us we won’t be able to install our PSU inverted as there is no way to get the air through.
 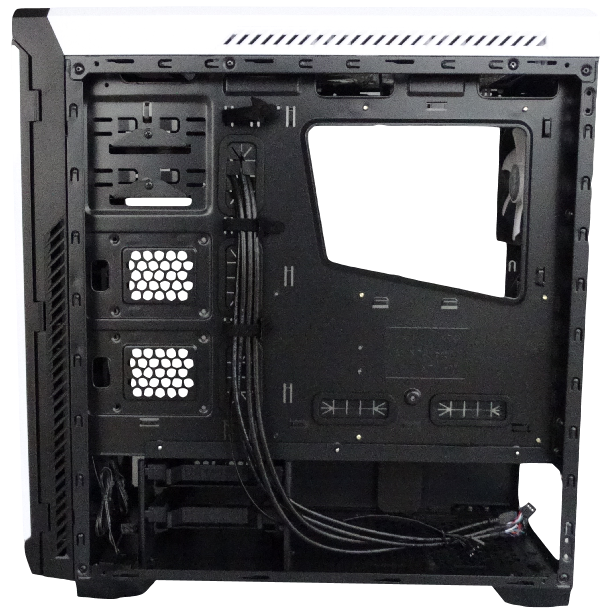 Over to the cable-management side you’ll see there are three Velcro straps running between the vertical pass-throughs as well at the bottom there is a shelf for two HDD/SDD’s. This bay isn’t removable, well not meant to be, but with a little effort we’re sure you could.The Rear shows us a basic layout with the PCI slot thumb-screws needing to be accessed from the inside as well showing you the rear exhaust white-bladed 120 fan. There is also a dust cover along the bottom for your PSU.
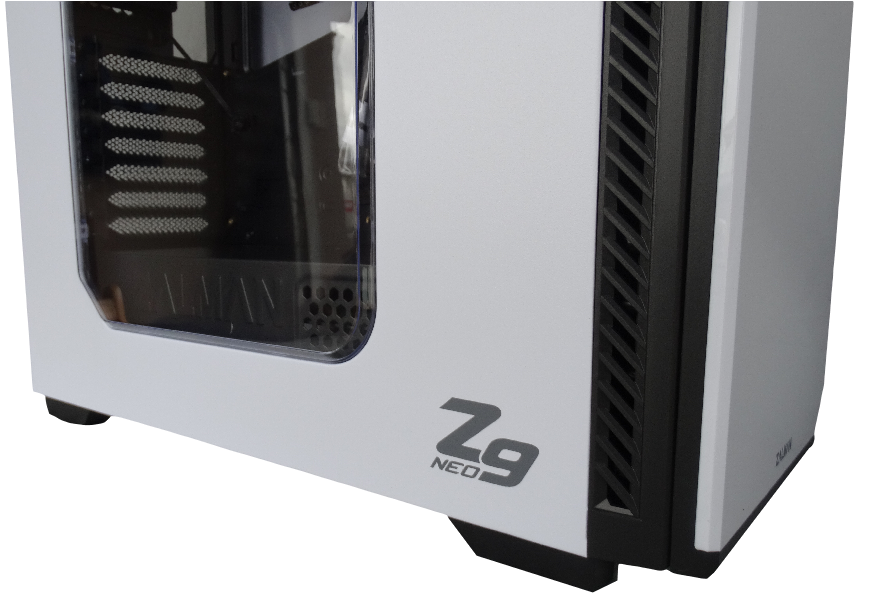 Overall our initial thoughts on the case are great. We are impressed with the amount of pass-throughs, tie-downs and fans. Would have liked to see a better dust cover in the front panel and the ability to invert the PSU by putting air vents in the PSU cover’s top side. Also, four of the five fans are Molex connected which isn’t a huge deal but depending on your PSU could cause space issues if you don’t have many spare ports. So far so good and on to the build!
Review Overview
Structure & Appearance
Ease of Build
Cable Management
Component Compatibility
Price
Touch of Modern
The Z9 Neo is a good budget case that gets the consumer what they need. Few improvements we hope to see but nothing that should stop you from picking up the Z9 for your next case.
 Technology X Tomorrow's Technology Today!
