THERMALTAKE URBAN S71 CASE ASSEMBLY
One of the most important aspects for any computer case is the ease and time it take to complete the assembly of your computer components. Spending upwards of 6 hours to assemble a simple PC just doesn’t make sense in today’s world.
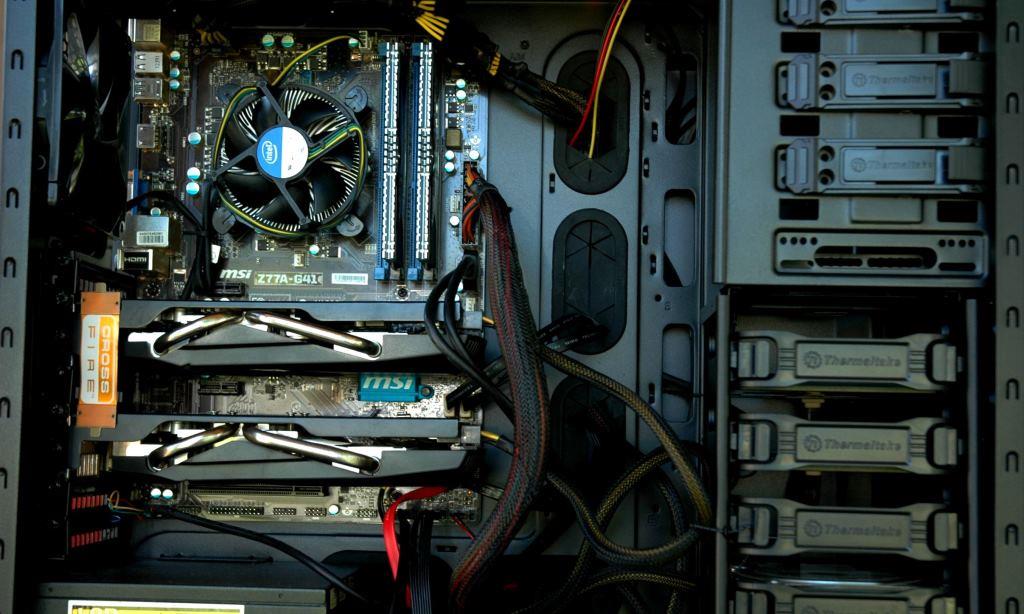
OUR SPECS
- Intel Core i5 3570K CPU @ 3.4GHz
- MSI Z77 G-41 Motherboard
- 2x Kingston HyperX Predator 4GB RAM @ 2133MHz
- 2x ASUS Radeon HD 7770 1GB GPUs
- Ultra LSP750 Power Supply (750Watt)
- Boot device: OCZ Vertex 4 128GB SSD
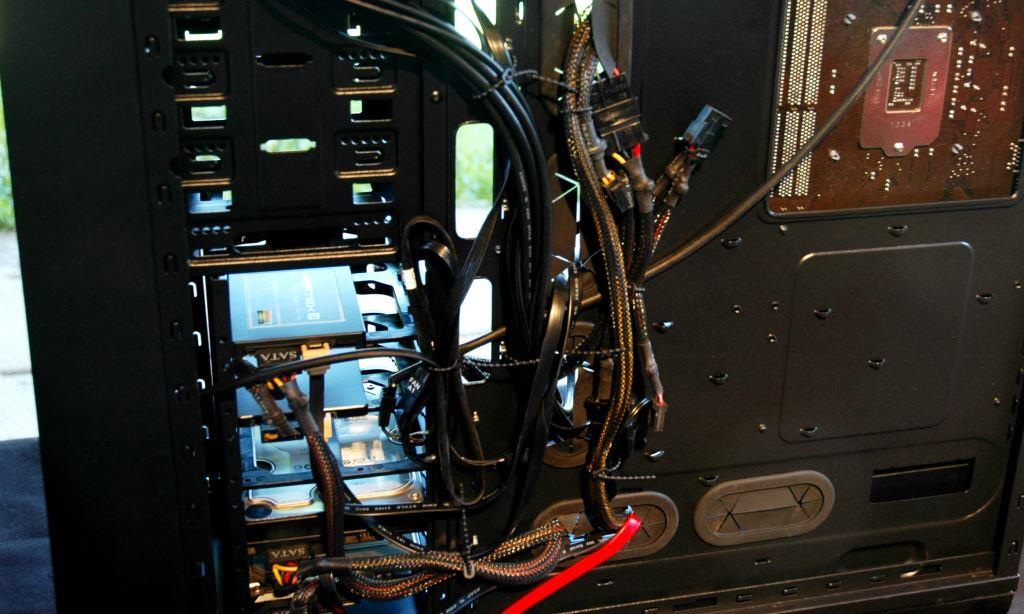
The internal hard drive/solid state drive mounts were easy enough to use to install drives, but they leave very little room for connections once your drives are installed.
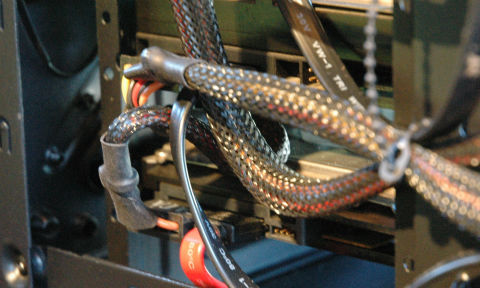
As previously mentioned, the case has a number of anchor points for cable management. These turned out to be very useful. Thermaltake also includes 8 movable ties, which are basically reusable zip ties. These were also handy. There was a distinct lack of these anchor points on the bottom of the case, where they would be useful for wrangling unused power cables near the power supply, but this is a minor complaint.
The case was actually lacking in a few motherboard riser holes, which led us to installing a motherboard with no support on the side nearest the front of the case. This was a distinct oversight on the manufacturer’s part, because it would only require a few extra holes to be drilled and tapped to make the case more compatible with more motherboards. Still, this isn’t a problem for every motherboard, and it’s a problem that can be worked around by simply supporting the motherboard with a couple fingers when making connections on that side.
Overall, the assembly wasn’t difficult for an experienced builder, but people new to assembling computers may need to take a little extra time to figure out cable management.
Review Overview
Aesthetics
Build Quality
Included Features
Ease Of Assembly
Cooling
Great deal!
The Thermaltake Urban S71 chassis is a feature packed, high end case, at a mid range price.
 Technology X Tomorrow's Technology Today!

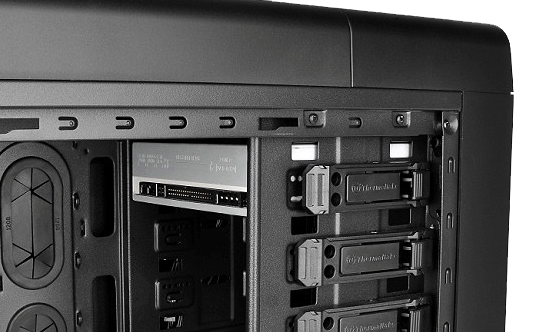
Just one question, how and why did you put that old PATA optical drive in this beautiful new rig, and how pray tell did you hook it up?