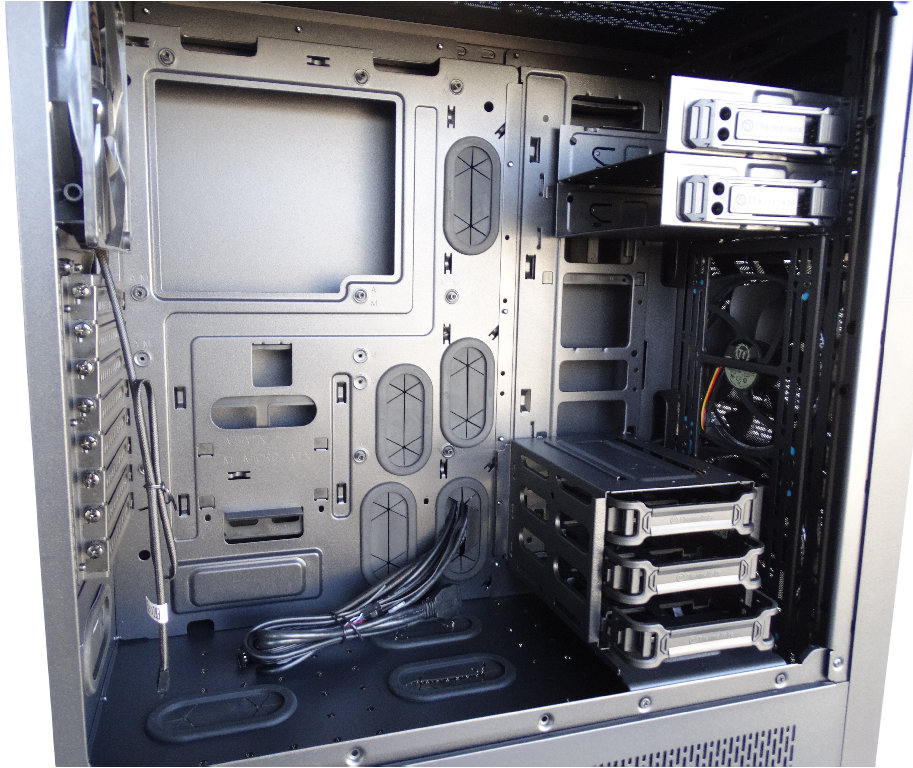
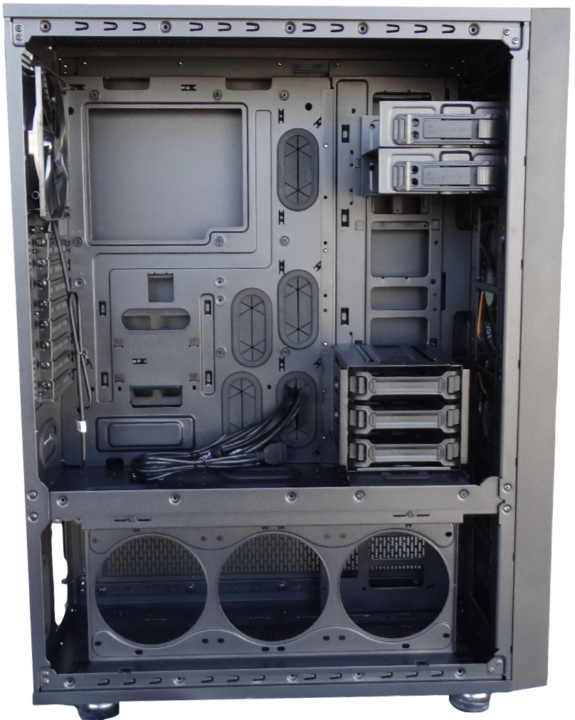
Moving over to the window panel side, you’ll notice there is a split division of the compartments. You have your top compartment which is the F31, the difference is the addition of the bottom compartment. To see the F31 and compare click here! This compartment houses more cooling options as well as the ability to add a second PSU or allows alternative placement of your initial PSU. The interior shows ample amounts of space for any components you wish to add. The X71 supports CPU coolers up to 180mm, VGA up to 420mm and PSU up to 220mm.
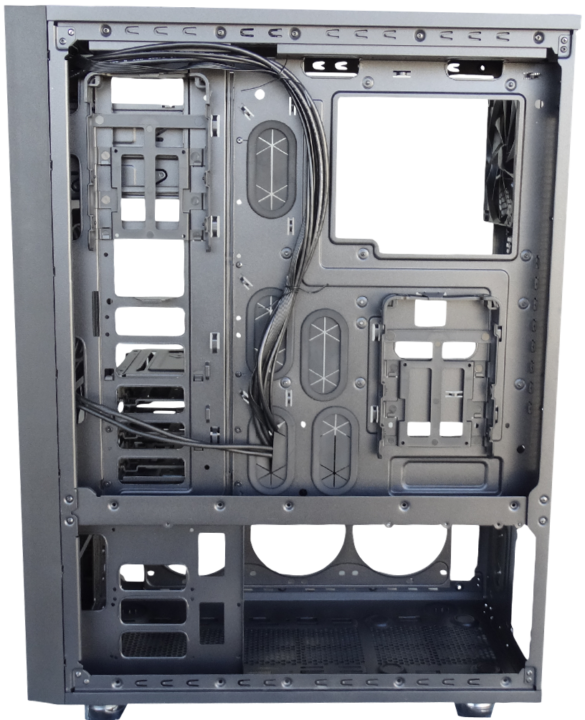
Needless to say you won’t run out of space for your components unless you are putting in an intentional effort to. There is also a large opening for exchanging your CPU cooler without removal of the motherboard as well as an abundance of rubber grometted pass-throughs. Five on the component back itself as well as three on the floor of the top compartment allowing access to the bottom compartment. The two OD bays as well as the three HDD/SSD removable trays are completely modular and can be removed to get to the max clearance size we discussed. All four panels are connected with thumbscrews that stay in the removable panel when undone, this helps from having to keep track of them and we like to see that. Over to the Cable management panel removing that, as well as the bottom compartment panel you’ll see there is ample room for cable management, there is also two additional drive housings which run up the left side, as you can see we have removed the lower of the two and moved it to the right of the case to show alternative placement. If you remove your drive bays from the opposite side you could always take one to this side so you could essentially have three mounted back here.
If you look in the bottom compartment you’ll see there is a mounting wall along the front allowing you to mount two SSD’s there as well. This chassis has endless possibilities and options from what we can see so far. Both bottom compartment panels come with dust covers in the scenario you mount radiators or other cooling options down here.
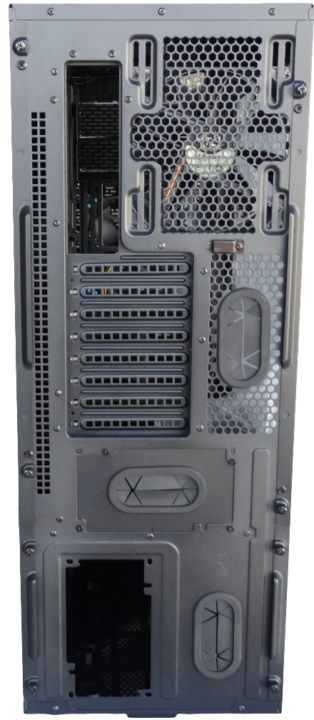
Around the back you’ll see there are eight PCI slots as well as three rubber grometted pass-throughs. One of those is attached to a removable plate which is where you can house a PSU. Off the top of our heads we can’t figure out what we would use these grometted pass-throughs for but in the scenario creativity kicks in with loop cooling there’s always that. There’s also a mouse and keyboard cord lock on the right side, in our opinion we understand the use of this, but is it necessary for such a large case? We don’t think so as we’d be more concerned about the computer contents rather than peripherals in the scenario you are leaving your case in a risky area. You’ll notice also that the PSU slot at the bottom is sideways. This assists you with getting that maximum clearance for the larger radiators.
As you can se, and if you are familiar with the F31 chassis, this X71 is an extended upgrade to it. Not to take anything away from this chassis because the F31 was a great case to begin with, but for those of you who will be installing loop cooling or just looking for that extra space this chassis is going to be a blast to build with.
Review Overview
Core X71 Chassis Features
Core X71 Price
Pacific Loop Cooling system Installation
Pacific Loop Cooling system Price
Lumi Color LED Controller Kit
Lumi Color LED Controller Kit Price
Success!
The combo of the X71, Lumi Colour LED controller & pacific hard tube cooling kit is sure to please any enthusiast's aesthetics as well as offer optimum performance!
 Technology X Tomorrow's Technology Today!

