Looking for something a little different than usual? Have a system you kind of want to show off? Well the Core P5 is the chassis for you.
An open concept that is easy to assemble and best of all you can wall mount it!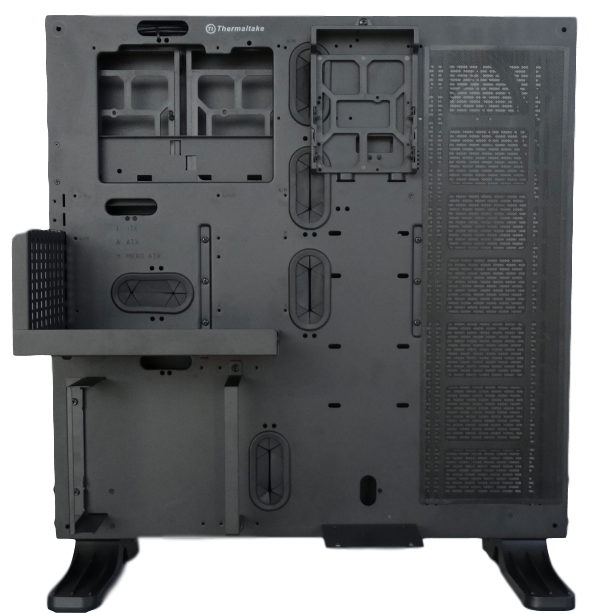 UNBOXING
When you pop it out of the box at first you may have a few questions but be sure that, yes all the parts are there and no it’s not going to bend your brain too much putting it together.
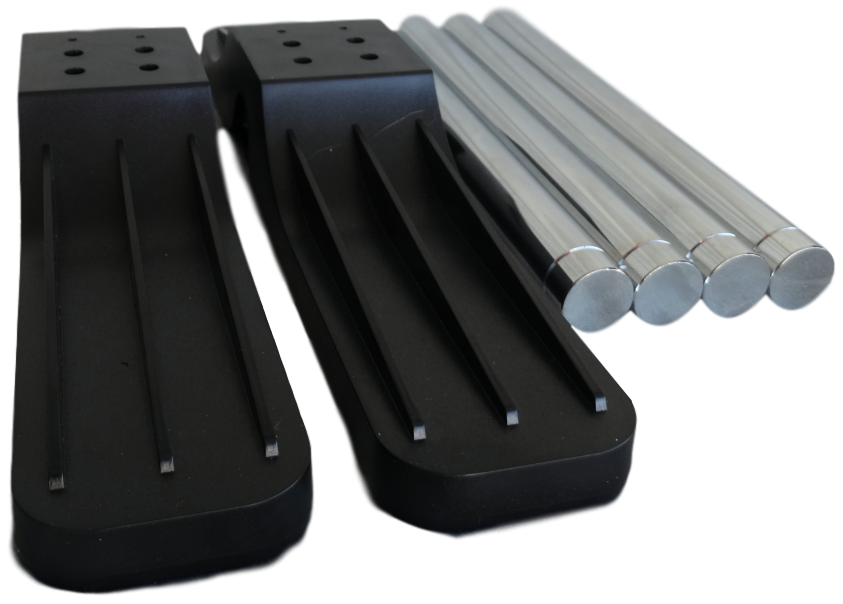
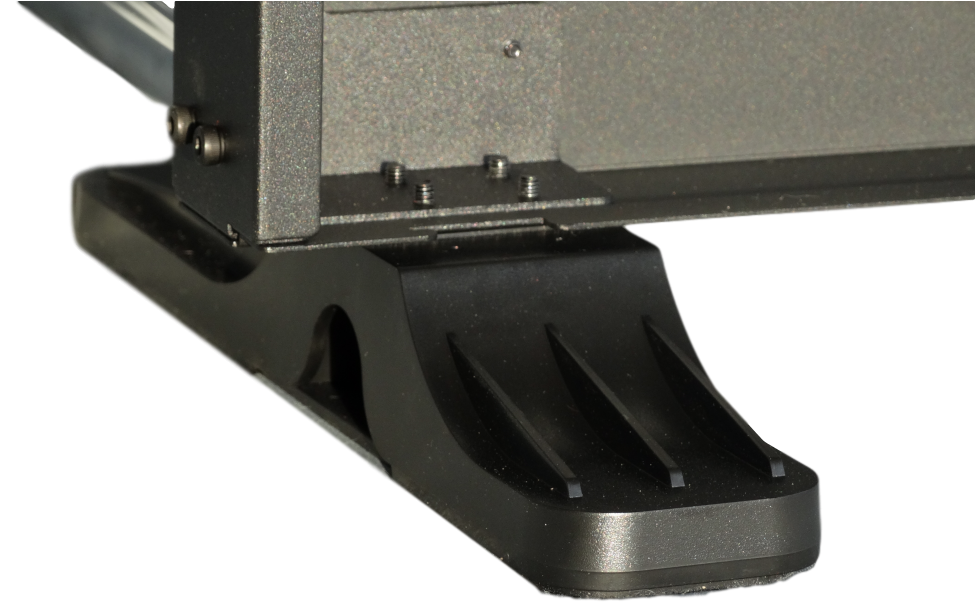
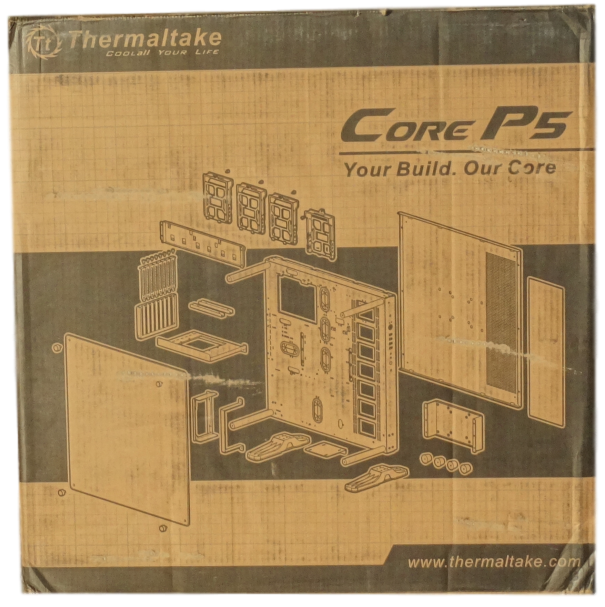
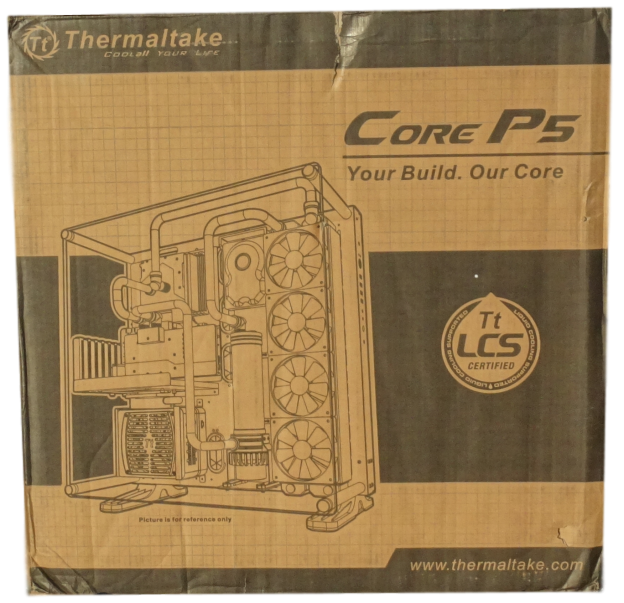
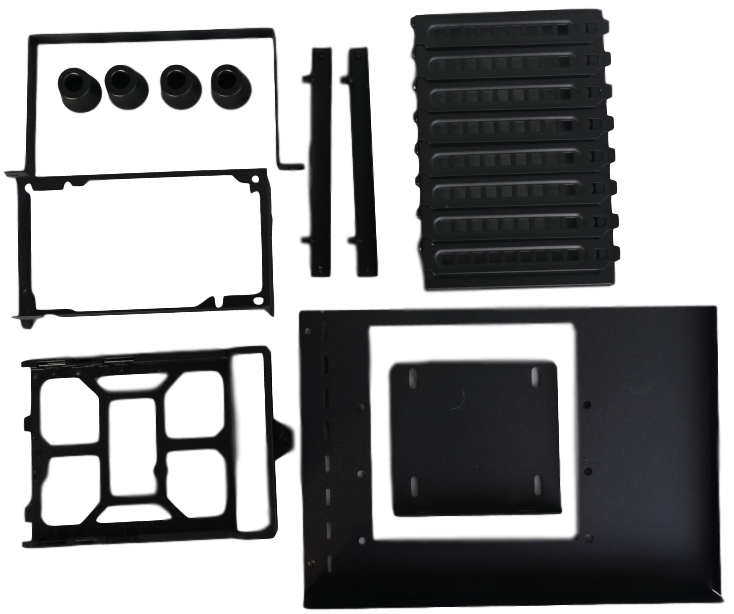
When you take the contents out of the box it doesn’t seem like too much. The top removable foam reveals the acrylic window; it is covered front and back in a protective cover that peels off when ready for assembly. We rather liked the fact they chose to use acrylic instead of glass, it offers up even more options for modification or personalizing. Laser etching or further computer mods if you drilled holes for fans or anything else you really could think of. 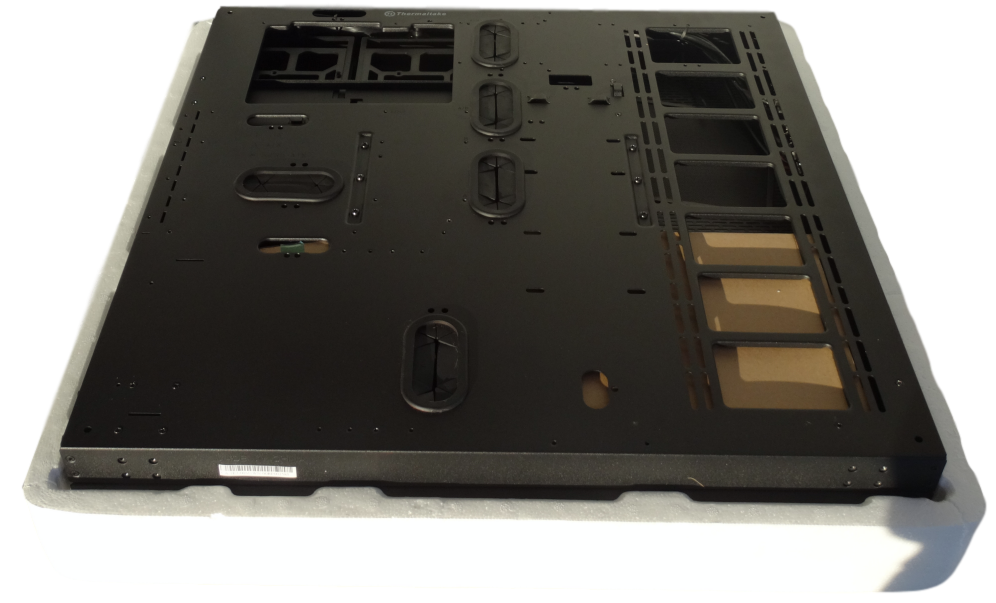 Keep digging and you’ll encounter the main steel chassis, take that out and on the bottom of that foam piece you’ll find the two stand feet and a box which contains the stainless steel supports that give your acrylic window the standoff from the chassis (189mm).
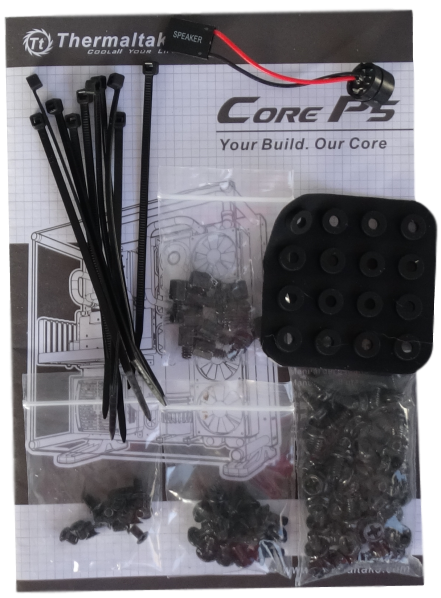
  Unscrew the thumbscrews on the side of the main steel chassis and you’ll be able to pop it right open, where you’ll find the rest of the accessories and documentation for the build. The Core P5 accessory pack includes 45 6-32 x6mm screws, 10 stand offs for motherboard installation, 32 M3 screws (16 5mm and 16 7 mm), cable ties, a nut setter, rubber and a buzzer.
ASSEMBLY & BUILD
One thing before we start the build, take notice that the manual calls radiator side the “left-side”, we aren’t sure why as facing the build it would be the right side but don’t stir too much on that. Building the chassis wasn’t all that tricky and Thermaltake did a good job of making it easy to follow the manual, in twelve languages. We will stick with in English for the majority if not all of this review. 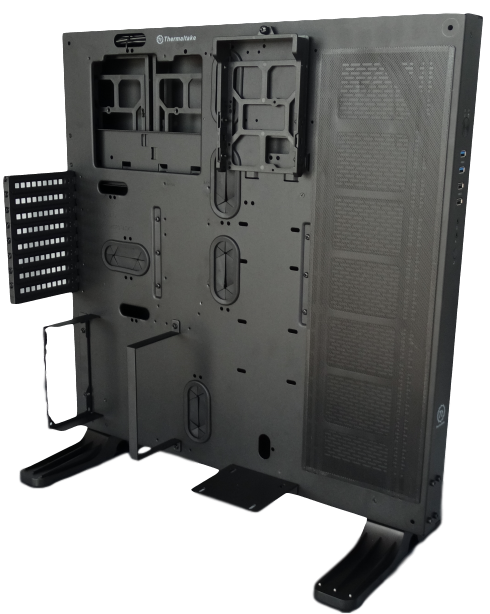 Before you start your build ensure that you aren’t installing a CPU cooler that exceeds 180mm as it will keep you from installing the acrylic window (unless you mod the acrylic). If you plan on using a pump/reservoir cooling system, that the VGA doesn’t exceed 280mm as that will cause you issues with the two intersecting. Given how easy the Core P5 was to assemble, we’ll just focus on some of the specifics we noticed. The PSU bracket is adjustable for the size of your PSU up to 200mm.
Review Overview
Structure & Appearance
Ease of Build
Features
Cable Management
Price
Gold Seal!
Thermaltake's Core P5 is a solid case with beautiful features. This is a perfect case for any benchmarker!!
 Technology X Tomorrow's Technology Today!

Thank you so much for this review. I’ve been searching the web for some information about the screws for the leg or stand of the Core P5. I have mine mounted on the wall for years, now I want to use the legs, but I can’t find the original screws to save my life. Would you happen to know the size of the 8 screws that will allow me to use the stand again? Even if it’s aftermarket, I can go to Lowes and see if I get lucky. Anything you can do to help would be great. Thank you.
Honestly, we no longer have that chassis, but I would recommend just taking one of the foot supports into the local hardware and you should have no problem finding a fit and explore your options from there. A great chassis, thanks for the reminder it’s been some years 🙂