EXTERNAL TOUR
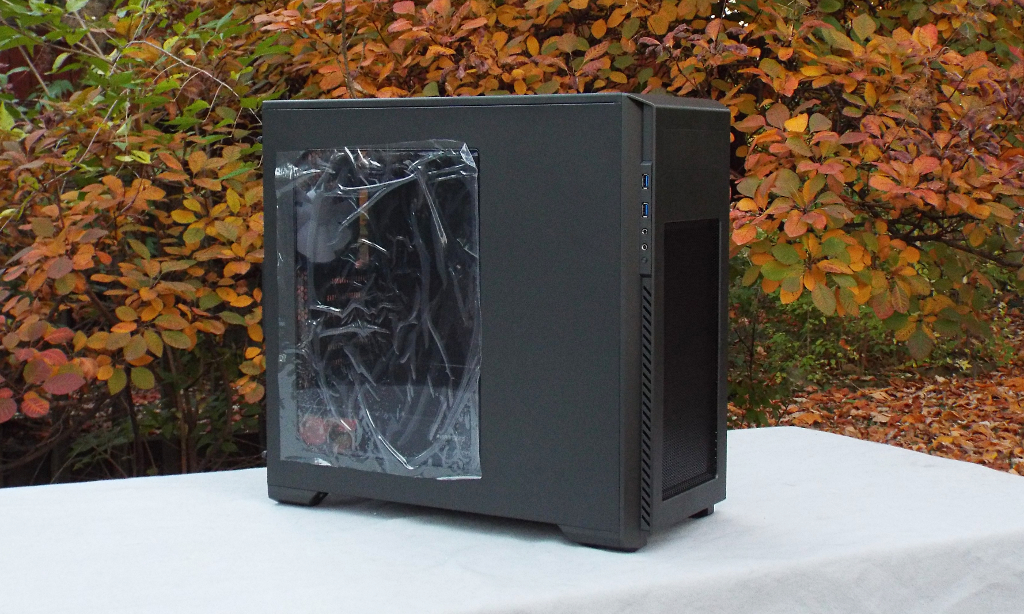
Below is our first view of the Enthoo Pro M free from all of the packaging materials. The windowed side panel is protected on both sides with static-cling plastic sheets. We will leave these in place until we are considerably further along with assembling a system into this chassis. The window measures a generous 250mm x 352mm (9-7/8″ x 13-7/8″) to show off your build. As with many smooth-finish chassis, the surface is a bit prone to showing finger prints, but not as bad as some surfaces we have encountered.
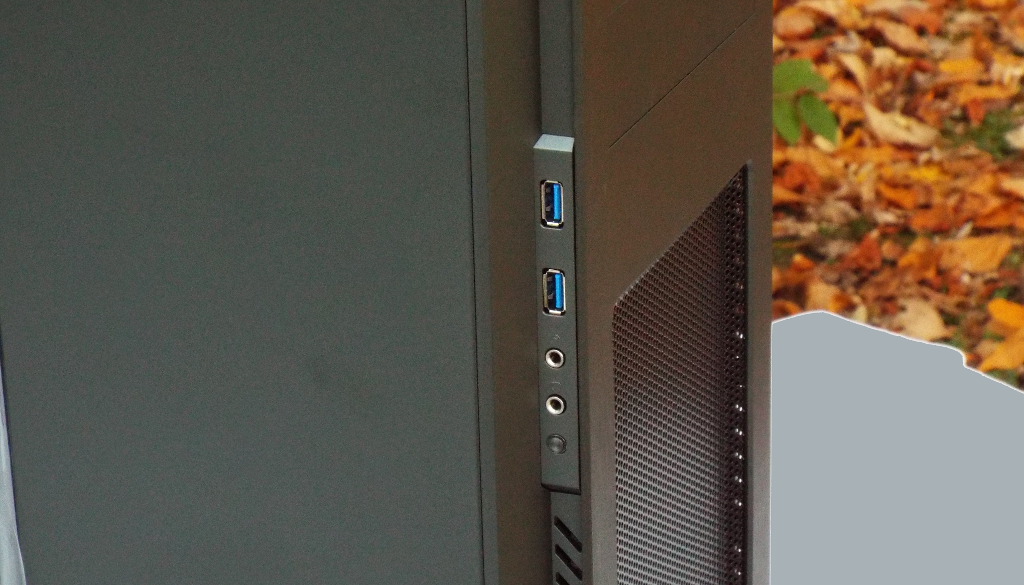
 Along the left and right edges of the front panel are a row of air intake slots for the front fans (if installed) or a radiator to pull air through. At the top left edge of the front panel we see a pair of USB 3.0 ports, microphone and headphone jacks, and a reset button. (The power button is located on the top panel).
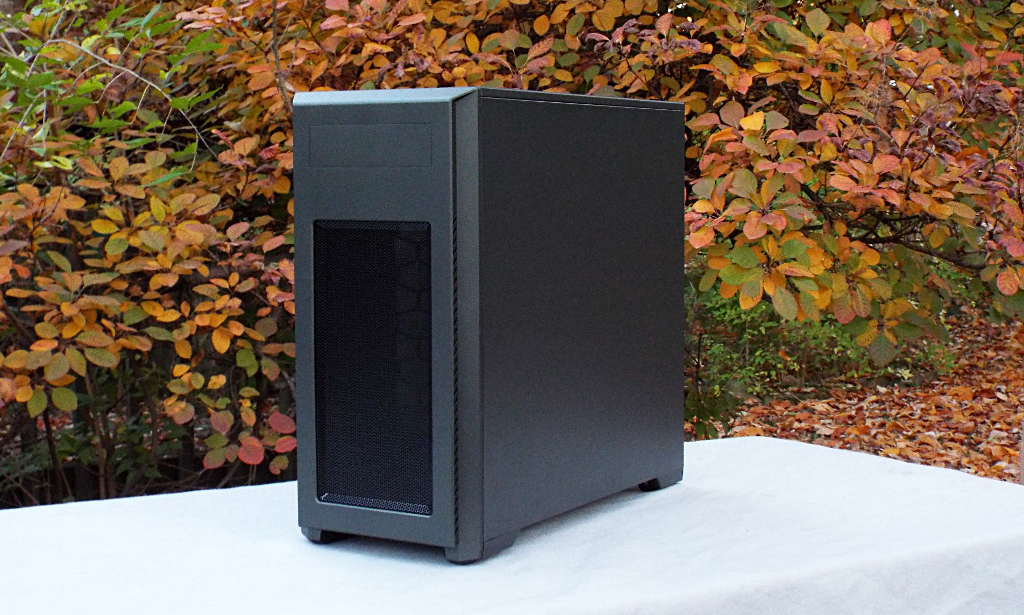
 Looking at the right side, we see a smooth panel with no cable management protrusion. With an above-average 32mm of cable management clearance between the side panel and the backside of the motherboard tray, the chassis is able to maintain a smooth and sleek appearance.
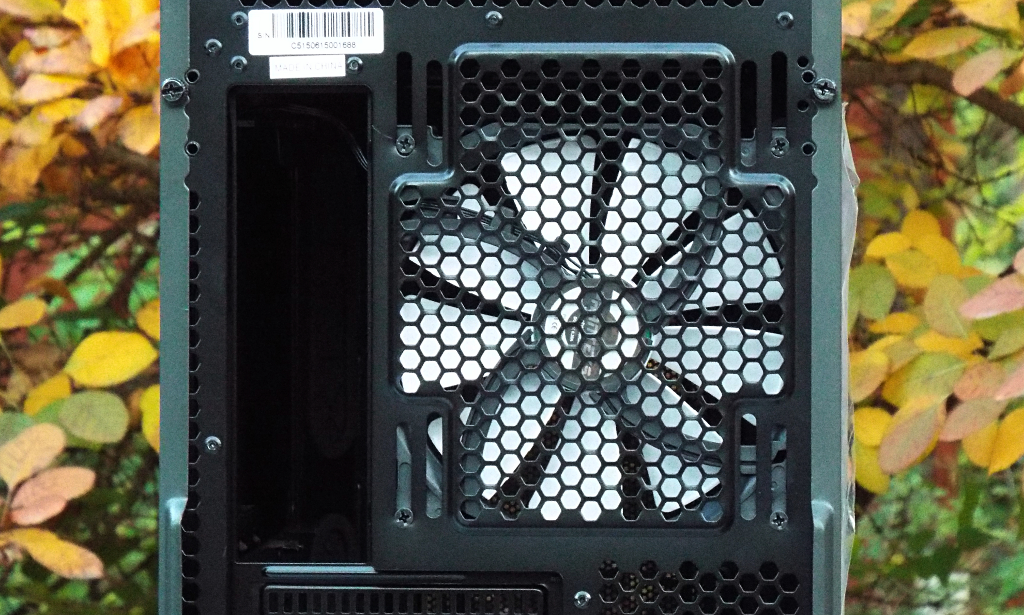
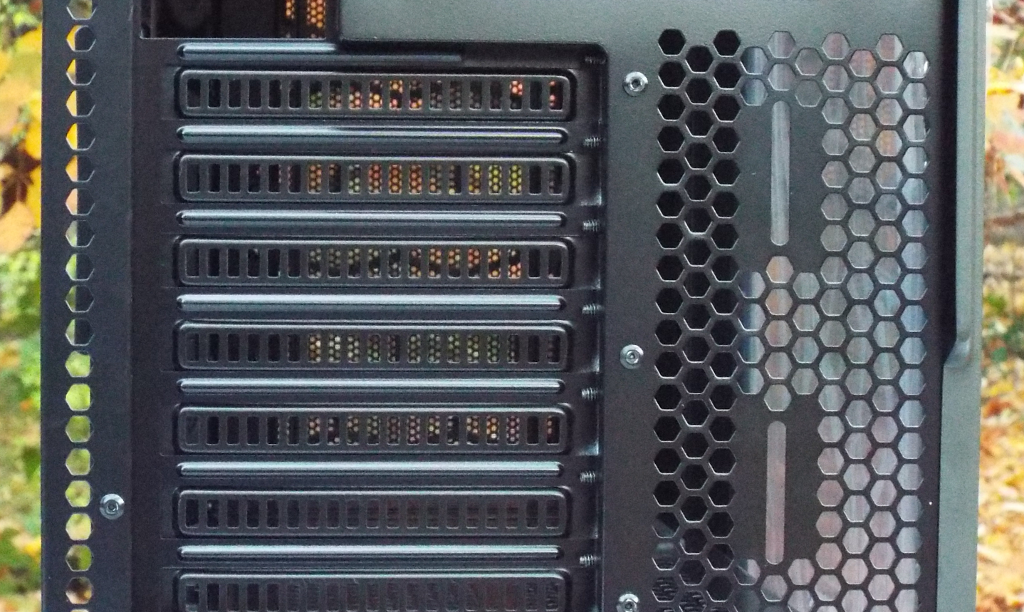
 Moving around to the rear of the Enthoo Pro M, we see the single 140mm pre-installed rear exhaust fan, as well as 8 expansion slots. The Enthoo Pro M supports even eATX motherboards (up to 264mm wide), hence the 8 slots.
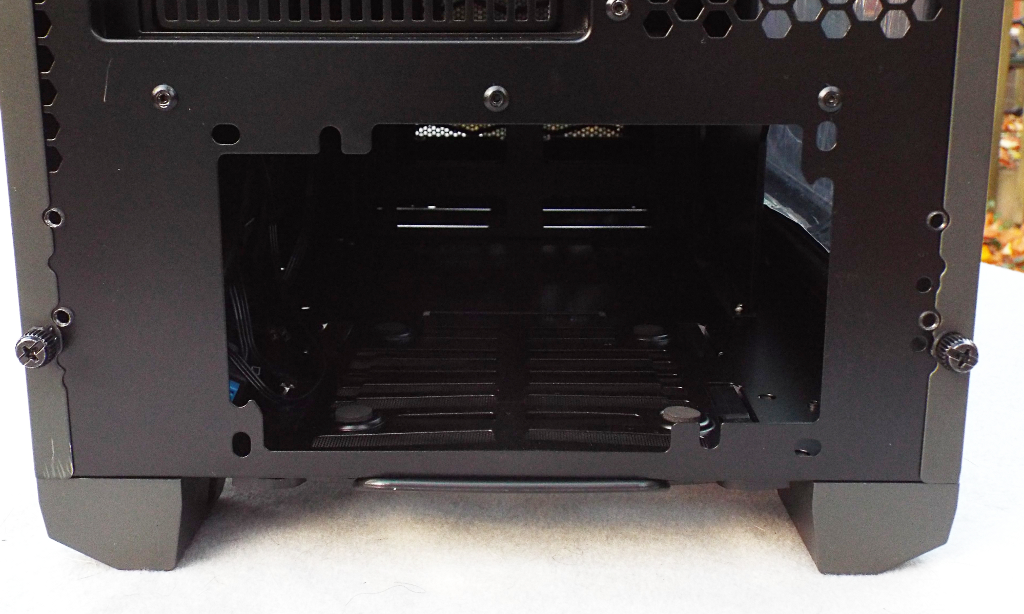
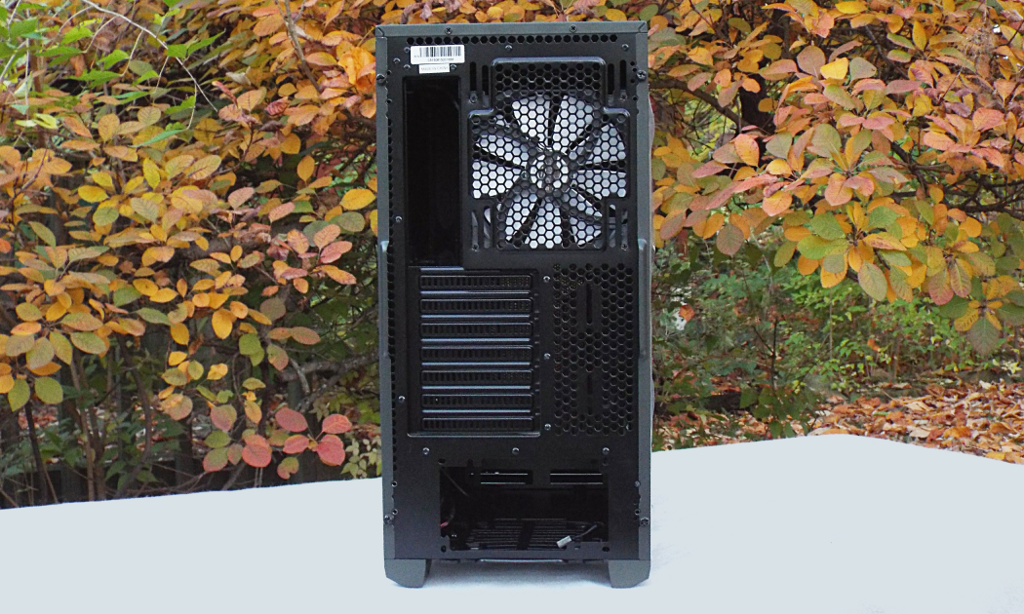 Here we see closeups of the rear 140mm fan and I/O shield openings, and of the eight rear expansion slots. Below that is a closeup of the power supply opening. Note the four rubber pads positioned at the four corners of the bottom filter grille area that support and cushion your power supply.
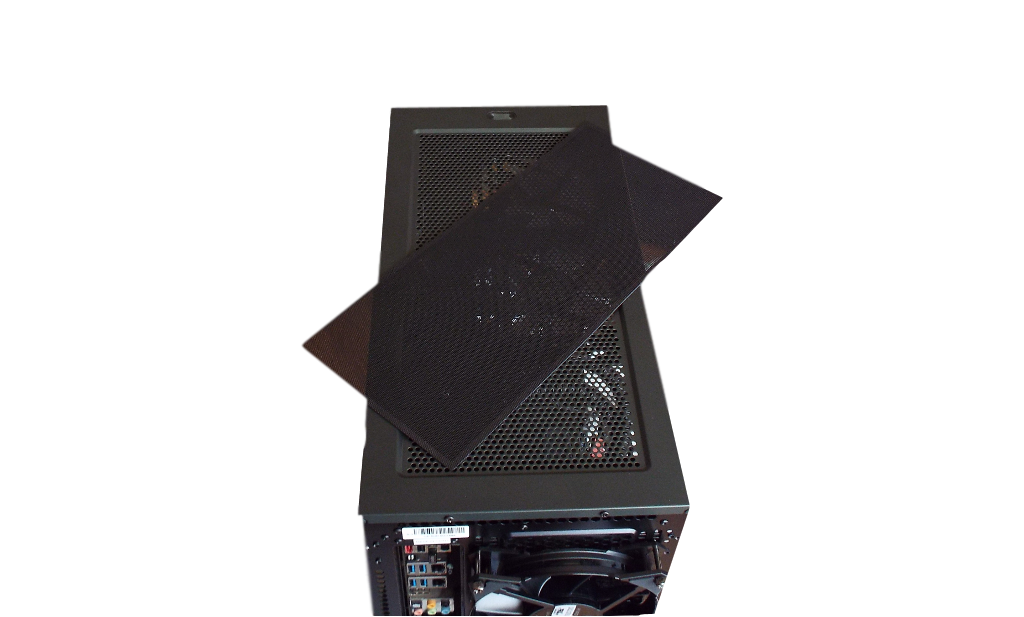
 The top of the Enthoo Pro M features a perforated top covered with a magnetic washable filter that runs the length of the top panel. Up to 3 X120mm or 3 x 140mm fans, or up to a 120 x 360mm or 140 x 280mm radiator can be installed under this area. Note the power switch is at the front end of this panel. It is surrounded by a ring that illuminates when powered on.
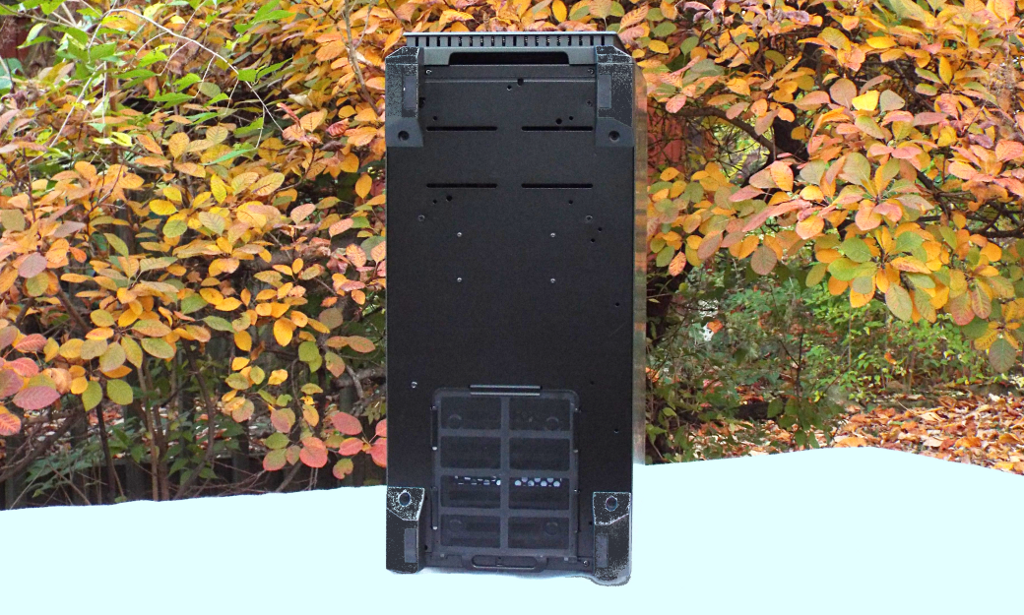
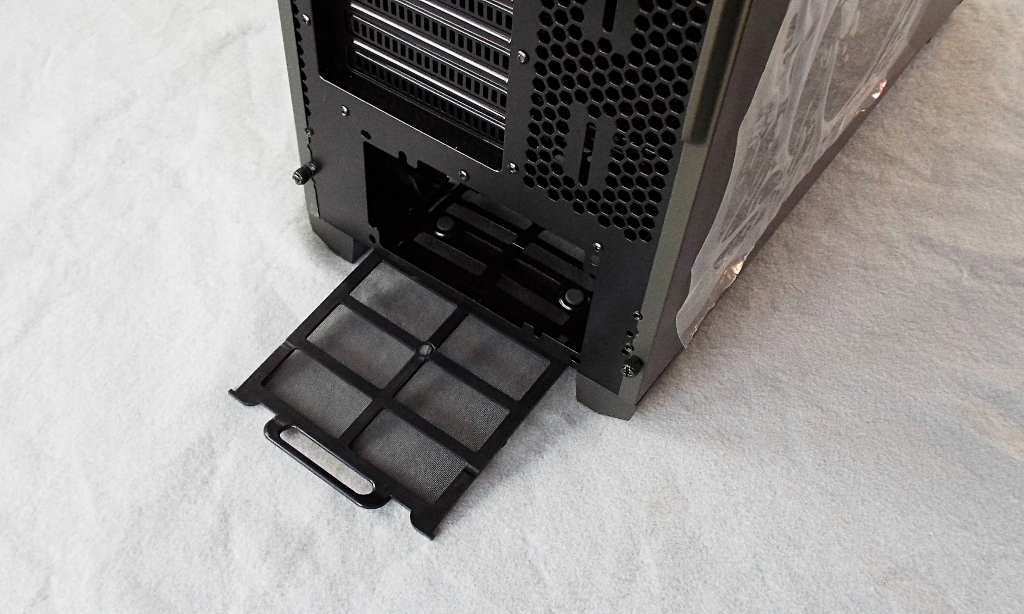
The underside of the Enthoo Pro M offers a removable and washable filter under the power supply exhaust area. An integrated “handle” protrudes at the bottom rear of the chassis for removal. the second image shows the bottom filter slid out of its mounting slots. Rectangular rubber pads are located on the bottom of the “feet” on all four corners.
Review Overview
Product Build
Specifications
Features
Pricing & Availability
Warranty
Builder-Friendly!
The Phanteks Enthoo Pro M is one of the most builder-friendly chassis we have worked with.
 Technology X Tomorrow's Technology Today!

