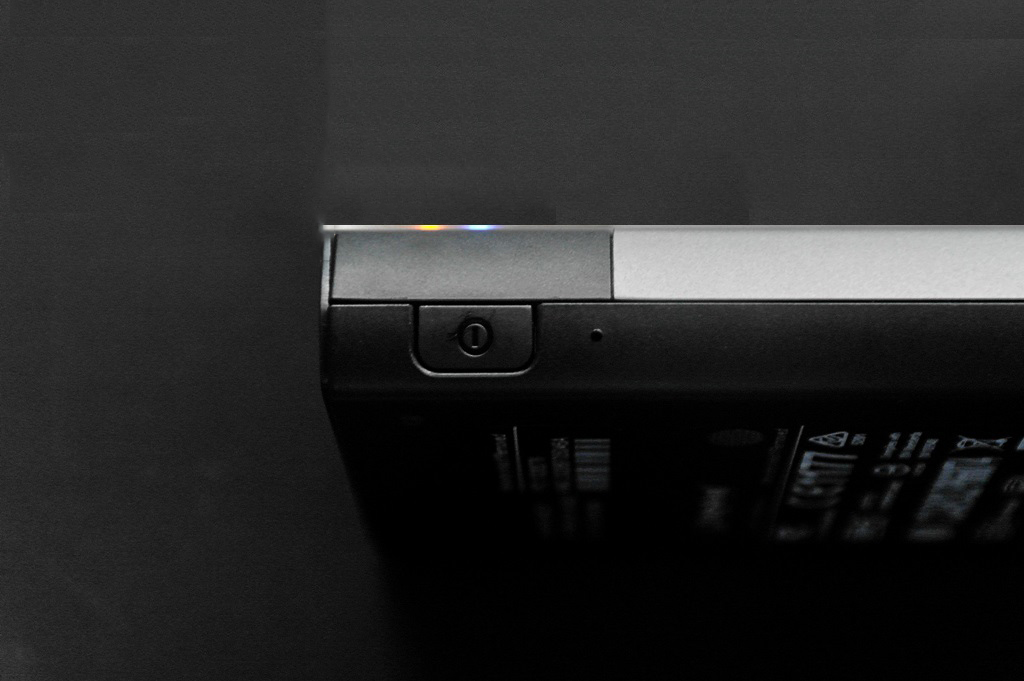
One side of the MobileLite is completely barren, while the other houses the power on/off/mode-select button, as well as a device reset switch:
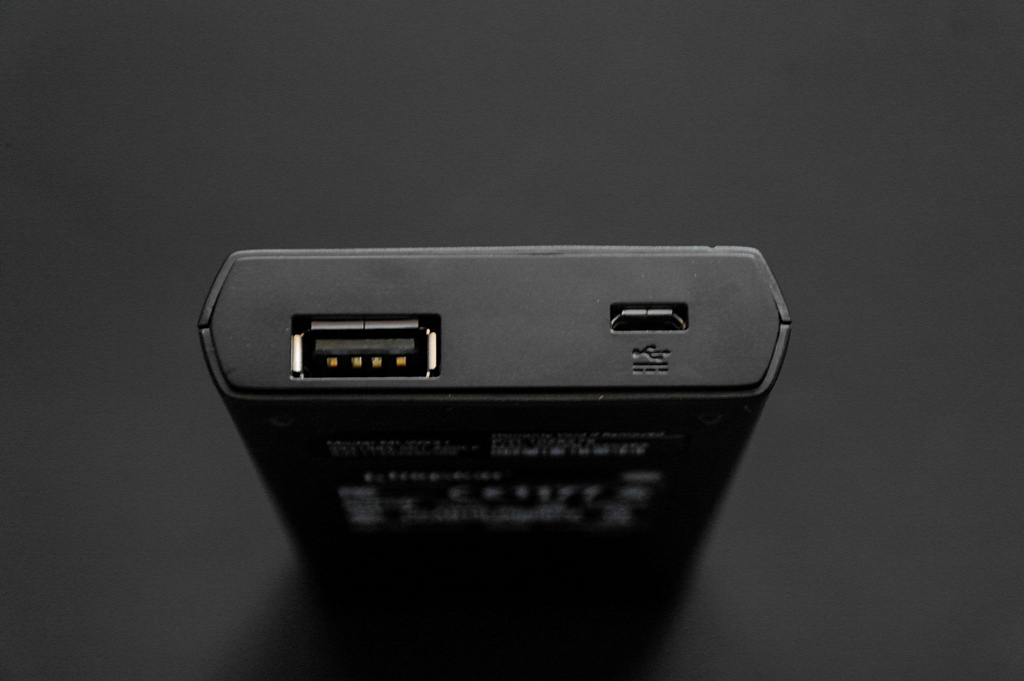
The top of the unit has a USB input for charging other devices and adding expandable storage, as well as a microUSB slot for charging/mounting the MobileLite:
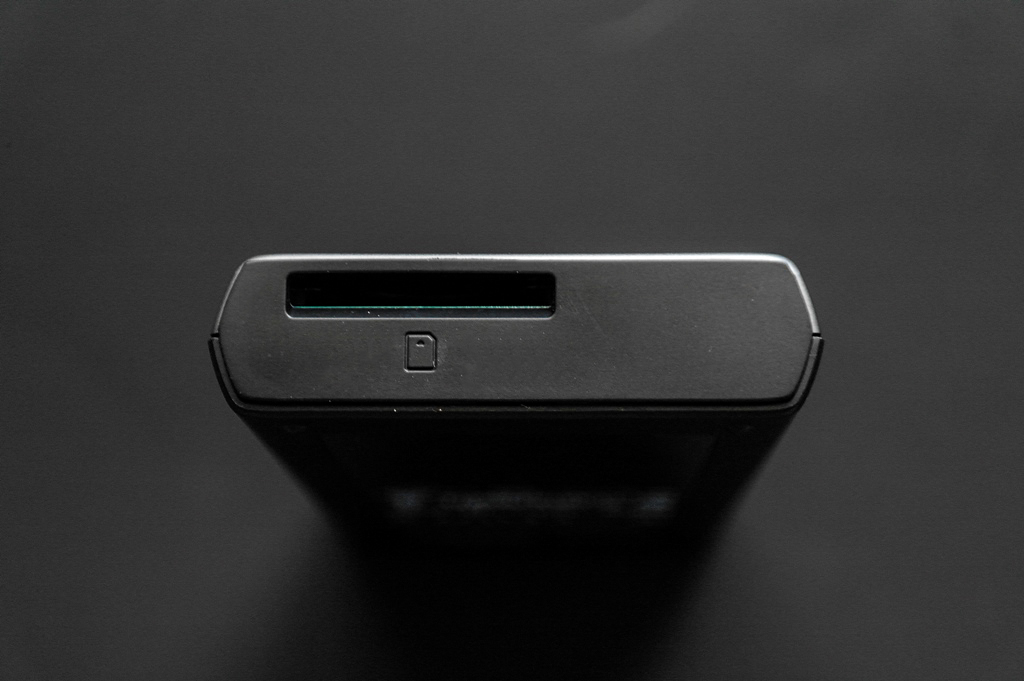
The back has a single SD card slot which will take a plethora of different types of storage using the supplied SD card adapter:
CONFIGURATION AND IMPRESSIONS
The Kingston MobileLite Wireless essentially comes ready for configuration, but the process is a tad complicated if you do not have an iOS or Android device, as at the time of this review only those two operating systems have a dedicated app for the MobileLite. In fact, the device was originally meant for Apple devices, but recently Kingston decided to add Android to the mix.
Fear not; we will be going through the configuration process for all devices. A simple internet browser will suffice if you do not use iOS/Android.
Kingston MobileLite Wireless Modes:
– Hold for three seconds = on/wireless storage mode initiated
– Hold for three seconds = off/wireless storage mode executed
– Hold on one second = battery-backup mode/card-reader mode initiated
– Plug into USB port = charging mode/card-reader mode initiated
*Note: battery-backup mode and charging mode will do the same thing if the MobileLite is plugged into a USB port – i.e. the MobileLite will act as a card reader, recharge itself, and charge another device connected to its free USB port. The one-second hold only matters if the device is running on its own power (not connected to an external USB power source), in which case it will still do everything except obviously it will not be charging itself.
Some of the documentation is a bit off as it says to hold up to five seconds, but reverts back to three for the same process. Take this guide as a documentation of our findings.
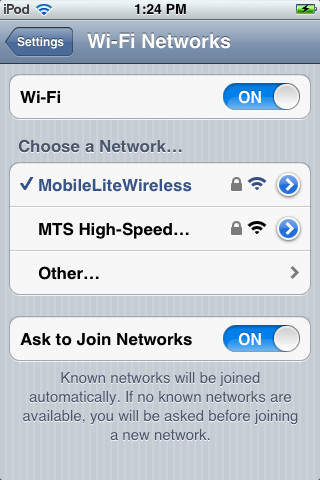
The first step is to turn the MobileLite on, so press and hold the power button for three seconds. The hold count is crucial, otherwise you will end up using a different mode. One green and two blue LED’s will power-on indicating power, wi-fi, and internet accessibility respectively. The MobileLite will broadcast an unsecured wireless signal named ‘MobileLiteWireless’ to which you will need to connect regardless of device.
iOS APP
Let us start with the iOS app first. Simply download it from the ‘App Store’ and launch. The app is specially made for the MobileLite Wireless, so you will see it show up. Keep note of the default LAN IP of the device, which is 192.168.200.254. Once the device is paired to your current network, this IP will change. Unfortunately the documentation makes no mention of this default IP, and it is not present on the device either, so be sure to write it down so you can get into the interface settings (or check your network properties via the network adapter to view the IP).
 Technology X Tomorrow's Technology Today!


