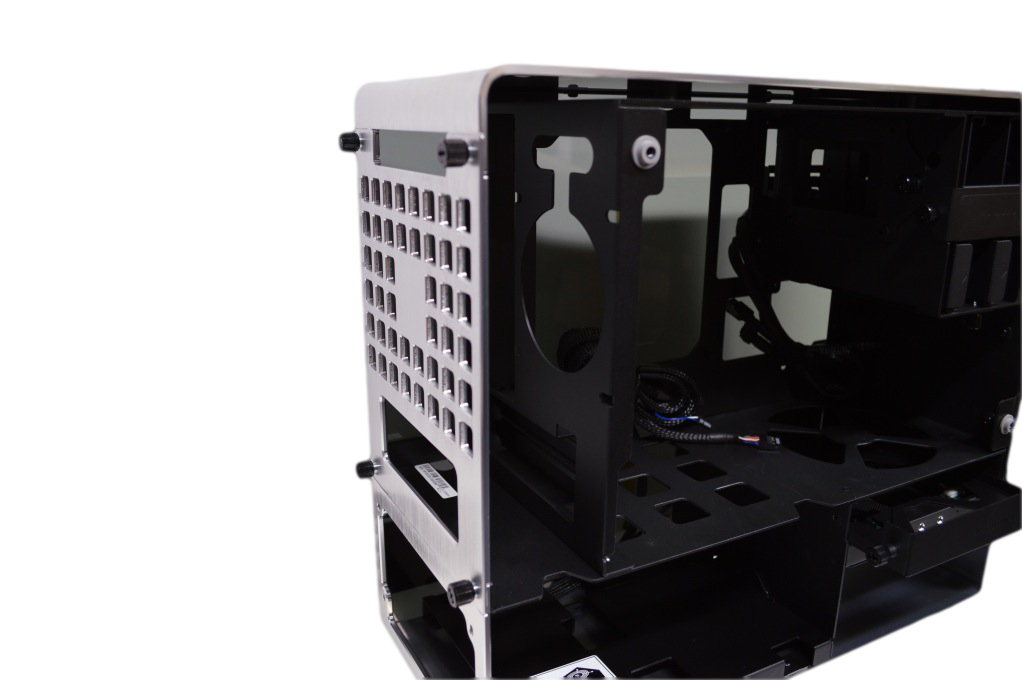
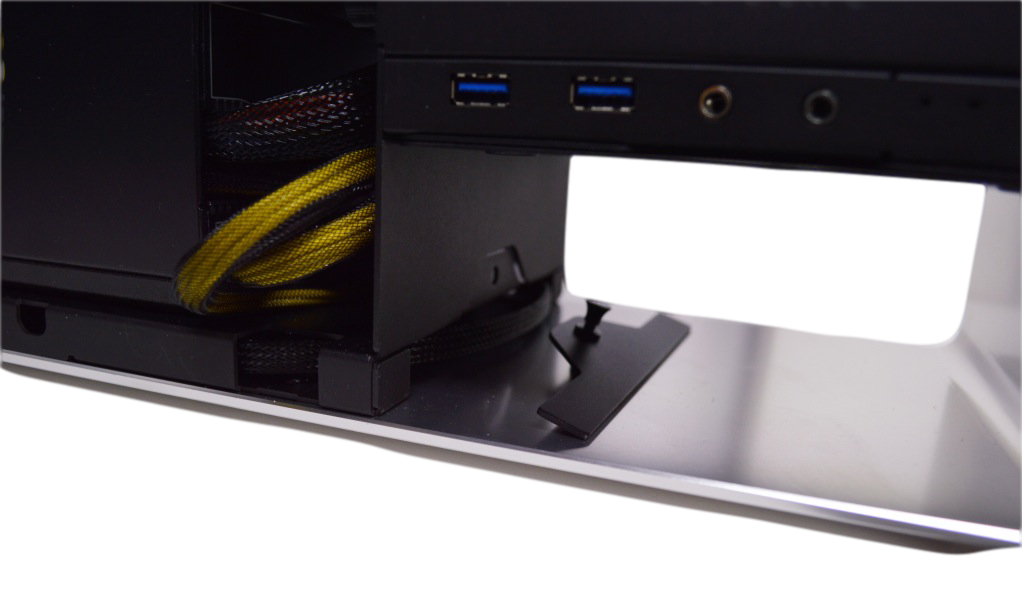
Also found on the back, just slightly more interior than the removable piece of aluminum, is where we connect our prized peripherals to our motherboard via the input/output panel. We found that connecting your peripherals, after you have placed your glass side panels onto your system, can be hard as there is not much room to position your hands. There is just shy of 2.5″ to maneuver your hand and a USB cable within this space. However, once the peripherals are installed, and the side panels are put on afterwards, the clever peripheral management is exceptional.
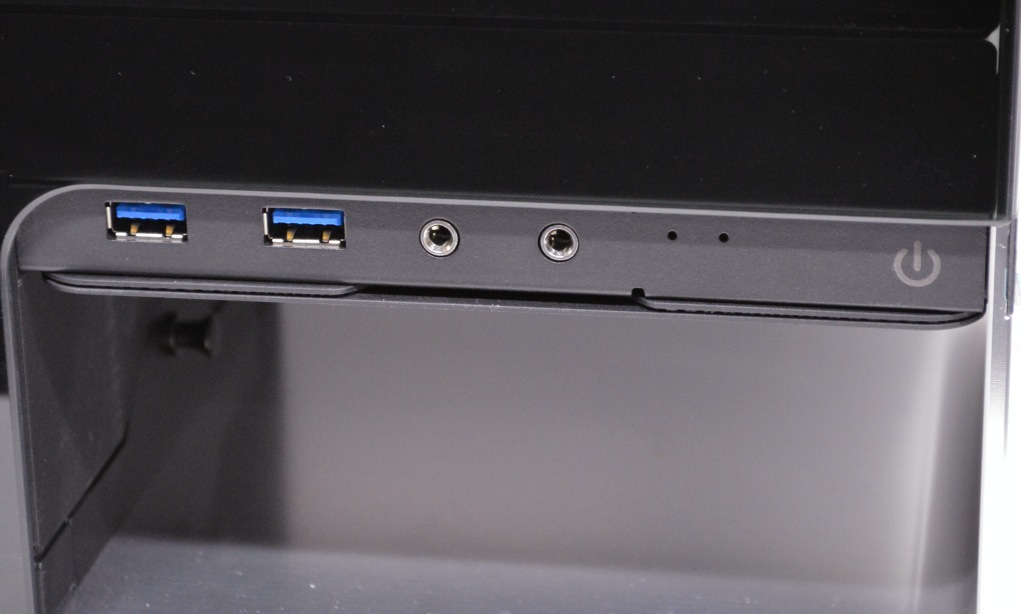
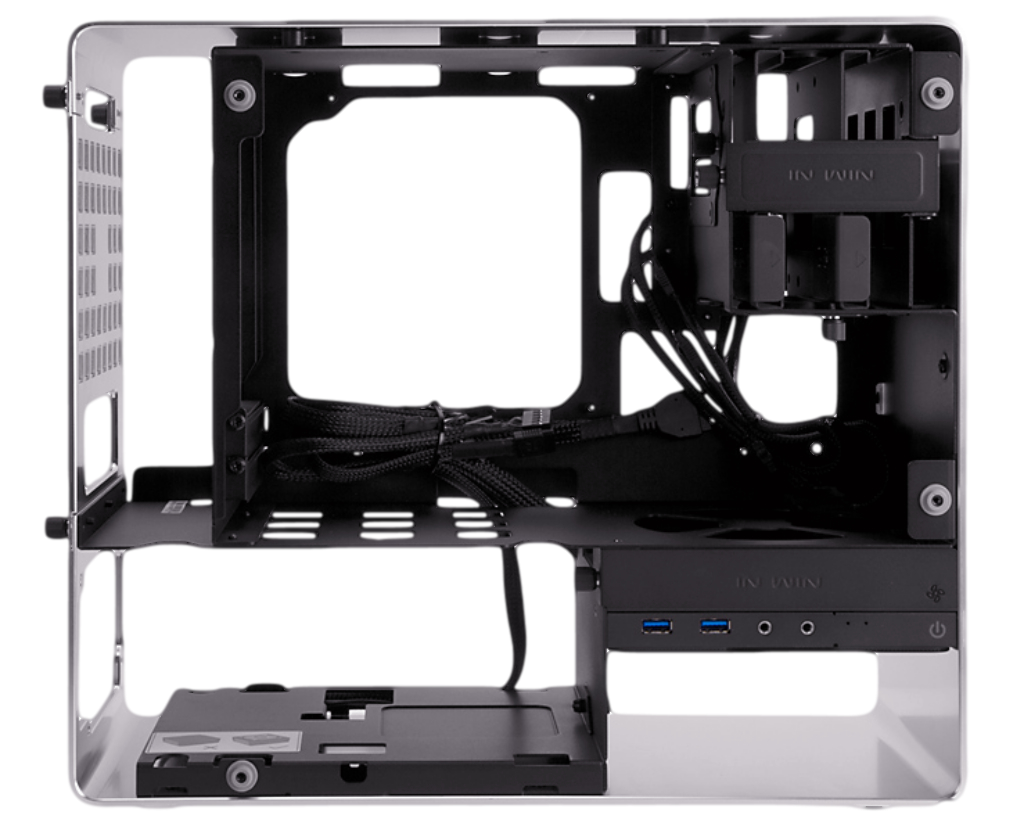
The input/output panel features two USB 3.0 Super Speed ports, two HD audio ports, a disk drive status indicator, a power indicator, as well as the power button.
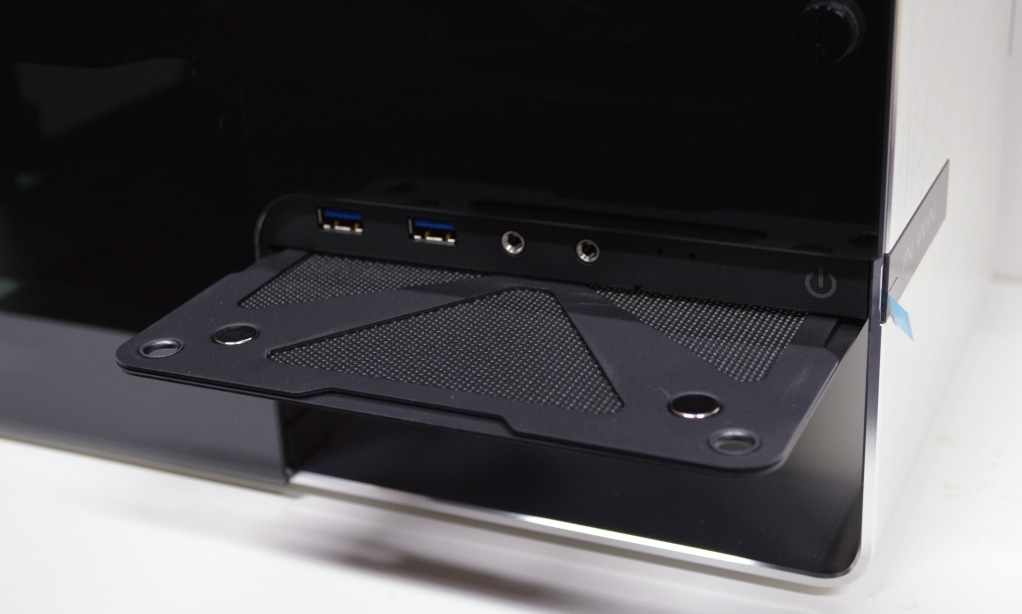
Underneath the input/output panel there is an opening that allows for airflow from the above 120mm chassis fan, which is concealed by a magnetic filter.
The magnetic filter is to provide protection from unnecessary dust flow from the hidden 120mm chassis fan. Throughout all of our use, we found this fan to be very important as we have ours set to blow out the excess hot air produced by the graphics card.
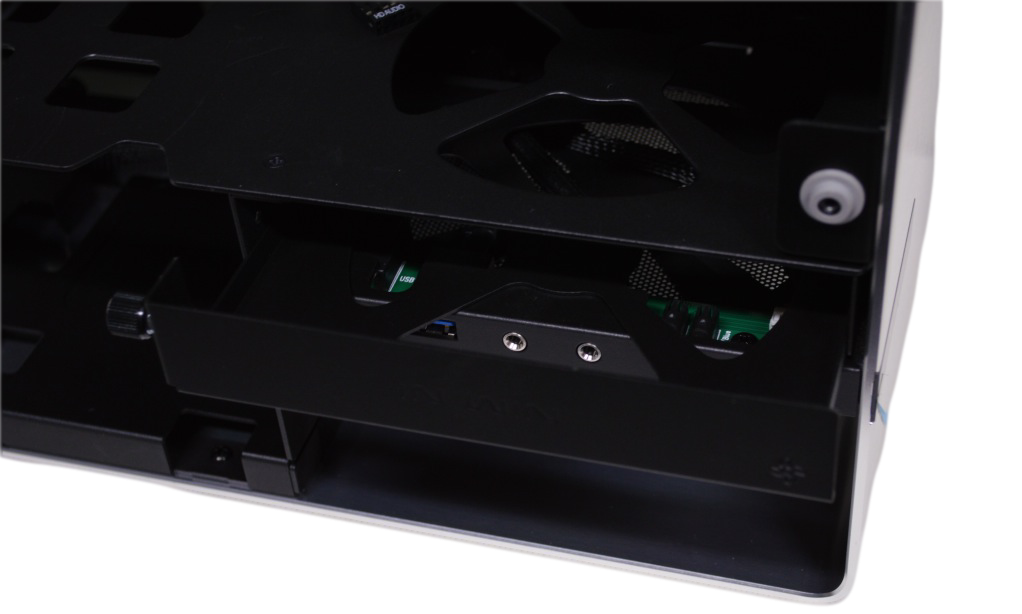
In this opening, there is also a hidden slim optical disk drive. After removing a small door, an opening is revealed that allows for you to install a slim optical drive.
INWIN 901 MINI-ITX CHASSIS FEATURES
It is quite often found that Mini-ITX motherboards are accompanied by chassis’ that feature little to no cable management, with the emphasis being aimed towards keeping the chassis as form fitting as possible. INWIN has done an exceptional job at providing options of managing the cables of your system. It was quite surprising, and refreshing, to see such innovation put into the gorgeous design.
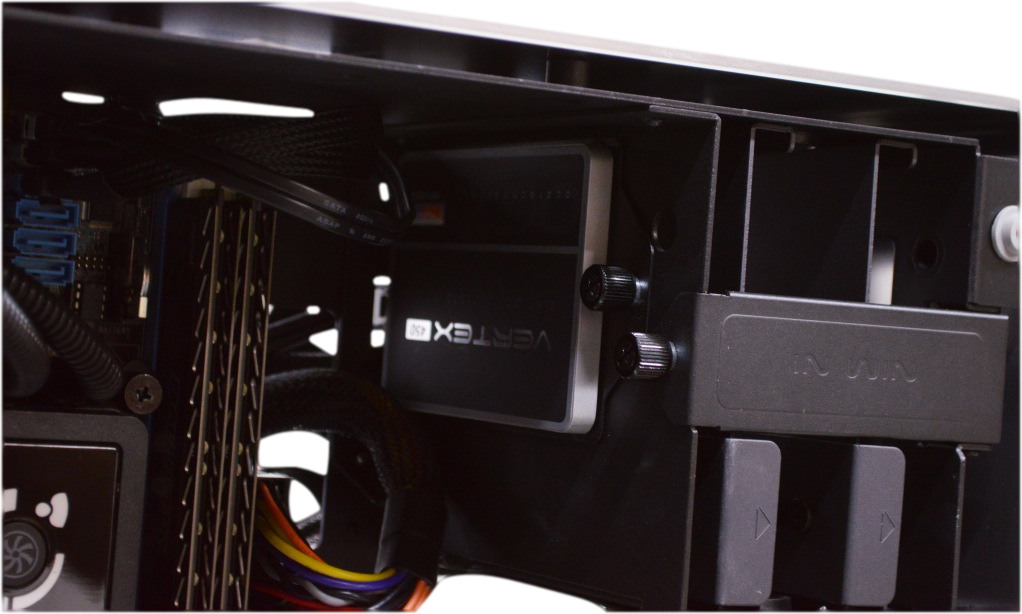
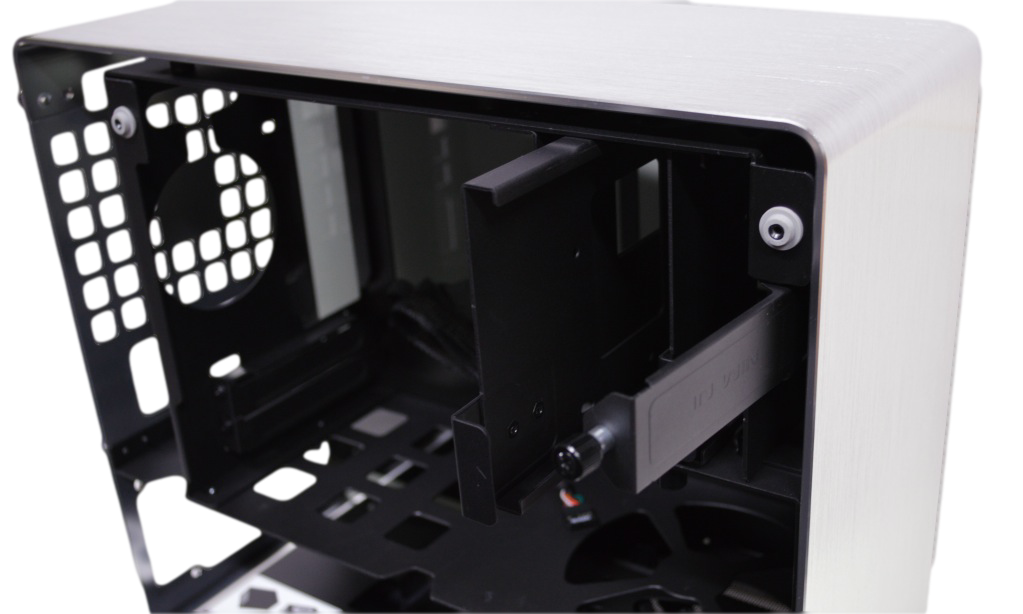
Within the INWIN 901 chassis, there is a drive bay that allows for up to four 2.5” disk drives to be equipped.
Two drives can be mounted on the side and the bottom of the drive bay, while the other two drives can be easily removed, which just happens to accommodate our testing standards immensely.
Review Overview
Design & Features
Ease Of System Assembly
Product Quality
Availability
Pricing
Irresistibly Gorgeous!
The INWIN 901 Mini-ITX PC Chassis is gorgeous, functional, and innovative. The price point is higher than most Mini-ITX Chassis, but then again this is not your normal chassis.
 Technology X Tomorrow's Technology Today!

It’s an interesting case but I have a doubt. Please, tell me which model
of the liquid cooling system are you using in this installation
example. I can see that the brand is Corsair. I need to know if the H80I
EXTREME is compatible, which has double fans or the HYDRO H60 which has
a single fan in the radiator.
Thank you very much
Thanks for reading!
I am using the Corsair H80, and I slapped on two fans on either side.
https://www.corsair.com/en/hydro-series-h80-high-performance-liquid-cpu-cooler
It’s a great cooler, I have had no issues with it what so ever. I have been using it in what used to be my primary testing system, but I bumped up to the H100 in my new system.
But how did you install it? The fan diameter is 140mm and the case holes are for 120mm fans. Can you send me a pic so I can understand you? Did you make the holes by yourself? Thank you
It is the H80 not H100.
I bought all the pieces for building my RIG in this beautiful case. It’s really elegant.
But now I have another doubt. The internal slim ODD connectors are a SATA cable and a two-position MOLEX connector that I don’t know where I should connect it. I suppose it’s for the supply voltage. Now the question is: Do I need a special connector or where should I connect it??? No explanation I found in the documentation.
Thanks