UEFI BIOS OVERVIEW
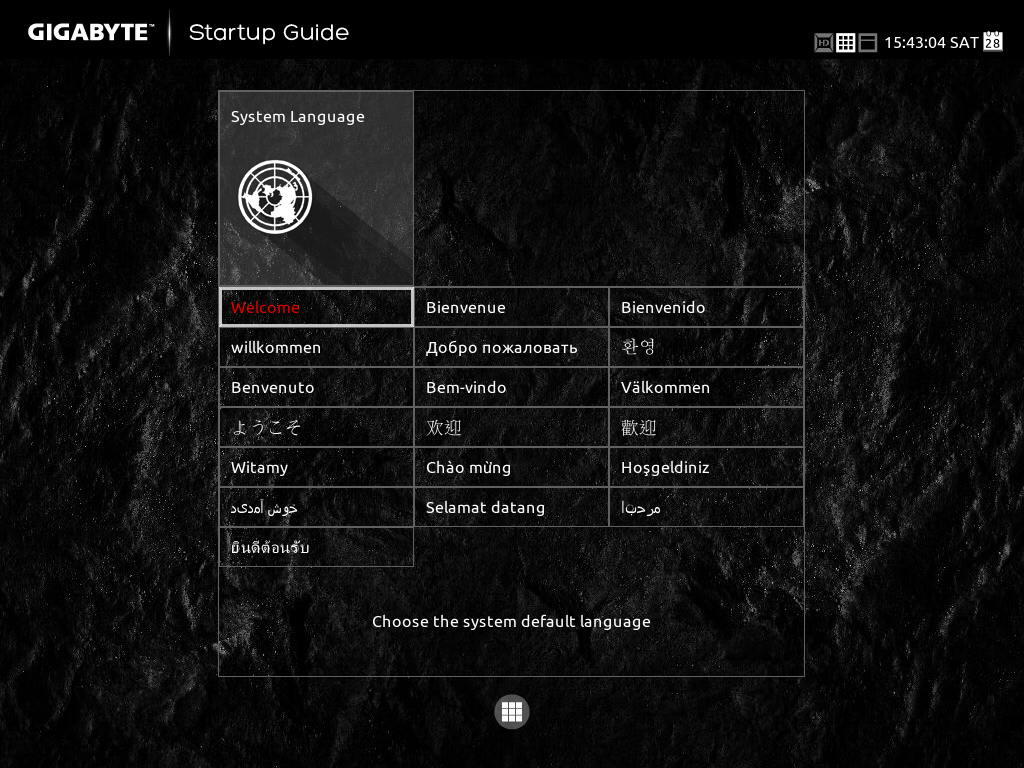 As we see here Gigabyte has given a makeover to their UEFI and it looks elegant and understated.
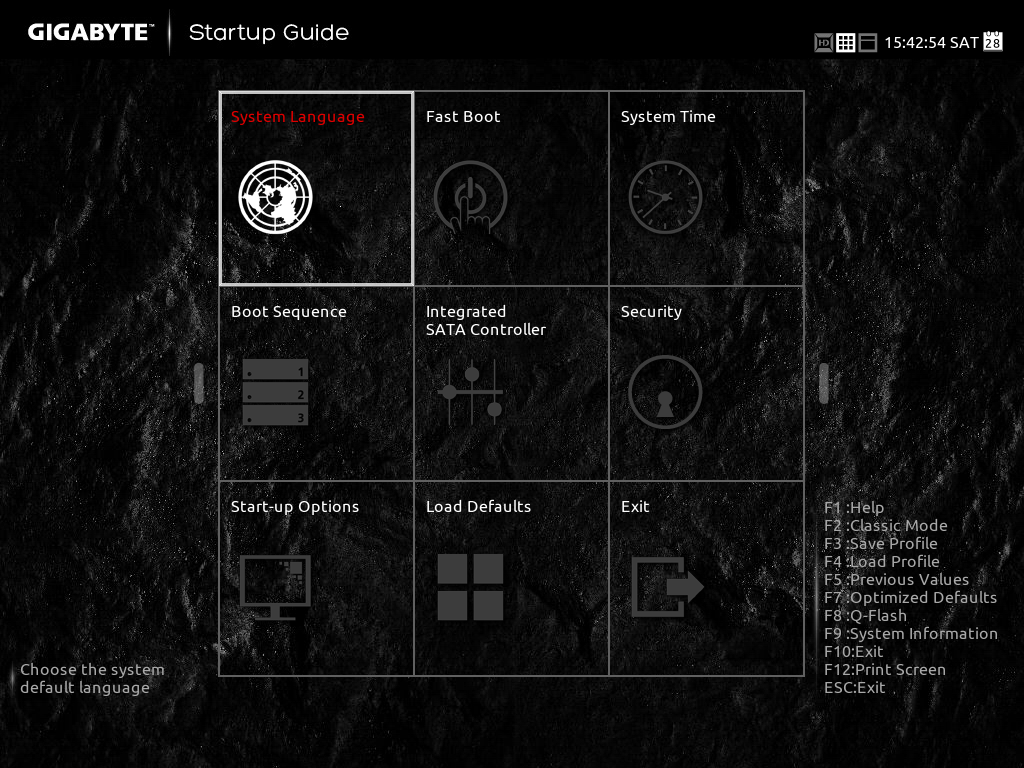
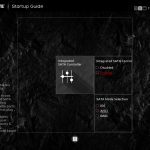
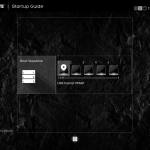
Here we show off the Startup guide, by moving over to the of the menu allows you to go to their classic UEFI BIOS while if you go to the left you see the newer UEFI which we will go over in a bit. Now let’s get into what can be changed here.
One of the options is the ability to change which mode you start up in. “Classic Mode” the older version of UEFI “Smart Tweak” and “Smart Tweak HD” which is the newer UEFI Implementation in HD … You probably figured that out without needing our explanation. Moving on, we have the ability to change SATA options like using the integrated SATA Controller and the SATA mode. Wrapping up you can change your boot device easily as well. We like Gigabyte having this simpler menu for less advanced users fixing common issues.
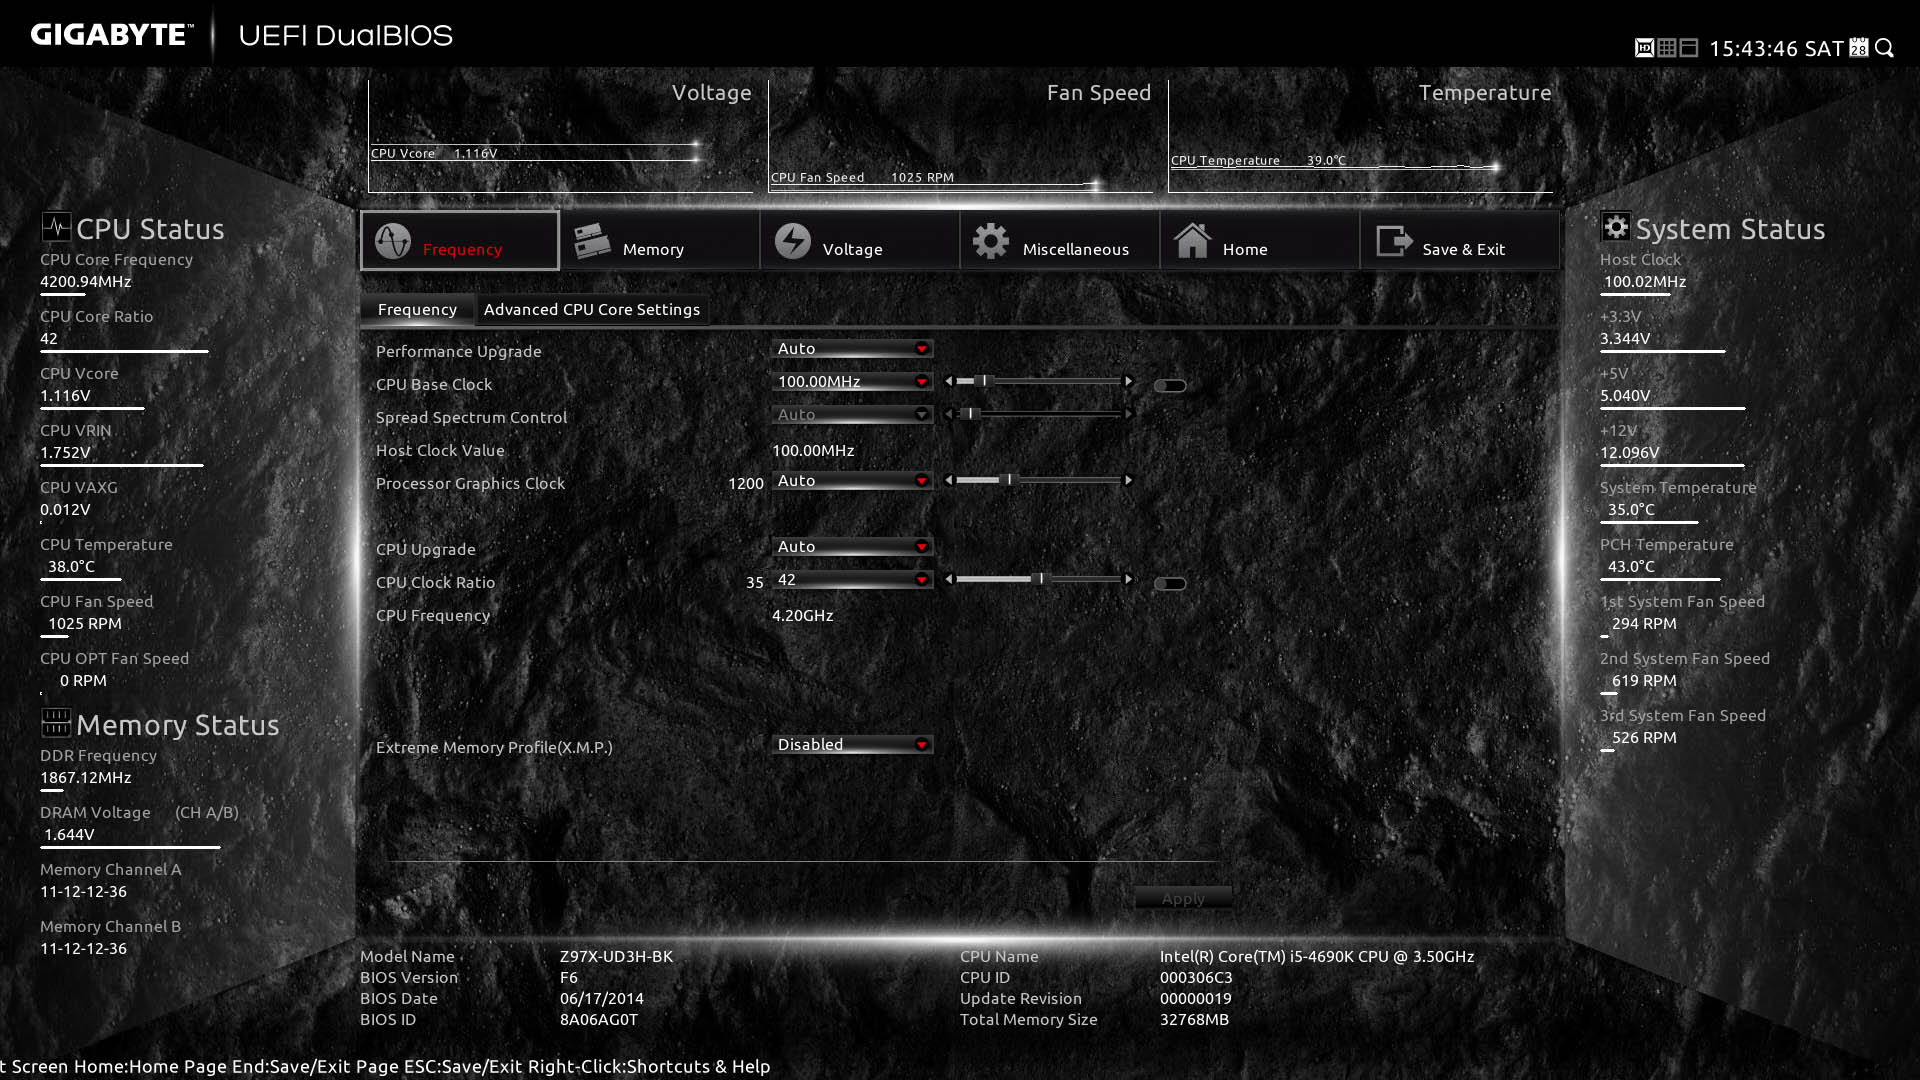
One of the things that will be useful to most users is the layout of this bios, with the CPU and memory status on the left, voltage fan speed and temperatures on the top, overall system status on the right as well as some system information on the bottom. This is invaluable to most enthusiasts and is a feature we love.
This is the Frequency tab and here you can change things like clock speed on your CPU and integrated GPU as well as enable Intel X.M.P. profiles. Also next to it we have the Advanced CPU core settings which we will get into in a bit.
Here we can also see the performance upgrade option for those of you looking for a quick and dirty overclock. We would not recommend going for the 60% performance boost or above as most CPUs cannot do this easily. Next we will cover the advanced tab where things like CPU Uncore frequency is listed as well as PLL (Which we recommend leaving off) Turbo boost, Hyper threading as well as CPU C States.
The next tab is the Memory, which allows changes to speeds XMP Profiles, Memory overclocking profiles, the Memory multiplier and the other settings that would be expected.
We also have the ability to change the timings on the RAM by the different channels (Meaning with 4 sticks installed different timings can be used per pair) which is a wonderful feature.
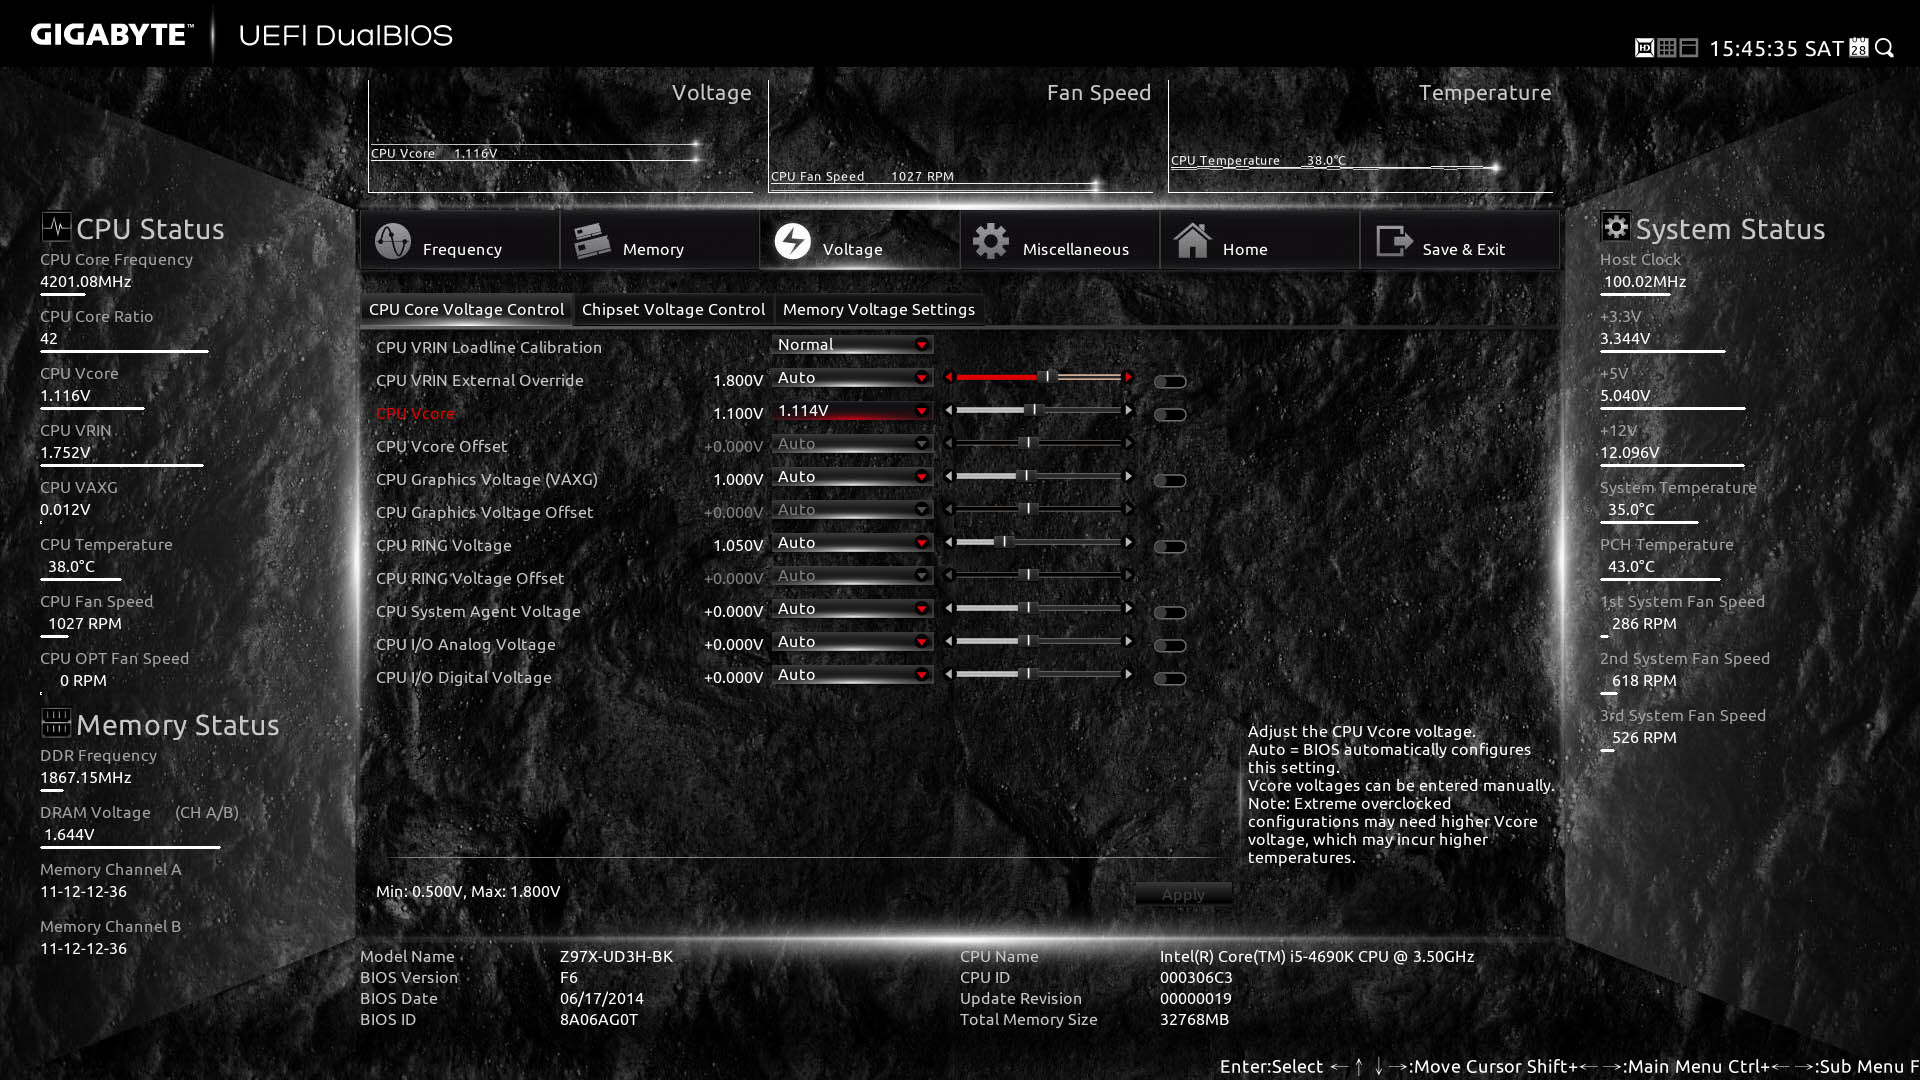
We finally have the Voltage tab, we get a plethora of different options for voltages on the CPU, Chipset and Memory. We get more voltages than we can shake a stick at, and even better yet the tool tips in the right side do a good job of explaining what each voltage does. Gigabyte lands even more points for this.
Review Overview
Design
Features
Overclocking
Performance
Warranty
Rock Solid Motherboard!
The Gigabyte Z97X-UD3H Black Edition is built like a tank and runs like a thoroughbred! If you are looking for a motherboard that won't let you down, no need to look any further!
 Technology X Tomorrow's Technology Today!



I would argue against your claims that Gigabytes do “rock solid motherboards”.I’ve had 2 die on me in the last month plus the 3rd one doesn’t work properly.
Bought a Z-97- HD3. Couldn’t get post and only got black screen with GTX 780 card. Older 580 card was OK though. GTX 780 works fine on spare PC by the way.
Gigabytes customer support is an absolute joke. No help at all , they just refuse to answer questions and shunt you about.
Buy anything from Gigabyte at your own risk. I’d give ’em 2 stars for the quality of their products and half a star for their customer service.
Sorry to hear about your misfortunes with Gigabyte products.
When we refer to something as “rock solid” or “reliable” we of course can really only speak for the experiences we’ve had ourselves, and perhaps at best the general consensus of those who’ve purchased their products in the past.
Unfortunately we can’t judge the product based on anecdotal evidence from any one customer, as that would be unfair to the company, and our viewers. That being said, we will of course raise your concerns with customer service with Gigabyte in the future.