STRUCTURE & INITIAL THOUGHTS
Opening the box and popping out the MasterCase you’ll notice right away that it has a little weight to it. Coming in at 23.4 lbs according to the specifications, that’s quite heavy for an empty chassis. We were honestly a little worried about the weight when it showed up at our door as it came with a “Heavy >50lbs” sticker, fortunately the empty chassis didn’t break 50 lbs.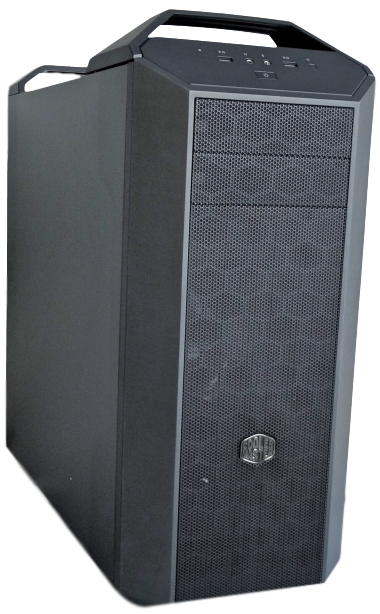 First impression taking the chassis out was that it’s large, but it’s not all usable space as right away you can see the handles on top adding height yet not actually allowing you more working space unless you’re upgrading to the 5 Pro. As well the bottom has stand off as well, so if you have a smaller work space you have to be careful you have room for it.
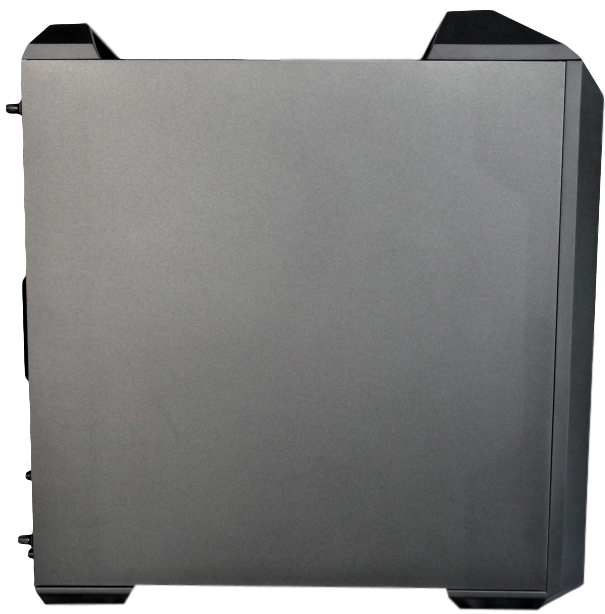 First thing we always want to do is pop off the component-side panel to see what we actually have to work with. The panels are fairly flexible steel panels which look identical. Undoing the two thumbscrews you’ll notice that they have a certain stand-off and are meant to stay with the panel which is awesome because you don’t have to worry about misplacement. If you slide the panel directly backwards you’ll notice if you release it slowly that it falls back to about a 5-10 degree angle and just sits there.
 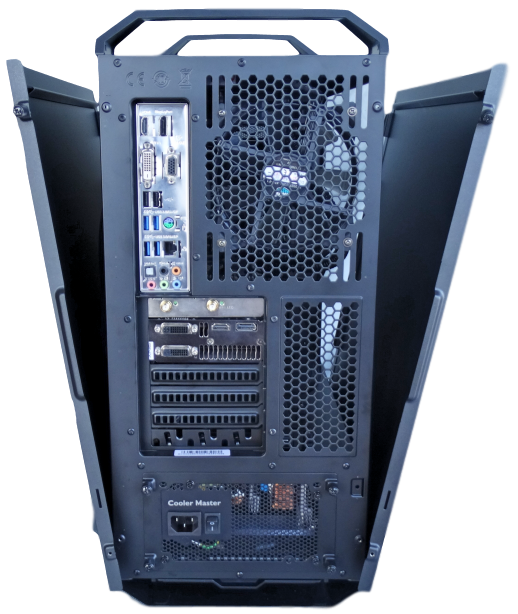 This is a built-in safety so you don’t accidentally drop your panel, scratching or otherwise damaging it. We haven’t seen this yet in a chassis and it’s a great feature. Removing the panel completely you’ll see that the top ledge is different from the bottom, top having a long continuous rail and the bottom having the two locking tabs, this is important to notice so that you understand that the panels are not interchangeable from side to side. Not a huge deal but will save you a little time having this information.
 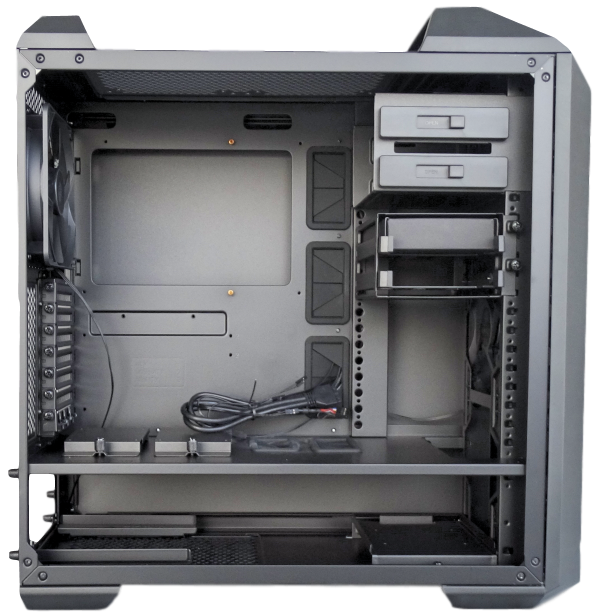 Once you have the panel off you’ll see first thing that the interior is divided by a partition that sits right above where your PSU is placed. Another feature we haven’t seen a lot of but a great one. This allows you to hide your PSU and any cable mess you have below the showcase of your main components. When you upgrade to the 5 Pro you’ll notice that the window panel has a removable tint that lines up with the partition to keep the PSU area invisible, good if you’re not great at cable management. Sitting atop the partition you’ll notice two inserts secured with thumbscrews.
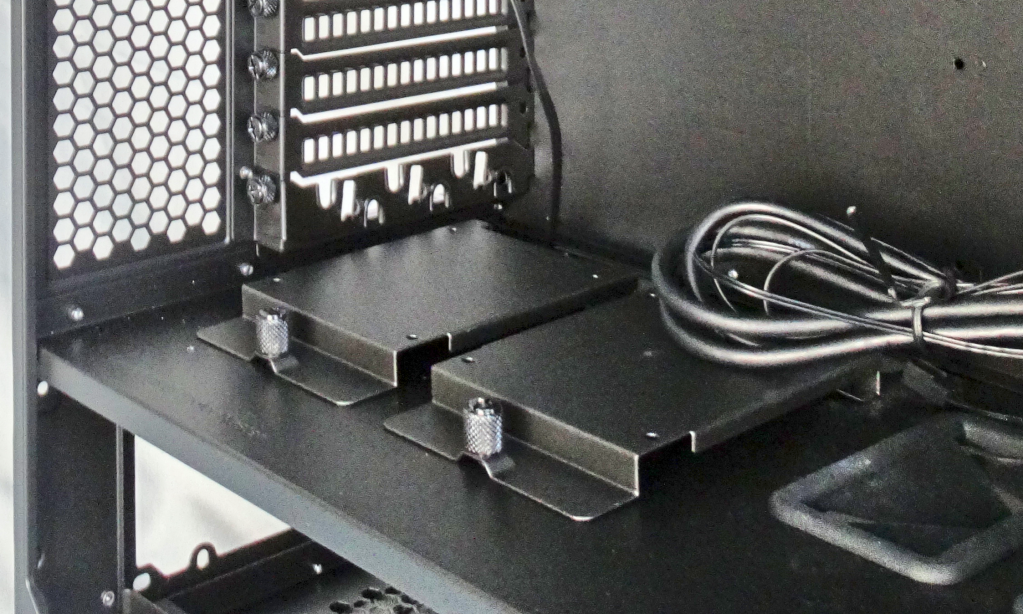 These are quite evidently for SSD’s, but the fact they are elevated a little allows you two interesting options, either you can mount the SSD on top to showcase your storage, or you can conceal it by placing it in the mount. Next we have the abundance of pass-throughs. In total we counted five large grommets and with four smaller pass-throughs without grommets. This seems to be a pattern with chassis we do and we would really like to see these smaller pass-throughs have the same look as their larger counterpart. This isn’t a jab specifically at Cooler Master but is a consistent note in the past few chassis’. At the front of the partition you’ll also notice a gap for the installation of a front radiator, if you choose this route you’ll have to remove the optical drive bays and the 2.5”/3.5” bay cage.
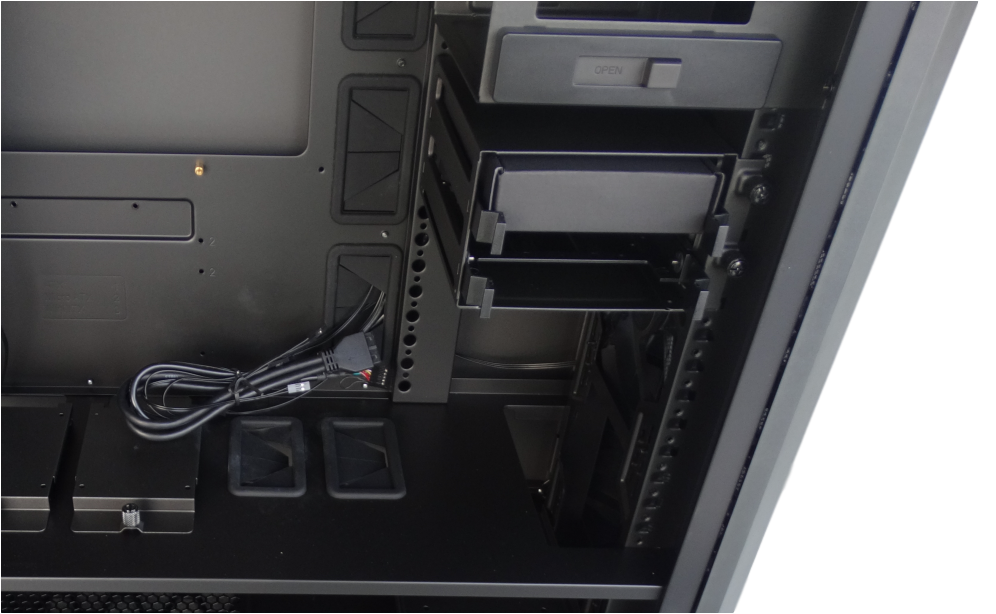 On the topic of the cage you’ll notice it is secured by two thumbscrews on the right side. You’ll also notice that if you take these out you can simply pop out the cage and adjust it up and down from top to bottom of the chassis. If you choose the front radiator and still want the drive bay’s you can even slide them down and place them in the PSU partition area. From the inside you’ll see the MasterCase also comes equipped with two 140mm fans (one front and one rear). Equipped with seven PCI slots, pretty standard except the bottom slot if unused as expansion can be used to pass peripheral cords through and secure them from theft.
 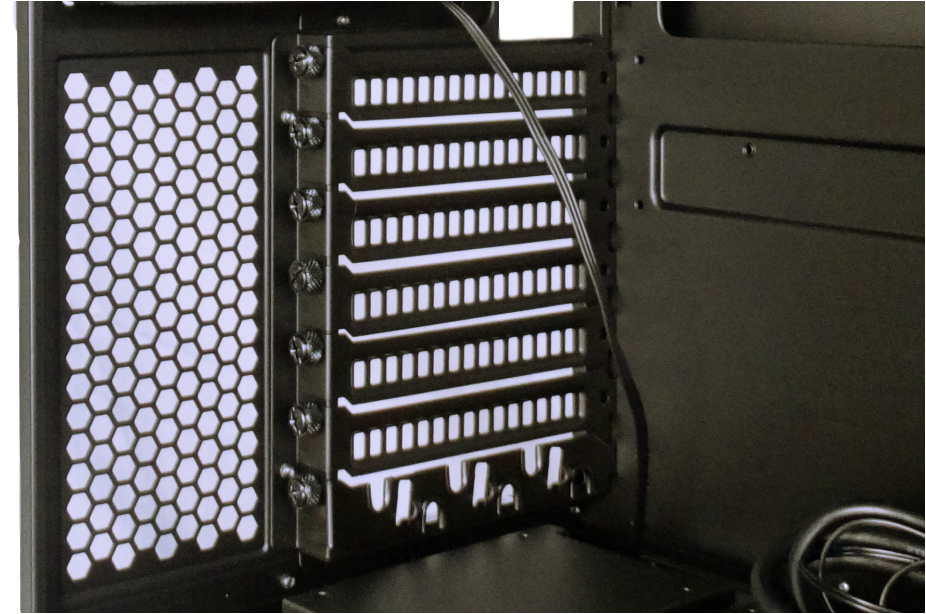 It is a cool feature, but as mentioned before we are more concerned about our system being around thieves in general than losing our mouse. Also you’ll see the two shiny motherboard stand-offs, you’ll have to install the remainder which is simple enough as they include the socket for the stand-offs, just use a screwdriver and they are in place. Not difficult at all but we still prefer the thumbscrew socket way as it’s easier and involves no tools. There is also a huge space in the back for on-board cooler installation; if we move around the backside you’ll see it’s fairly simple as well.
 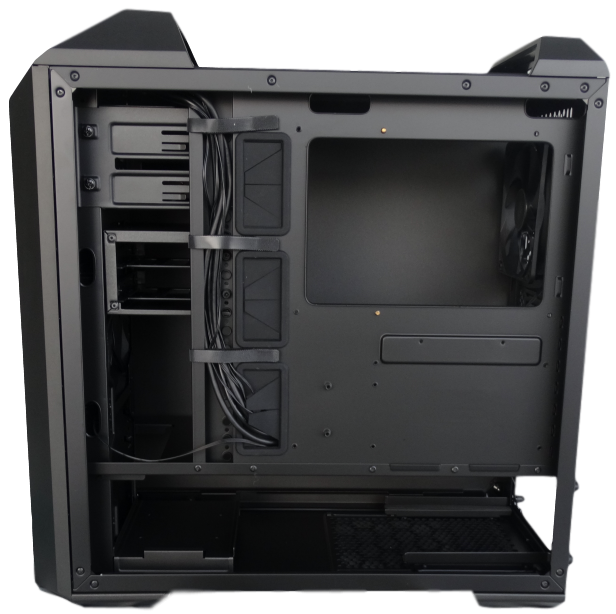 The bottom partition is completely open just as the front to help with cable management. Also you’ll see that the two SSD trays that were sitting on the partition on the front side can also be placed on the backside. If you mount the SSD’s here they must be in the tray or the panel will not close properly.
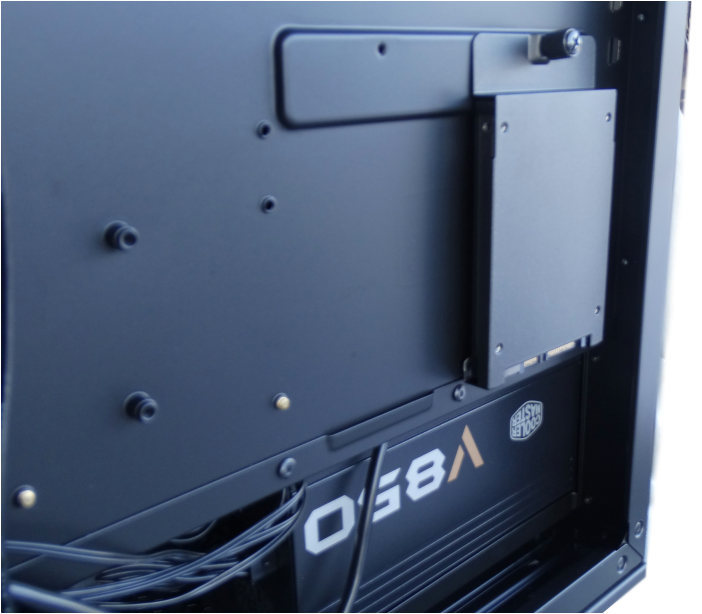 Cable management doesn’t seem to be too difficult as there are three Velcro straps that you can use to assist with that. However there are no tie down points or at least we didn’t locate any. The MasterCase 5 is equipped with three dust-covers as well. One at the top you have to unscrew to clean or remove, one at the bottom that slides out and one at the front panel. The front panel pops off or you can just pop off the dust-cover as well. If you pop the whole panel off you’ll notice one 140mm fan and room for one more.
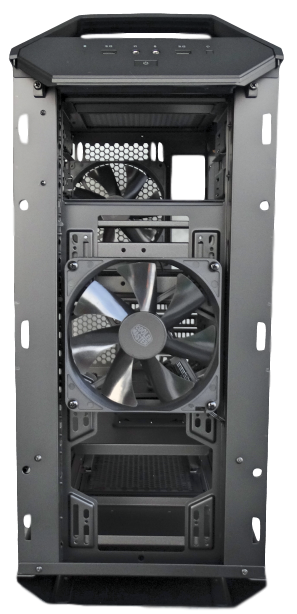 Furthermore if you aren’t using the optical bays you can install a third fan at the top with a mount that is included in the accessories box. The accessories box comes equipped with two fan adapters, cable ties, a fan adapter for the top front fan option and a bag of screws and standoffs.
 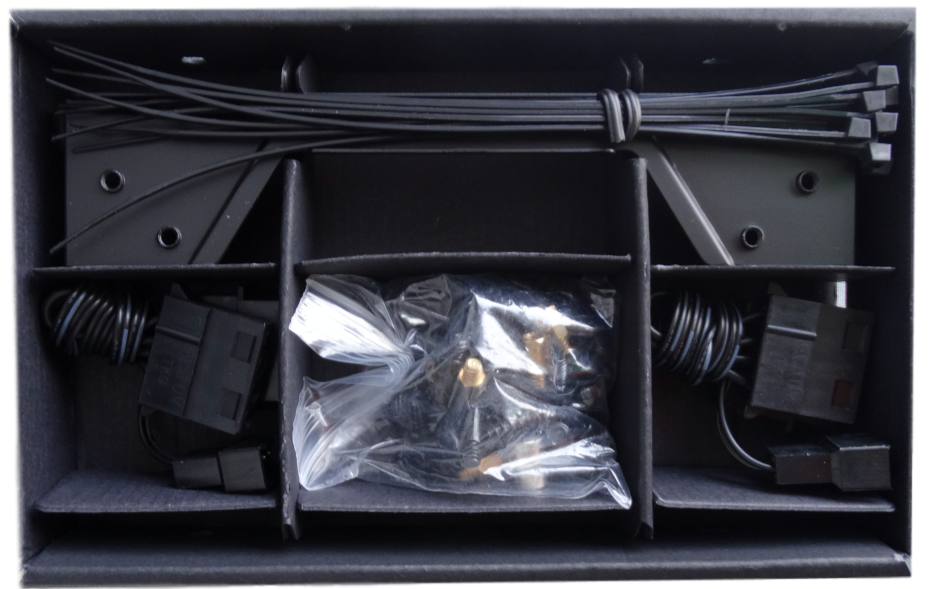 Not a huge fan of all the screws and standoffs being bunched in one bag, it’s always nicer to have them separated and able to just see what you have and need. The manual itself is laughably small compared to the size of the chassis and the size of the box it comes in but it works just well. Easy to understand and follow as the parts they talk about are shaded and makes for easy understanding and installation.
Review Overview
Packaging & Allure
Ease of Build
Features & Specifications
Cable Management
Price
Impressive!
The MasterCase 5 lives up to it's name and we can't wait to see what Cooler Master adds next!
 Technology X Tomorrow's Technology Today!
