Installation
Before we even start, our brains have the preconceived notion of how easy this build will be. Even without the instruction manual we can’t imagine it being that difficult.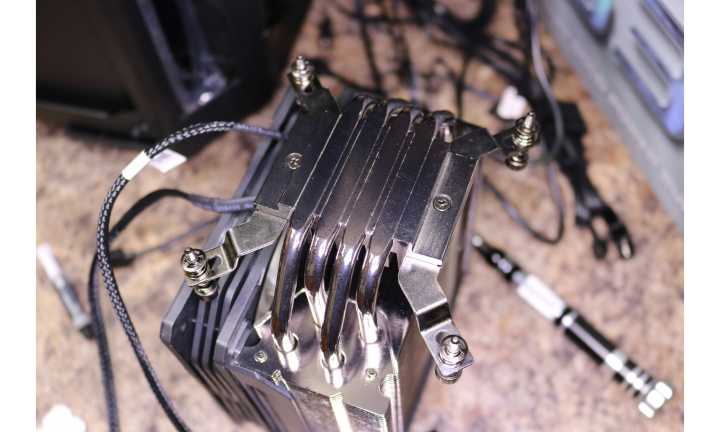 Brackets for the Hyper 212 RGB connected perfectly and the next thing to do is to get our processor ready for installation.
 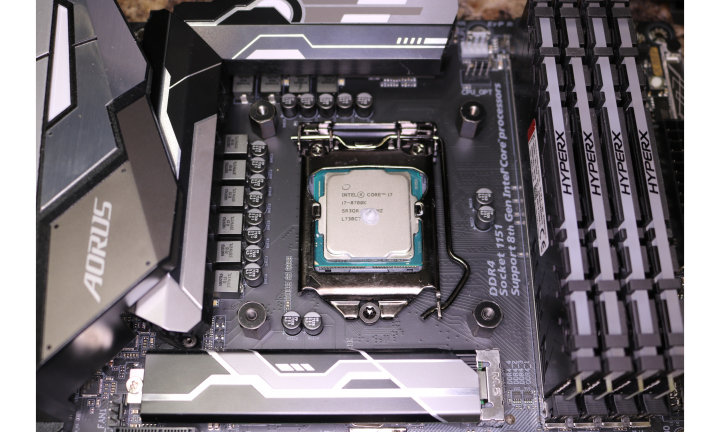 The back plate was Cooler Master’s standard black with locking screw design with an added 4 rubber washer standoff brackets to seat the cooler in snug-like fashion. We applied a single dot of the included thermal paste in preparation for the inevitable pairing of the processor and cooler.
 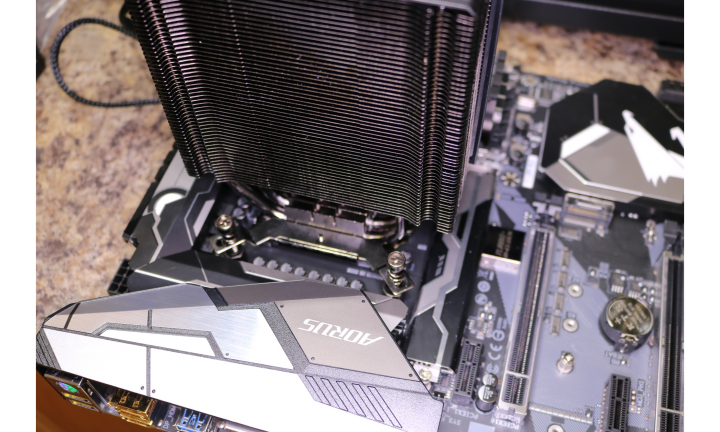 After a little bit of fiddling with the coolers screws and getting them set in the exact position they needed to be in we had our cooler seated and ready to go.
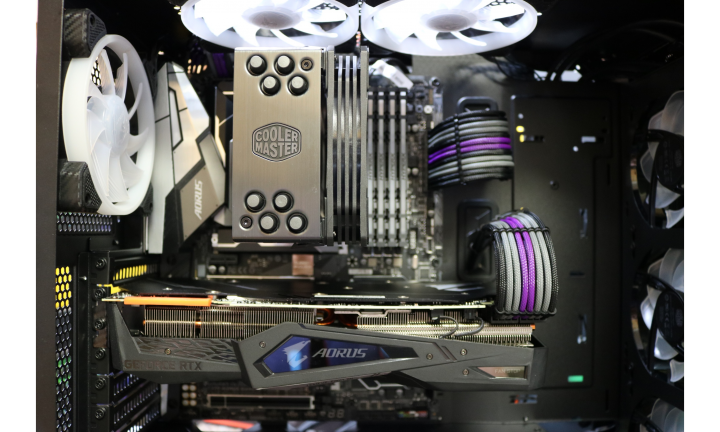 We installed this baby into our Cooler Master Mb 530P, which we will cover in a later review, and the synergy between the products was great. This cooler felt like it belonged in this chassis.
Performance
As per our cooler reviews, we are using the monitoring and stressing program Aida 64. We use the same program every time to keep the standard between coolers the same. Today were going to engage in a single stress test. This test will be covering the game Anthem on our i7 8700k processor, which is known to be taxing on the system.
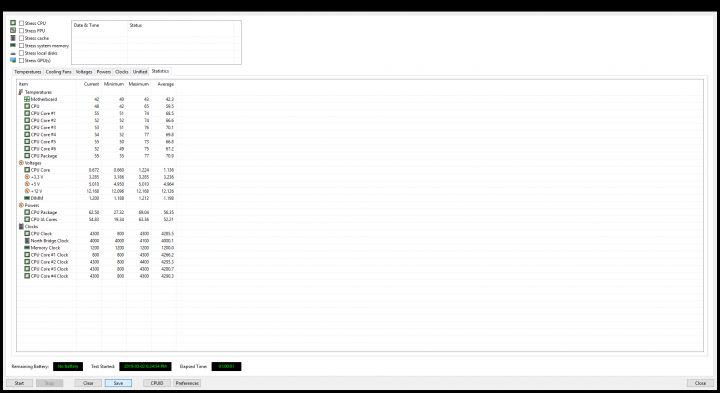
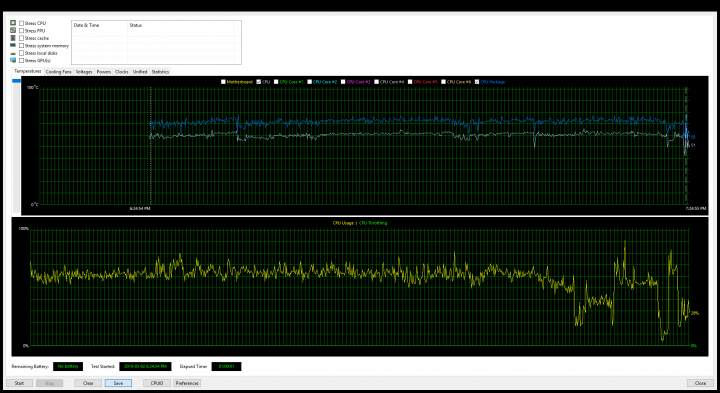 Seen above in the pictures is the final results of our test. Seeing as how this brand new game is hard on processors and how budget this product is were very happy with the results. The package temperature sat at around 70°C while the CPU temp was around 10°C cooler than the package. Great performance for a $42 USD product!
Review Overview
Contents and Packaging
Design
Installation
Price
Performance
Budget Beauty
What we have here is a really solid pick for the gamer not looking to spend his retirement fund. This is a great addition to any build and we recommend you pick one up ASAP
 Technology X Tomorrow's Technology Today!
