Design and Features
On first inspection we find a different looking chassis that obscures the way a chassis should look and adds a new flavor to it.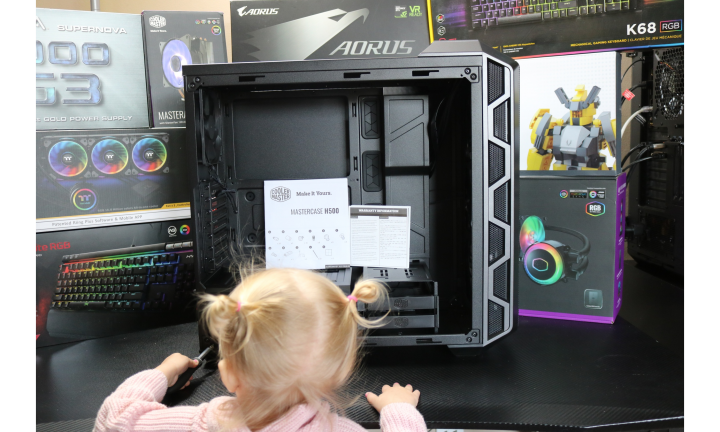 We had a little help with the removal of the front panel by our local PC expert. Included is an instruction manual in addition to the classic 2 year warranty.
 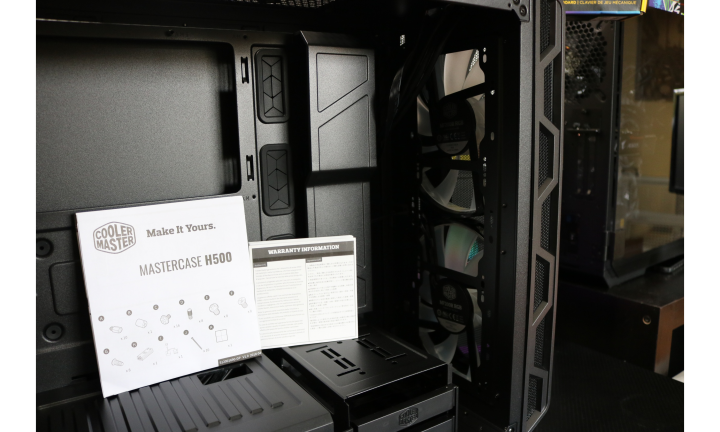 First thing we see on the inside of our H500 chassis is the front intake panel. In here we have room for the two 200 mm fans. In addition to the stock fans there is room for up to a 360 mm radiator or three 120 mm fans. We might stick our 360 mm radiator on the rear of these huge fans to see how it works.
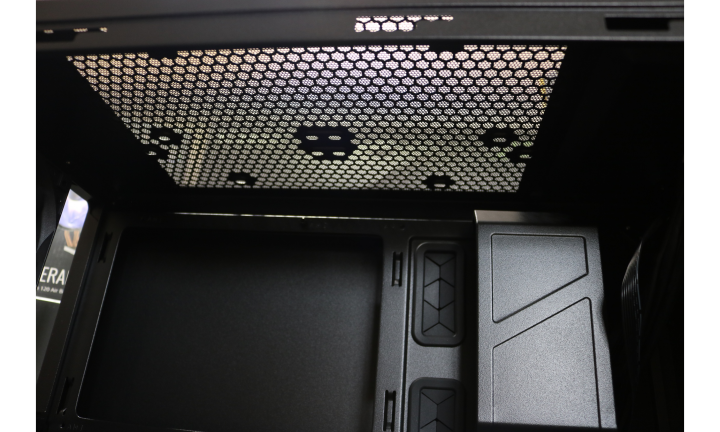 On top of the inside there is space for a 200 mm fan or 2 x 120mm fans/ 2 x 140mm fans. Right below that is Cooler Masters handy little cable hiding device to keep the build neat and tidy.
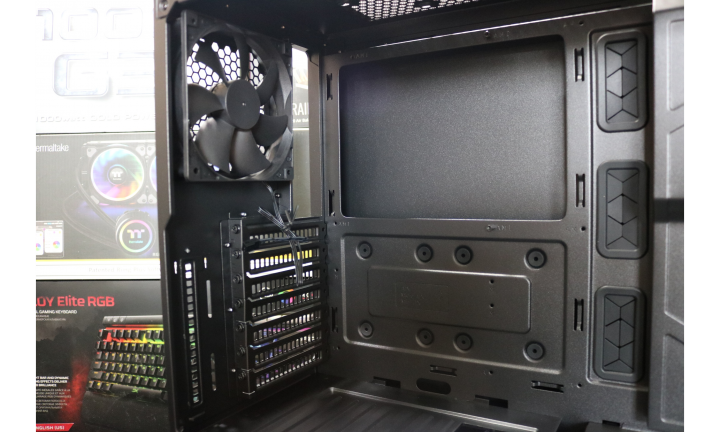 Also included is a stock 120 mm fan with no RGB. We thought that since the front two fans are RGB, why wouldn’t this one be? There is only enough space for one 120 mm fan as an exhaust. In the main body we see room for ATX motherboards as well as Micro ATX and Mini ITX boards.
 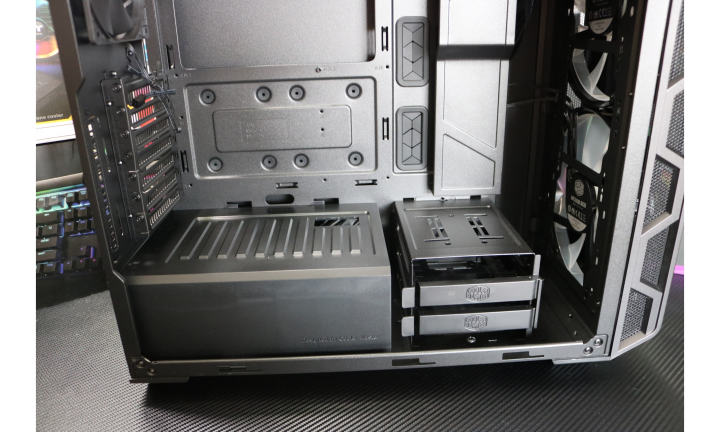 Down below is where the magic happens. A removable PSU cover excites us way more than it should and we think we might even keep the drive tray in for our build. This drive tray can fit 2 2.5″ or 3.5″ drives comfortably.
 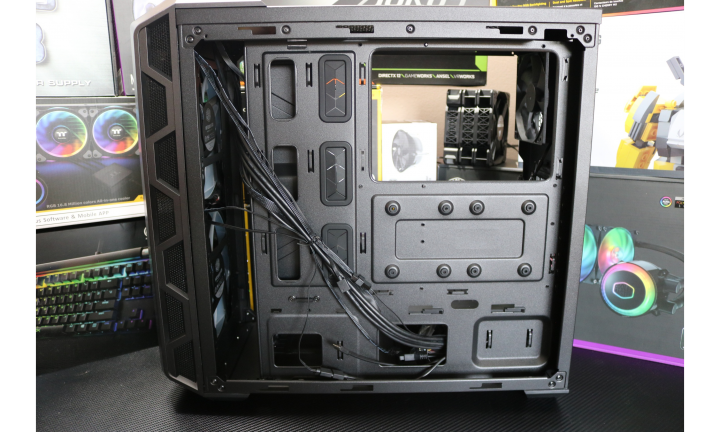 Cable management is always exceedingly difficult for us. Cooler Master has mounted 30 mm of play to give you tons of room to make a cable creation of your very own.
Review Overview
External Design / Ascetics
Internal Design
Features
Price
Ease of Instalation
Original Performer
$90 USD is a very exceptional price if your looking to start a build and a chassis is on your list. Cooler Master's H500 is a great fit for any build or builder level.
 Technology X Tomorrow's Technology Today!

I would have liked to know:
What configuration for airflow did you use on the radiator?
3 fans in “push” mode and 2 fans in “pull” mode or all in “pull” mode or all in “push” mode?
And if possible, comment a little bit on the experience of temperatures. Thank you very much