The Witcher 3 is definitely one of the most highly anticipated game releases this year, and as the follow-up to developer CD Projekt RED’s The Witcher 2 – which was one of the most graphically intense PC game when it was released – it has some big shoes to fill.
There’s been lots of talk about the game being downgraded since its original E3 presentation in 2013, and while we won’t be attempting to validate, or invalidate those claims here today, we are very excited to take a look at just how good this game looks, and what type of graphical options it offers.
In this report, we’ll be testing the game at a variety of graphical settings on our standard test bench in order to determine how well the game is actually optimized to run on PC.
THE WITCHER 3 GRAPHICAL SETTINGS
Any PC game worth its salt will have a number of customize-able graphical settings, which allow the user to fine tune their experience, and get the best performance out of their hardware. While the Witcher 3 does not offer quite the variety of options as the last game we looked at this year; GTA V, it does offer quite a lot, and will definitely not disappoint, in that regard. That being said, it does seem like CD Projekt RED has gone out of their way to dumb-down the settings options a bit, and make it easier for less knowledgeable users to understand.
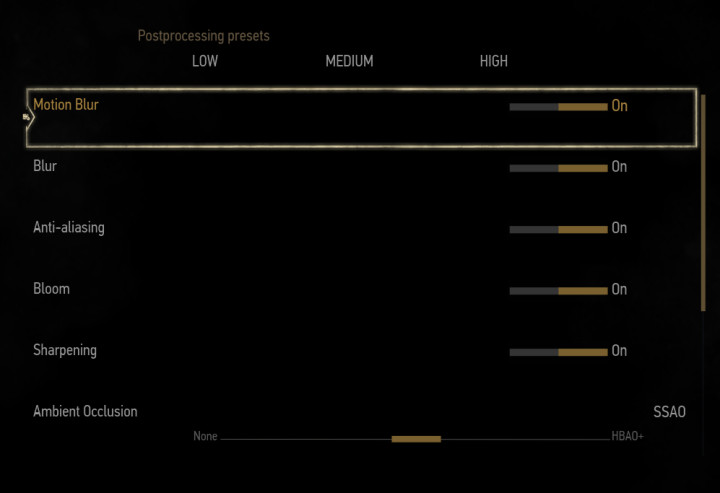
Graphical options are split into two different sub-menus, ‘Post-Processing’, and ‘Graphics’. We’ll cover the former first.
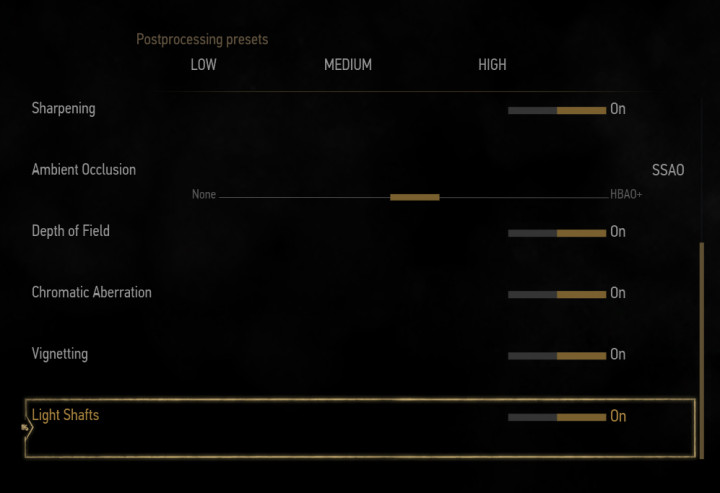
Firstly, we’ll see that the menu offers three different presets ‘Low’, ‘Medium’, and ‘High’. All of which will change a toggle, or the intensity of a number of the available options. Most are fairly self-explanatory but some are worth going over.
Anti-Aliasing: this is fairly vague, but based on its lack of intensity options, and low graphical overhead, we’d say it is FXAA.
Ambient Occlusion: includes three options ‘None’ which of course turns it off, ‘SSAO’ (which we use for all testing), and Nvidia’s HBAO+, which of course is part of Nvidia’s GameWorks suite, and is probably best used on Nvidia GPUs, as it will have a higher performance hit on AMD GPUs.
Depth of Field: applies a blurring effect to backgrounds, and objects which are off into the distance, and out of focus. This simulates a photography effect known as “Bokeh”.
Chromatic Aberration: another photography effect, this creates a shimmering glow around objects.
Vignetting: applies a shot shadow, or darkness around the edges of an image.
Light Shafts: also commonly refereed to as “God Rays” these are cast down from the sun and through obstructions, creating a ray of light.
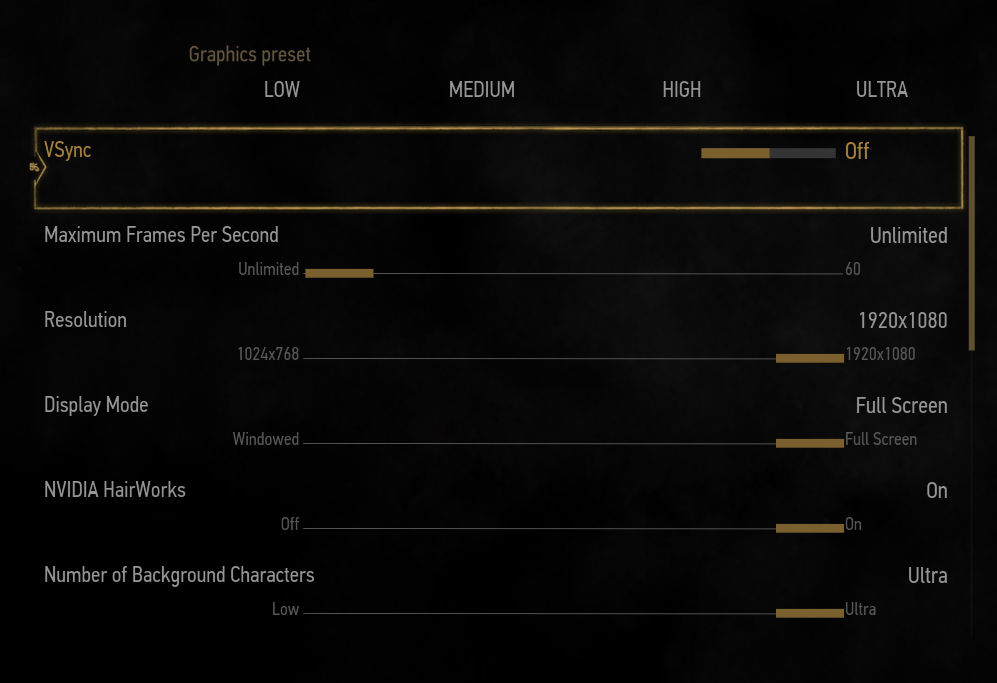
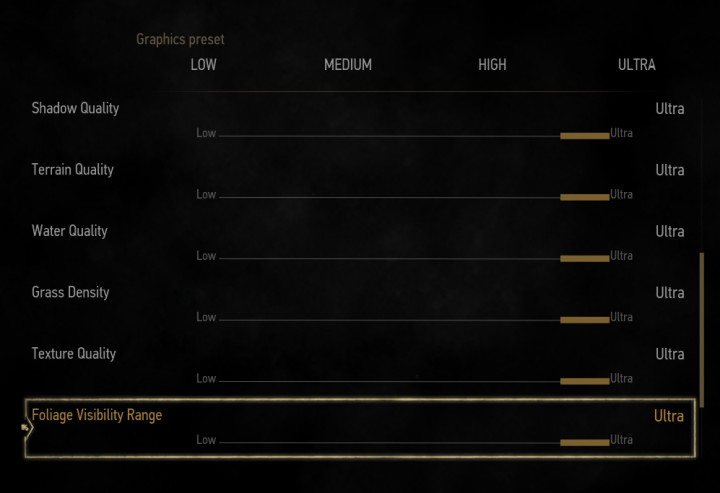
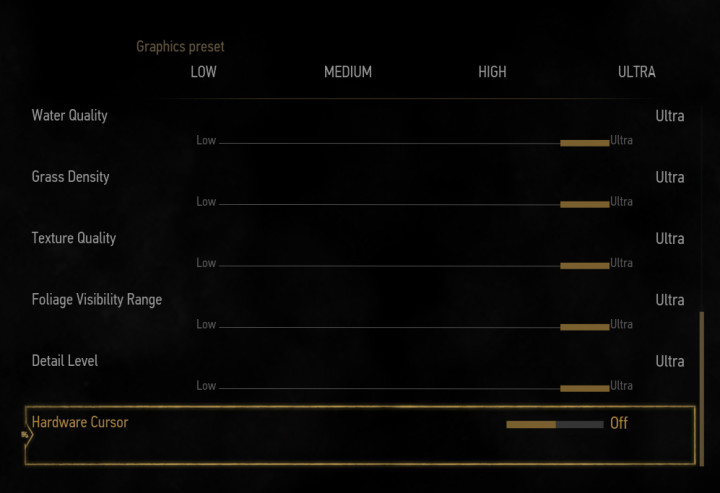
Just like with Post-Processing, the Graphics sub-menu also includes a number of presets, which include ‘Low’, ‘Medium’, ‘High’ and ‘Ultra’, but of course you can fine-tune the options to your liking. We wont go over all the options, just the most noteworthy ones, or the ones that we think require additional explanation.
Maximum Frames Per Second: this is a frame limiter, which can be set to ’30’, 60′, or ‘Unlimited’ which effectively just turns it off.
Display Mode: choice between ‘Windowed’, ‘Borderless Windowed’ or ‘Full Screen’
Nvidia HardWorks: part of Nvidia’s GameWorks SDK, this uses Nvidia technology to render additional strands of hair, and allows for a fluid motion which adds realism to the subject. It should be disabled on AMD hardware, as it is not optimized for it. It can be set to ‘On’, ‘Off” and ‘Geralt’ which will only apply the effect to the main character, instead of various NPCs.
Number of Background Characters: this controls the number of NPC, or non-essential background characters and wildlife, which by reducing, should also decrease CPU usage.
Terrain Quality: while we can’t confirm if this uses tessellation, it does the detail of hills, and other terrain, such as rock formations, etc.
Grass Density: this can effect performance a bit, especially when in areas with lots of grass such as countrysides, and prairies.
Foliage Visibility Range: this setting controls the view distance of grass and unessential bushes and plants that sprout up from the terrain. When lowered, foliage will pop into view as you get close enough, rather than being visible at a distance. This can have a large impact on performance when increased.
Detail Level: this controls the detail level of objects and various game elements, when decreased objects will lose sharpness, and overall depth.
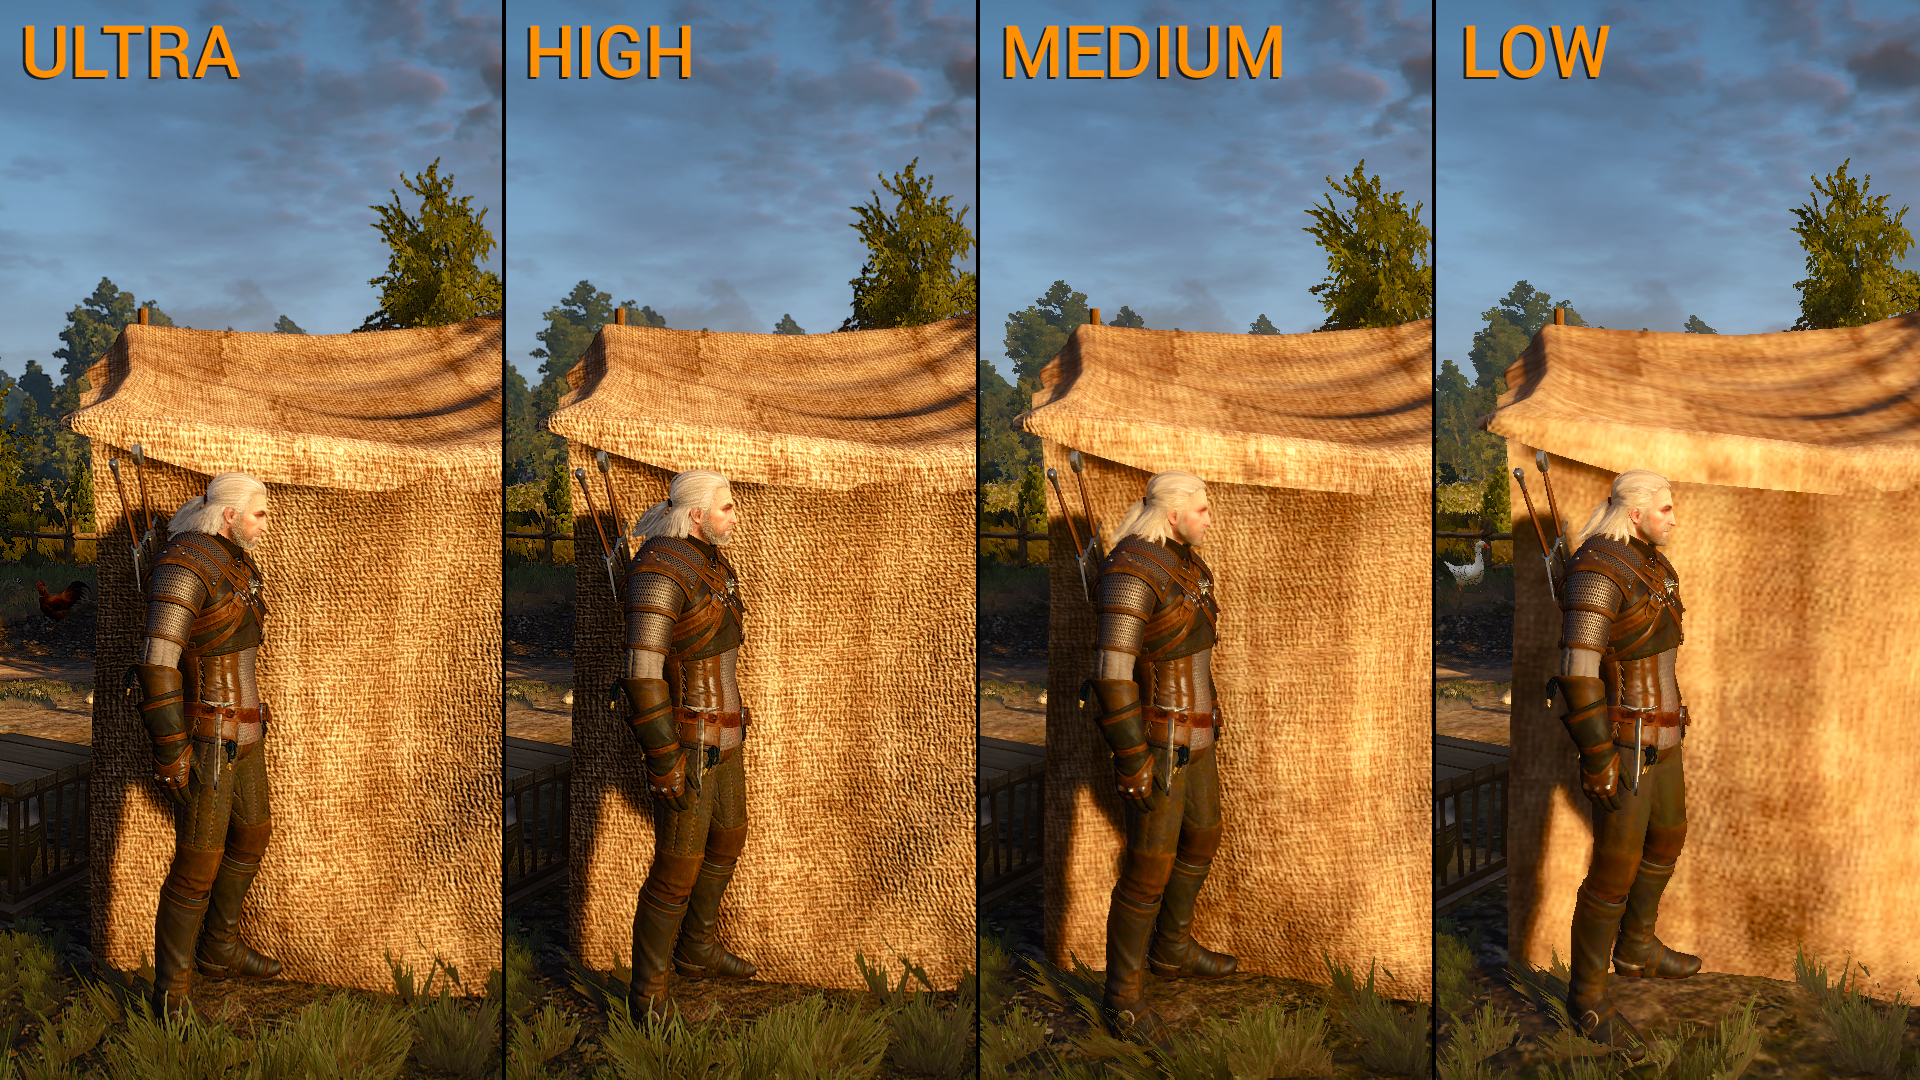
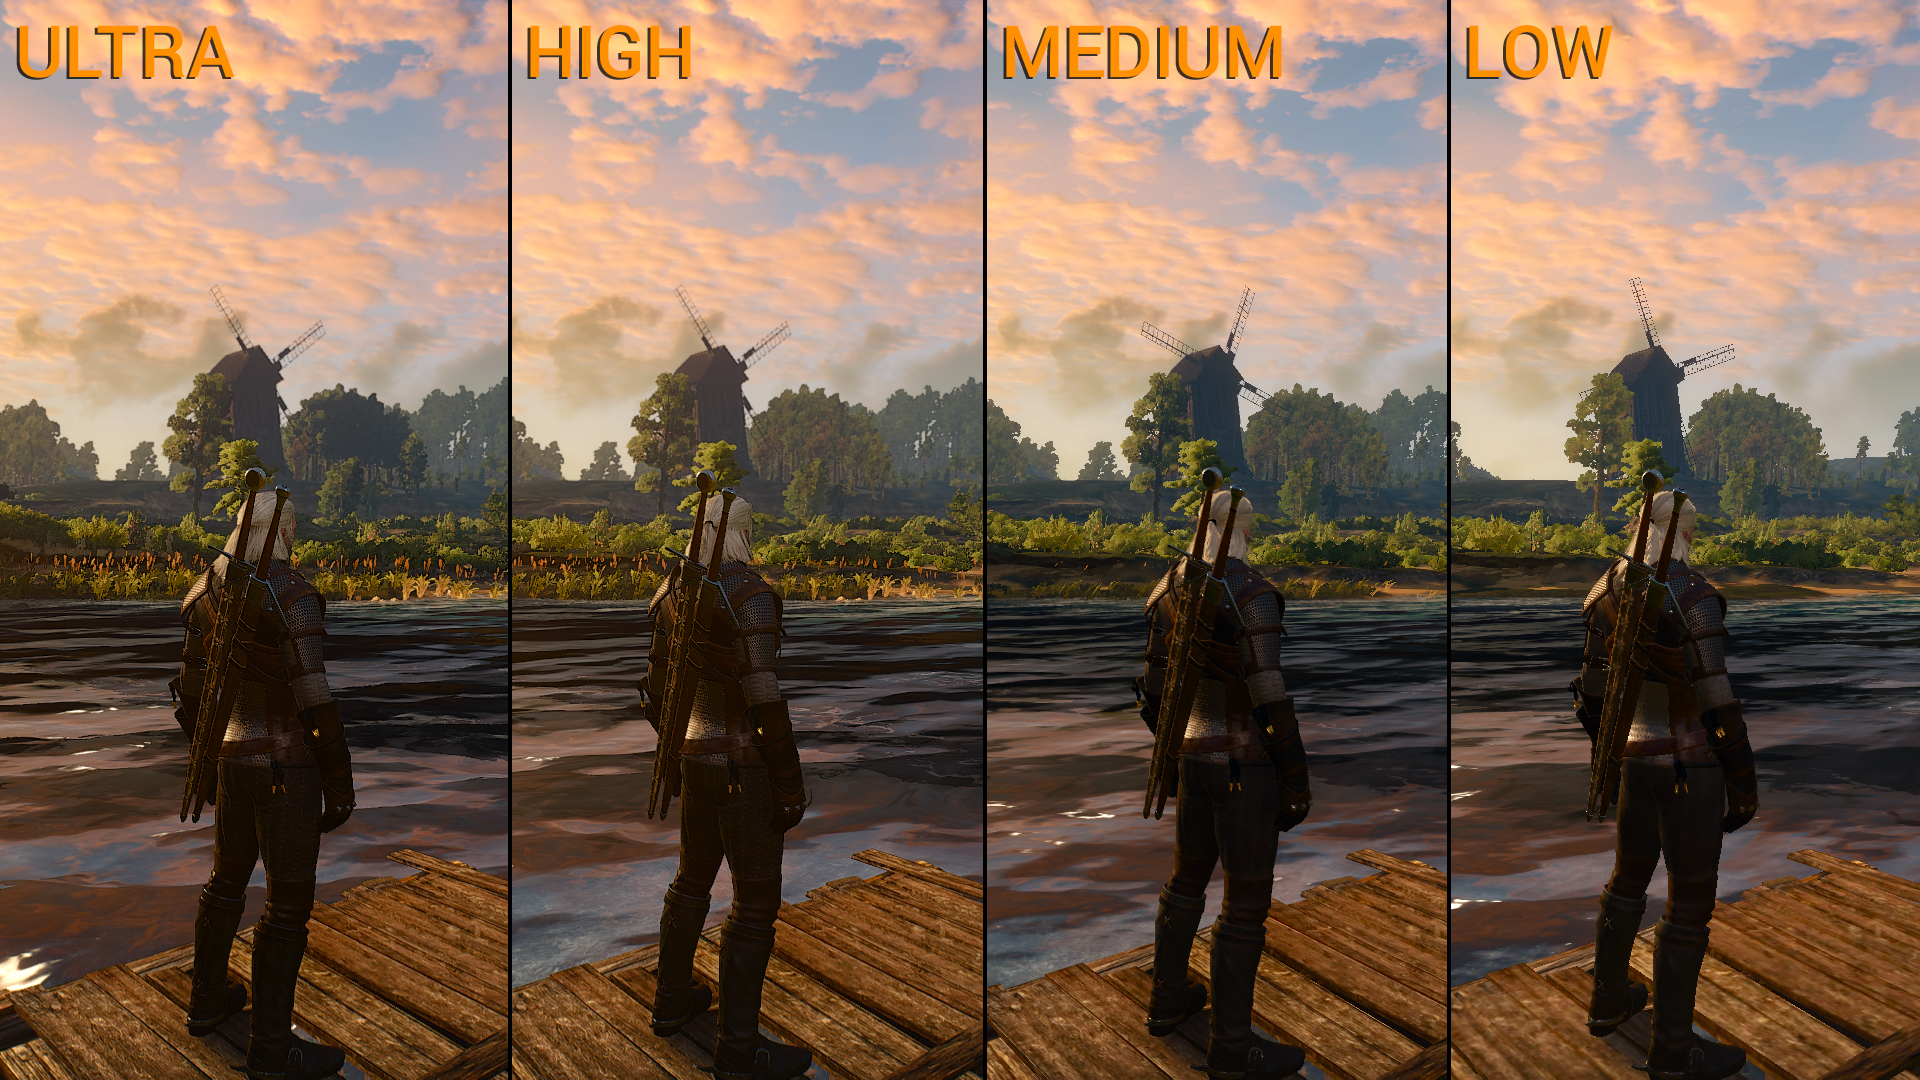
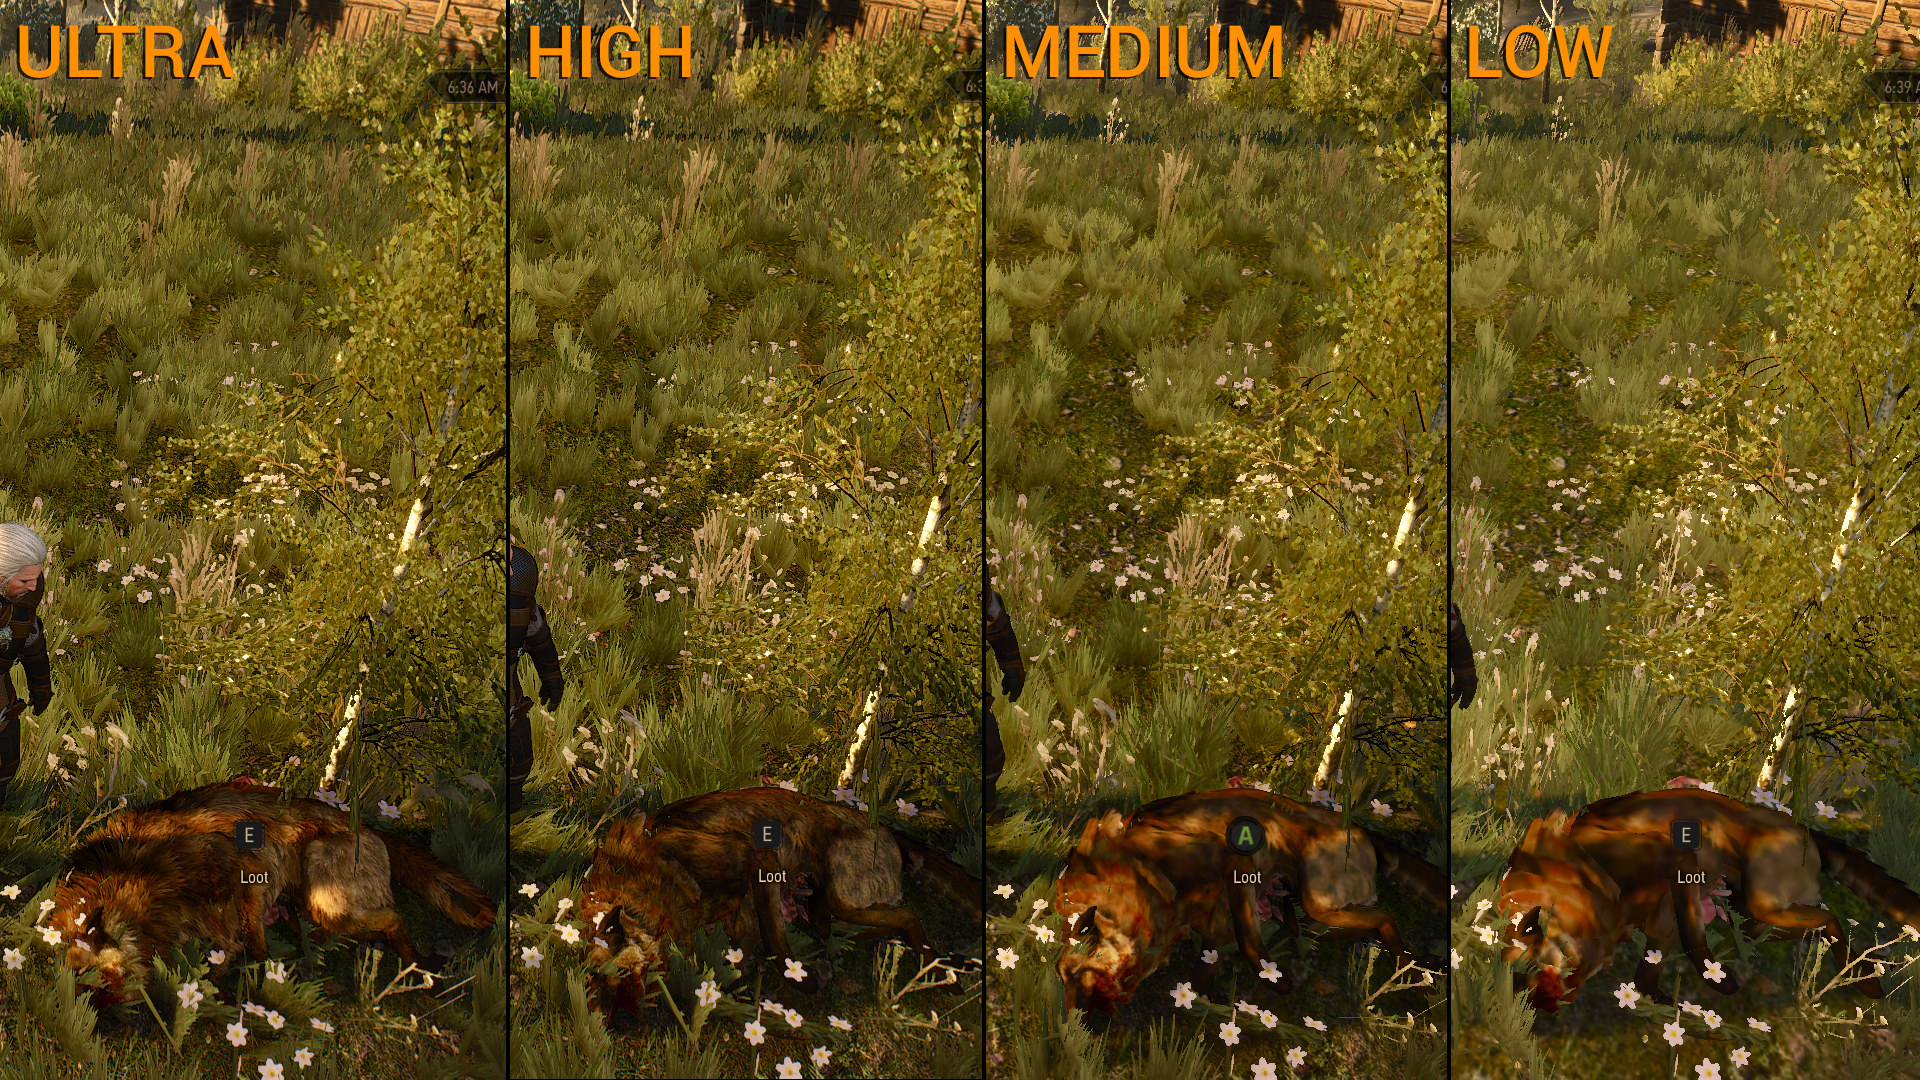
Here are some screenshots comparing the different graphical presents. (click to enlarge images)
We can see that texture quality and sharpness does not decrease much if at all from ‘Ultra’ to ‘High’, once we hit ‘Medium’ we start to see a much larger drop in quality, and at ‘Low’ it is almost a different game.
Again, we see very little difference between ‘Ultra’ and ‘High’ in terms of visual fidelity. Water quality does drop quite a bit at ‘Medium’ and ‘Low’ although it is hard to tell in a still image.
Here we can see our biggest difference between ‘Ultra’ and ‘High’ yet, as ‘High’ does not have Nvidia’s HairWorks enabled for characters and models other than Geralt, the hair on the wolf is much less detailed, losing the various layers it has with HairWorks and instead featuring more of a flat texture. The quality degrades even further with ‘Medium’ and ‘Low’ where there is almost no detail at all.
 Technology X Tomorrow's Technology Today!

